Saturday, January 27, 2018

Kaja's Birthday Card Featuring Jane's Doodles

Hello fellow card makers.

Today I am sharing with you a card I made for my crafty friend Kaja! You can find her YouTube channel (CLICK HERE!). You can also find her on Instagram at Kajayika.crafts. She is a fantastically kind and creative person and if you don't already know of her, please, go visit her and see all the fabulous cards she creates.

Kaja sent me a birthday present earlier this year around my birthday and I haven't made time to play with it until this morning. So, I couldn't sleep and I got up out of bed and came here to my craft room and started creating. Luckily, I had just ordered some "birthday" type supplies from Butterfly Reflections Ink.  So, I was itching to play with my new toys.


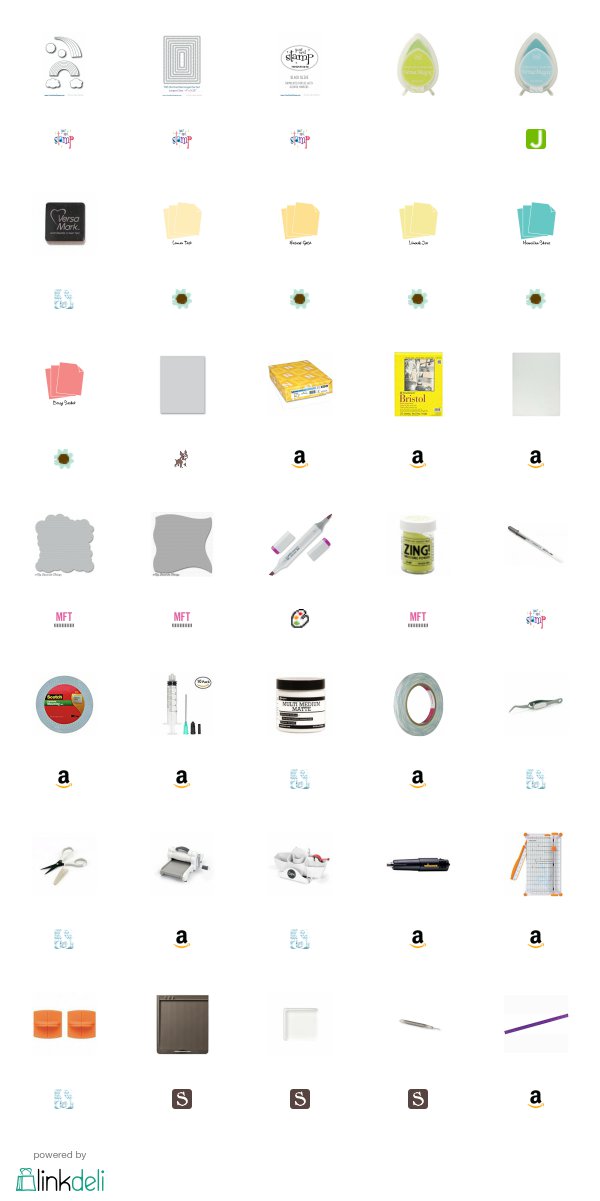
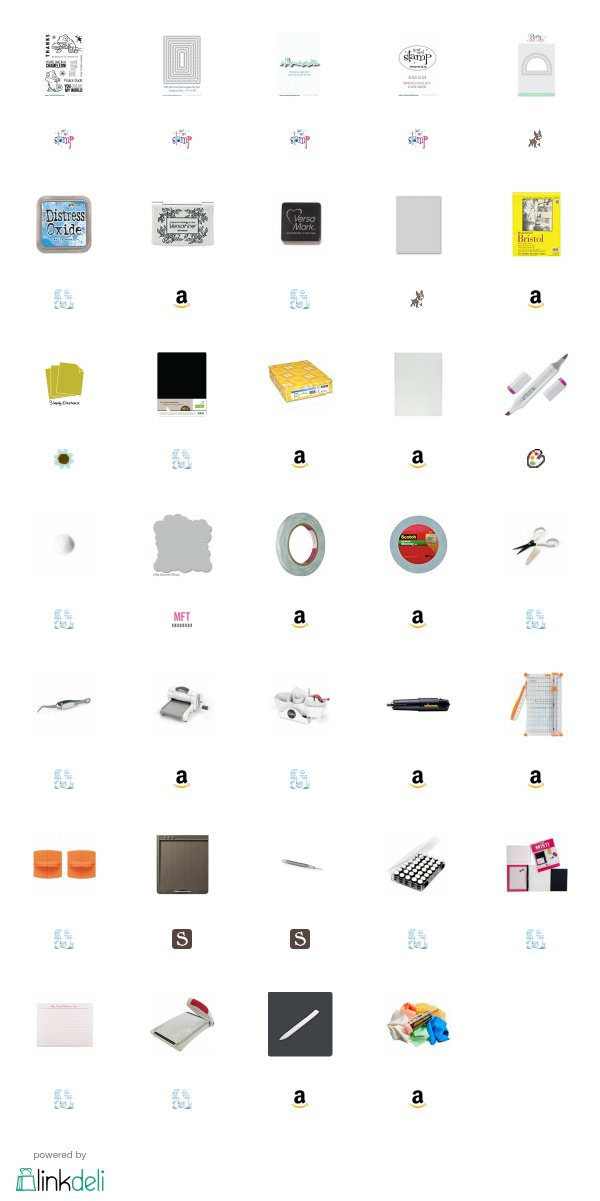
I started with a piece of Simon Says Stamp Fog cardstock. I used the Docrafts, Mixed Confetti embossing folder to emboss the background of my card. I cut it down using the Your Next Stamp Stitched Rectangle die set, second to largest. I popped that onto my top folding A2 sized card base made from Simon Says Stamp Fog cardstock. I used a piece of craft foam and some 1/2 inch double sided tape to adhere it to the card base.


I took a piece of Neenah 110 lb cardstock and the MFT ballon strings background stamp and stamped it with Simon Says Stamp Fog Ink. I cut this piece down with one of the smaller rectangles from the YNS Stitched Rectangle die set. I used the MFT Big Birthday Ballons Di-namics to cut out some balloons to go across the top of my front panel. I used Papertrey ink Limeaide Ice, and Berry Sorbet, as well as, Avery Elle (purple cardstock that isn't sold anymore). I adhered them with a series of double sided tape and scotch 3M foam tape to add dimension.


I chose the wonky cake image from the Party Time stamp set by Jane's Doodles. I love this set. I will cherish this set forever! I stamped it in Memento Tuxedo Black ink on Neenah 110 lb cardstock and colored it with my Copic Markers. I also stamped the "happy birthday" sentiment on Lawn Fawn Black Licorice cardstock with Versamark ink and white heat embossed it with Hero Arts Ultra Fine white embossing powder. I cut the sentiment into a strip and popped both the image and the sentiment up with foam tape.


Happy Birthday Kaja!

Thank you for visiting my blog today,

Koren


Monday, January 22, 2018

Your Next Stamp Furry Friends Bookmark Video

Hello fellow card makers.

Today, I'm not making a card. Have no fear, a bookmark is here... or three. Today is Feature Day over at the Your Next Stamp Blog. (CLICK HERE!) to visit the blog and to check out what everyone else created for our theme "Furry Friends". Don't forget to leave a comment on the post there for a chance to win a stamp set of your choice from the Your Next Stamp online store.


 I have a few bookmarks for you today featuring the new Cat Bookmark die set and Animal Add On die set. I had a blast creating these guys and I know you would too. Instead of listing the steps, which is pretty much, cut it out and glue it together, I made a video for you to watch. A link to my YouTube video, links to most of the supplies used. One of my favorite cardstocks, Speckled by Stampin' Up! must not be sold anymore, cause I can't link it : ( I will treasure the last of my supply. Everything else is linked and I took a few photos.


Thank you for visiting my blog today. Please take a minute to visit the Your Next Stamp Blog (CLICK HERE!) and comment for your chance to win a stamp set of your choice from the online store.

Koren


SaveSave

Friday, January 19, 2018

Your Next Stamp Challenge #81 Card Video

Hello fellow card makers.

Today I am sharing a card I made for Your Next Stamp Challenge #81. Your Next Stamp has a biweekly sketch and/or color combination challenge. To play along (CLICK HERE!) to visit the Your Next Stamp Blog and to see what everyone else came up with. Here is a look at this week's sketch and color combination.


I had no idea what I want to create with this weeks sketch and color combination. I was really struggling with my crafty mojo. So, I gathered some things I might want to use and started making a card. I started with a Simon Says Stamp Fog card base. Then I grabbed a piece of Neenah 110 lb cardstock and cut it down with the largest Stitched Scalloped Rectangle die from the set and cut some circles out of it, like the sketch shows, with Sizzix Circle Framlits. I placed some patterned paper behind the circles from Echo Park, Head Over Heels paper pack. I then cut a smaller stitched scalloped rectangle from Lawn Fawn Noble Fur Cardstock. 


At this point, I wasn't really liking where this card was going, but I pressed on. To see this card being made, check out my YouTube video making this card linked below. So, I stamped the "awesome" sentiment with Versamark ink on Taylored Expressions Poppy Seed cardstock, and used Wow Puff Powder embossing powder to heat emboss it. I cut it out with the coordinating die. I stamped the sub sentiments also with Versamark but this time I white heat embossed it with Hero Arts Ultra fine white embossing powder. 


I wasn't sure if I liked the card at this point either, but I thought adding dimension would help it along, so thats what I did. I added various foam tape and craft foam behind the panel lifting the circles and the green piece. I also added Scotch 3M foam tape behind the sentiment. With adding the dimension I really did start to like the card. It made a big difference.


Thank you for visiting my blog today. If there is still time, I invite you to come play along with us over at the Your Next Stamp blog for Challenge #81. (CLICK HERE!)

Koren

Wednesday, January 17, 2018

Your Next Stamp Share The Love Card Video

Hello fellow card makers.

Today I am sharing my project for Your Next Stamp. We were asked to create a project around the theme "share the love" using the brand new January Release products. I am creating this content prior to the release going live, but to see the new release, you can (CLICK HERE!) it will take you to the New Products page over at the Your Next Stamp online store.

Don't forget to visit the Your Next Stamp blog and comment for your chance to win a stamp set of your choice from the Your Next Stamp online store. (CLICK HERE!) to take you over to the blog and check out what the rest of the design team came up with for the "share the love" theme.


For my project, I used the new Silly Monsters stamp set. I love all the monster themed stamps sets that Your Next Stamp has. I adore cute monster images in general. So for my card, I started with a piece of Strathmore Bristol smooth white cardstock and ink blended a ground and a sky using Distress Oxide inks in Twisted Citron and Broken China. I then used a stencil by Heidi Swapp to ink blend some hearts with Candied Apple Distress Oxide Ink. After I ink blended the hearts, I used the Distress Marker Spritzer tool to spritz a bit of Distress Marker in Barn Door to add some texture. I really like how this turned out. To see it in action, click the link to my YouTube video creating this card linked below. After the background was completed I cut it down using the second to largest Stitched Rectangle die. I adhered some craft foam to the back with 1/2 inch double sided tape and placed it on my Simon Says Stamp Fog card base.


The images of the stacked monsters and the "boss" monster were stamped and masked with Memento Tuxedo black ink and colored with Copic markers. I have listed the markers used below. I cut them out and popped up the stacked monsters with Scotch 3M foam tape. I popped the "boss" monster up with a Art Impressions mini action wobble.


The sign the monsters are holding was stamped with Versamark ink and white heat embossed with Hero Arts Ultra fine white embossing powder. I cut it out using one of the smaller stitched rectangle dies from the Stitched Rectangle die set.


Thank you for visiting my blog today. Don't forget to visit the Your Next Stamp blog (CLICK HERE!) to check out the rest of the Design Team's creations as well as to comment to have a chance to win a stamp set of your choice from the Your Next Stamp online store.

Koren


Saturday, January 13, 2018

Your Next Stamp January Release Blog Hop Card Video

Hello fellow card makers.

Today I am sharing with you my projects for the Your Next Stamp January Release Blog Hop. I have two projects for you today, but make sure you visit all the stops along the hop and comment for your chance to win a $25 gift certificate to the Your Next Stamp Store. The hop begins Jan 13th at 10pm EST and ends on Jan 16th at midnight. (CLICK HERE!) to visit the New Products page to see the complete release. During the hop, take advantage of the 20% off coupon code listed below!!


Today I am using a few of the new products from the release, but my favorite from this months release has to be the Cat Bookmark and Animal Bookmark add on die sets. I have another project in mind for later this month, so be sure to check it out.


Today, I am using the Cat Bookmark and Animal Bookmark Add on die set along with the Beary Special stamp set to create a valentine card. I always joke that I hibernate in the winter, because I feel like I do. I don't like cold weather, so I can relate to just wanted to sleep until spring.


I started with a piece of Strathmore bristol smooth white cards stock and covered it with Distress Oxide Salty Ocean ink. I completely covered it and then dripped some water on it to create water droplet effects on the blue background. After letting it dry, I cut it down with the Stitched Rectangles die set (second to largest).


I used the Your Next Stamp Double Stitched Hills die set to create some hills for my bears to stand behind. I cut the hills from Papertrey Inks Simply Chartreuse cardstock and then cut them down with the same stitched rectangle die I used to cut the background.


My bears were cut from Papertrey Ink Dark Chocolate, Stampin' Up! Sahara Sand, Lawn Fawn's Black Licorice, and Your Next Stamp Birthday Girl and Birthday Boy paper packs. To see how they were created check out my YouTube video linked below.


I stamped a sentiment from the brand new Beary Special stamp set and finished it off by putting a little red heart in the boy bears hand cut from Taylored Expressions Cranberry wool felt. The card base was created from Simon Says Stamp Fog cardstock.


My second project today also uses a lot of colored cardstock. I am using the brand new All Aboard Love Train and What Not Sentiments Eleven.


I used Strathmore bristol smooth white cardstock, cut down with the second to largest stitched rectangle die. I used MFT's mini cloud stencil and Versamagic sea breeze ink to create the clouds. I used MFT's rolling hills stencil and Versamagic key lime ink to create the hills. This panel was adhered to craft foam with 1/2 inch double sided tape and placed on a Simon Says Stamp Fog card base.


The images where stamped with Your Next Stamp Black Olive Ink and colored with Copic Markers. The rainbow was made from Your Next Stamp Rainbow Fun die set. I used Papertrey Ink cardstock in Berry Sorbet, Lemon Tart, Harvest Gold, Limeaid Ice, and Hawaiian Shores.


The sentiment is from the brand new What Not Sentiments Eleven stamp set. I stamped it with Versamark ink and heat embossed it with Zing Cricket embossing powder. It is harder to see in the photos than it is in real life. I like the subtle technique but its hard to capture on camera. The heart images were adhered both flat to the card backgound panel or popped up to add dimension. I used Scotch 3M foam tape to pop them up.

Thank you for visiting my blog today, I hope you enjoy the rest of the hop and don't forget to comment, the more you comment, the more you increase your chance to win a $25 gift certificate to the Your Next Stamp online store.

Koren


Your Next Stamp Jan Preview Day Card Video

Hello fellow card makers.

Today, I am sharing with you my project for the Your Next Stamp January New Release Preview Day. The new release goes live today at 10 pm EST. I am using the new Friends Fur-Ever stamp set. It features two adorable kid faces and a cat and a dog. My favorite part of the set is the stack of books, so I incorporated it into my card for today's preview. When the release goes live, you can check the complete release by going to the Your Next Stamp store and visiting the New Products page (CLICK HERE!) Don't forget to check out the rest of the previews over at the Your Next Stamp blog. (CLICK HERE!)

I started with a piece of Strathmore bristol smooth white cardstock, cut down with Your Next Stamp's Stitched Rectangles die set (the second from largest). I cut a mask out of Avery repositionable label paper  with the square frame die I was using by Pretty Pink Posh. I placed the mask onto my piece of bristol paper justified to the top center, or so I thought I had. I used MFT Sun Ray stencil and some Distress Oxide ink in Salty Ocean to create some rays behind where I wanted my focal image to go. After ink blending the rays, I used some water splatter to create a water droplet effect onto the Distress Oxide ink.


I cut the square frame by Pretty Pink Posh out of a piece of Simon Says Stamp Fog cardstock. I also stamped my images in Versafine Onyx Black ink and clear heat embossed them with Hero Arts clear embossing powder. I did this so that I could color my images with my Zig Clean Color Real Brush Markers.


I stamped my sentiment below the stenciled sun rays in Versafine Onyx Black ink. I adhered craft foam to the back of the panel with 1/2 inch double sided tape. I then adhered the thin square frame with thin strips of foam adhesive. My images were popped up with Scotch 3M foam tape.

I noticed that I was a little off with the positioning of the frame, so I attempted to re-make the whole card. I did the same thing again, just more the the left than the right side this time. For a few giggles, look for my YouTube video I made making this card below.


Thank you for visiting my blog today and don't forget to stop by the Your Next Stamp blog and see all the other previews the Design Team has to offer (CLICK HERE!) 

Koren

Friday, January 5, 2018

Your Next Stamp Challenge #80 Card Video

Hello fellow card makers.

Today I am sharing with you my project for Your Next Stamp's challenge #80. Your Next Stamp has a biweekly sketch/color challenge over on the Your Next Stamp blog. To play along with us (CLICK HERE!). Here is a look at this weeks sketch/color combo.


I started out with a piece of Avery repositionable label sheet. I used the Pretty Pink Posh Window die to cut out a mask from the label sheet. It is the same shape as the sketch for the challenge. I placed the mask in the center of a piece of Strathmore Bristol smooth white cardstock. I used My Favorite Things mini cloud stencil and some Distress Oxide ink in Salty Ocean to create some clouds in the shape of the window die. 


I then took the Your Next Stamp Grass Edge Die and a piece of Papertrey ink Simply Chartreuse paper to create my grass. I used the window die from earlier to cut it down to size. It fits perfectly under the windowed inking. I used the "Thanks" sentiment from the One in a Chameleon stamp set by Your Next Stamp and Versafine Onyx Black ink to stamp the sentiment right on the grass.

I stamped the chameleon that is on the limb from the One in a Chameleon stamp set in Your Next Stamp Black Olive ink and colored him with my Copic Markers. I have listed the colors I used below.


I stamped the "for going out on a limb for me" sub sentiment from the One in a Chameleon stamp set on a piece of Lawn Fawn Black Licorice cardstock with Versamark ink. I white heat embossed the sub sentiment with Hero Arts Ultra Fine White embossing powder. I cut it into a thin strip to add to my project. 

I used craft foam and 1/2 inch scor tape to pop up my inked panel onto a Simon Says Stamp Fog card base. I popped up the grass with 3M foam tape as well as the chameleon. I used 1/8 inch scor tape to adhere the thin sentiment strip at the bottom of the card. 


Thank you for visiting my blog today. A link to my YouTube video I made creating this card and links to all of the supplies mentioned in this post are linked below. Affiliate links are used when possible. Please consider checking out the Your Next Stamp challenge over on the blog (CLICK HERE!) to have a visit and to check out what everyone else created with this sketch/color combo.

Koren