Saturday, January 19, 2019

Heffy Doodle Teacher Hero Card Video


Hello everyone.

Today I have another Heffy Doodle card video for you. In this video I create a handmade greeting card to show appreciation to a teacher. In it, I used Heffy Doodle's Teacher's Pet stamp set and a few other Heffy Doodle supplies.


I have linked all the supplies I used to create this project below. I have also made a Copic Color Map with listings of all of the Copic Markers I used to color my images.


I hope you enjoy my video.

Thank you for visiting my blog today.

Koren

Thursday, January 17, 2019

Hanna's Banner

Hello everyone.

Today I am sharing with you a special project I made for my friend's daughter. She is celebrating her very first birthday this month, and I was lucky enough to help create her birthday party banner. I have been sitting on this project for awhile but I'm happy to share it with you now. Happy Birthday Hanna!

I was assigned the A and of course, I was unable to just make a proper A. I had to camouflage it and make it all artistic like. Sorry Mirella : )


I started with a piece of Neenah 110 lb Solar White Cardstock. I cut it down using one of the Scrapbook.com Nested Banner Dies. On this panel, I stamped the giraffe and the turtle from the Neat & Tangled Wild Ones stamp set. I made sure to mask these animals in order to ink blend some clouds in the background using My Favorite Things Mini Cloud Stencil and Versamagic Aspen Mist chalk ink. I also blending a little bit of Distress Oxide Bundled Sage to make some ground for them to stand on.

I then used the Altenew Bold Alphabet dies, the A, to cut out the letter that was assigned to me. To pop it up, I inlaid some Stampin' Up! Tempting Turquoise under is in four layers. I used Lawn Fawn liquid adhesive to adhere the layers leaving the original image stuck to the top.

I used some of the other images from the same Wild Ones Stamp Set and a few from Neat & Tangled's Itty Bitty Welcoming Committee. Some of the images are popped up with Scotch 3M foam tape while others are adhered flat to the panel.


I also inlaid the number one into the little monkey's balloon using Your Next Stamp Bold Numbers die set. This time I used a piece of My Mind's Eye Happy Day Patterned Paper to color the balloon in coordinating colors.

The smaller nested banner was then popped up onto a larger pink gingham patterned paper from the My Favorite Things Farm Fresh Gingham 6x6 paper pack.

I used my Provo craft Silent setter to create a way for the banner to be hung among its neighbors. I chose large white eyelets from We are Memory Keepers. I also added a few small white pom poms with liquid adhesive to their little party hats.

I hope you enjoyed this little project today. I know I sure enjoyed making it. Creating things specifically for others truly is one of the most fun things for me to do and it really helped spark some creativity that I sorely needed.

Thank you for visiting my blog today.

Koren


Sunday, January 13, 2019

Simon Says Stamp You are Loved

Hello everyone.

I have a few clean and simple cards for you today using the NEW Love Messages Stamp Set.

I started with a piece of Papertrey Ink True Black Patterned Paper cut to 4 3/4 by 3 1/2 and popped up on a Simon Says Stamp Fog Card Base with white craft foam and Scrapbook.com double sided adhesive.


On the first card I added an I from CZ Designs All Caps No. 1 die set, layered it four times with Lawn Fawn Glue Tube liquid adhesive, and then stamped a sentiment from the Love Messages Stamp Set by Simon Says Stamp with Versfine Onyx Black ink.


For the second card, I stamped one of the hearts from the Love Messages stamp set onto the card panel with Distress Oxide ink in Candied Apple. The sentiment was also stamped with Versafine.

Lastly, I stamped the "Thank you" portion of the sentiment using Nuvo Clear Mark ink and heat embossed with WOW! Cardinal Red embossing powder. The rest of the sentiment was stamp with Versafine, just like the others.


I hope you enjoyed some clean and simple inspiration today.

Thank you for visiting my blog.

Koren


Friday, January 11, 2019

Neat & Tangled Swinging By

Hello Everyone!

Today is the day! Thats right, the NEW Neat & Tangled January Release is now LIVE! over in the Neat & Tangled online store. (CLICK HERE!) to shop and be sure to check out the blog for a review of this entire week of inspiration.

I'm sharing a project that I made using the NEW Swinging By stamp set and coordinating die. This adorable elephant swinging the little girl is so precious. I made my little girl to look like my step-daughter Olivia, which happens to be the only one of my children that actually watch my videos. She loves to create and craft and I love that about her.


To start, I created my background on Neenah 110 lb cardstock. I used the My Favorite Things Drifts and Hills stencil to ink blend Distress Oxide ink in Twisted Citron and Crushed Olive with my Nuvo Blending Brushes. Then I used the NEW Neat & Tangled Heart Duo Stencil to ink blend a sky full of hearts with VersaMagic Aspen Mist chalk ink. This is my favorite ink for sky but it's really hard to get your hands on. (Insert sad face here) I will do my best to link it below. I stamped the grass images from the same Swinging By stamp set using the same Crushed Olive ink.


I then stamped my images with My Favorite Things Extreme Black ink and colored them with my Copic Markers. I have created a Copic color map with all of the markers I used to color my images. I used the coordinating die to cut it out with my Spellbinders Platinum die cutting machine. The image is popped up using Scotch 3M foam tape.

The sentiments are stamped on various colors of cardstock including Papertrey Ink Blueberry Sky and Berry Sorbet. I also used Stampin' Up!'s Granny Apple Green. They sentiments are also in the Swinging By stamp set. They were stamped using Nuvo Clear Mark embossing ink and heat embossed with Ranger White embossing powder. I used my Fiskars wire guide paper trimmer to cut out each sentiment. I wasn't extremely concerned with making them as straight as possible. If they were a bit wonky, I wasn't going to worry about it. I think it adds a bit of fun to the sentiments. They are also popped up with Scotch 3M foam tape.


The entire panel was then added to a Simon Says Stamp Fog card base using white craft foam behind it to add dimension. I used Scrapbook.com double sided adhesive to adhere it.

I hope you enjoyed my card today. (CLICK HERE!) to shop the NEW January Neat & Tangled release.

Thank you for visiting my blog today.

Koren


Thursday, January 10, 2019

Neat & Tangled Heart Duo Stencils

Hellllloooo everyone!

I hope you all are having a fabulous week. I know I'm sure having a great time sharing all of the NEW products from Neat & Tangled this week. Today we are showcasing the NEW Heart Duo Stencils. I'm a huge fan of stencils. There are always fun ways to use them. To see what the rest of the design team has come up with,  (CLICK HERE!) to visit the Neat & Tangled blog. This release will be available Friday, January 11th at 8:00am EST.


My project today starts with a piece of Ranger Watercolor paper. After taping the paper to my Easy Clean craft mat, I also taped down one of the two stencils that comes in this set. It didn't matter which one. I positioned it onto the panel and taped it down. I then began to ink blend Distress Oxide ink in Victorian Velvet as well as Distress ink in Victorian Velvet with a Memento Blender Brush. I'm sure you are wondering why I would use both inks in the same shade. It's because the Distress Oxide ink is softer and lets say, more matte than its original counterpart the Distress Ink. Using both inks does give you some variation in color and it looks very nice when used together. I feel like the Distress ink will appear darker than the Distress Oxide ink, at least with this shade.

To do one even better, I also used a Distress Marker is, YOU GUESSED IT! Victorian Velvet and the Ranger Distress Marker Spritzer to add some ink splatter to the bottom of each ink blended heart. I'm always a little afraid to do this technique with red and hearts, because it can very easily start to look like blood splatter and well, that's not the look I'm going for here.


After I was done with the first stencil, I then taped down the second stencil which is a similar pattern but offsets the hearts to add dimension. For this stencil I did a smaller amount of ink blending with the two inks in Victorian Velvet but instead of using the distress spritzer, I used Bo Bunny Glimmer paste in Sugar to add even more dimension and a lot of shine! I love how this paste looks. It allows you to see through it just enough but also holds it's own beauty. After the paste, I set this panel aside to dry.

I then cut a piece of Altenew Moonrock cardstock which is a very very light gray shade with natural fibers seen in the paper. It's very pretty. I used the Neat & Tangled Card Front Designs Die Set, the smaller oval from this set to cut out an aperture from the panel. This oval was popped up onto the stenciled heart background and cut down to 3 1/2 by 4 3/4.

I then used the NEW Just Because die set to cut out "love you" from Neenah 110 lb. cardstock and layered four times using Lawn Fawn Glue Tube liquid adhesive. I adhered the layered word die onto it's shadow cut from Papertrey Inks heavy weight vellum. This piece was then popped up into the center of the panel using Tombow Extreme Adhesive tabs in clear.


To finish off the card I added the wonky hearts also from the NEW Just Because die set cut from coordinating cardstock in Papertrey Ink's Autumn Rose and Sweet Blush and strategically placed on the the card panel with liquid adhesive. I even carefully placed one behind the word die to peek through the vellum for an added touch. This entire panel was then placed on a Taylored Expressions Earl Grey card base.

I hope you enjoyed my project for today. For even more inspiration (CLICK HERE!) to visit the Neat & Tangled blog where the rest of the Design teams' projects will be showcased. This release will be available Friday, January 11th at 8:00am EST.

Thank you for visiting my blog today.

Koren


Wednesday, January 9, 2019

Neat & Tangled Wonky Chevron


Hello everyone.

Today is day 3 of the Neat & Tangled Release week for January and we are showcasing the NEW Wonky Chevron Cover plate die. This die is awesome. I know I say that a lot, but listen... you can not top the wonkiness of this die. This die cuts the perfect wonky chevron into whatever you want. To see more of what Neat & Tangled offers and to check out what the rest of the Design Team has done with this die (CLICK HERE!) and visit the Neat & Tangled online shop and blog.


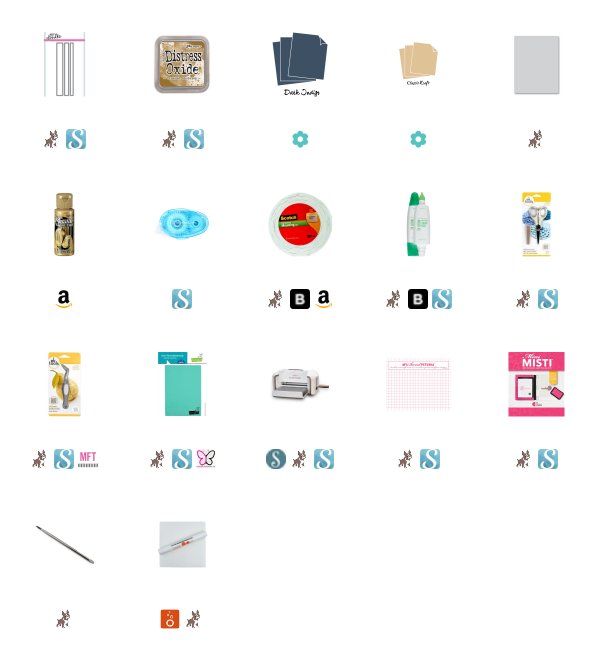
So,  I actually have two cards for you, and each is slightly different using the NEW Wonky Chevron Cover plate die. First, I cut the die from several different cardstocks. Three different cardstocks to be exact. I used Papertrey Ink's Classic Kraft and Dark Indigo as well as Simon Says Stamp Fog. Doing this actually allows you to make three full backgrounds for three cards, but I only used two today. I arranged them each using a different pattern of those three shades of cardstock. I used a piece of copy paper to align and adhere them. I coated a piece of copy paper with tape runner adhesive a put them together like a puzzle, adding liquid adhesive in any spots that may have been too bare for the pieces to stick properly. After allowing some time for the liquid to dry, I had two complete and gorgeous backgrounds with a masculine flare.


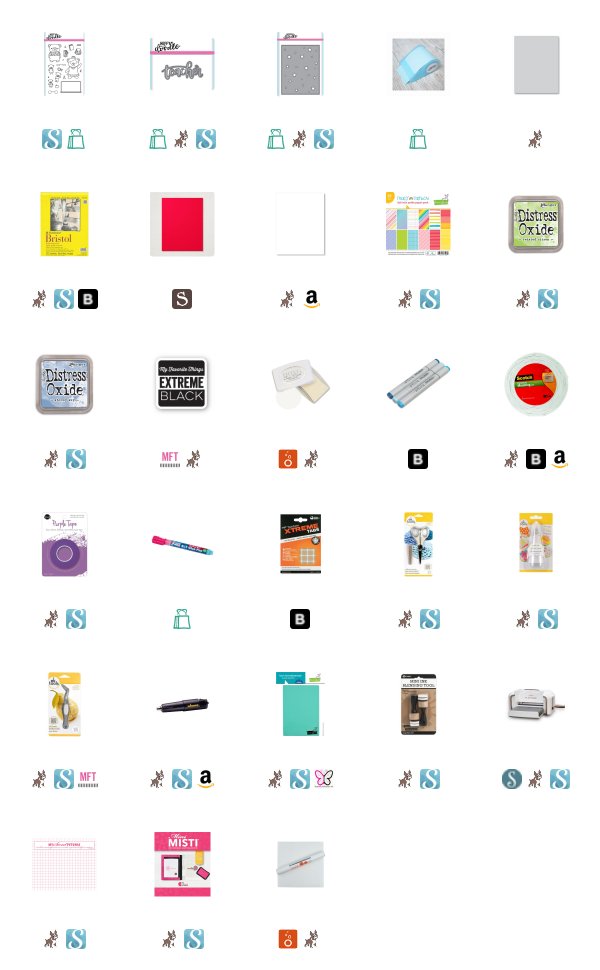
For the first card, I cut the shadow die from the NEW Just Because coordinating die set to cut a Classic Kraft shadow. I cut it two times to give it some dimension by layering to the two pieces together. I used Tombow Mono liquid adhesive to do that. I then cut two of the "love you" word dies from the same Just Because die set from Dark Indigo cardstock and layered those together as well. I used the same liquid glue to place the word die onto its shadow and also onto the card base justified to the top center of my card front.

For the sub-sentiment, I stamped the "more than anything" from the Just Because stamp set in Distress Oxide Brushed Corduroy. I used my Fiskars wire guide paper trimmer to cut it down to size.

To finish off the first card, I cut the little wonky hearts from the Just Because die set in all three cardstocks and popped them up with Scotch 3M Foam tape and placed them onto the card.


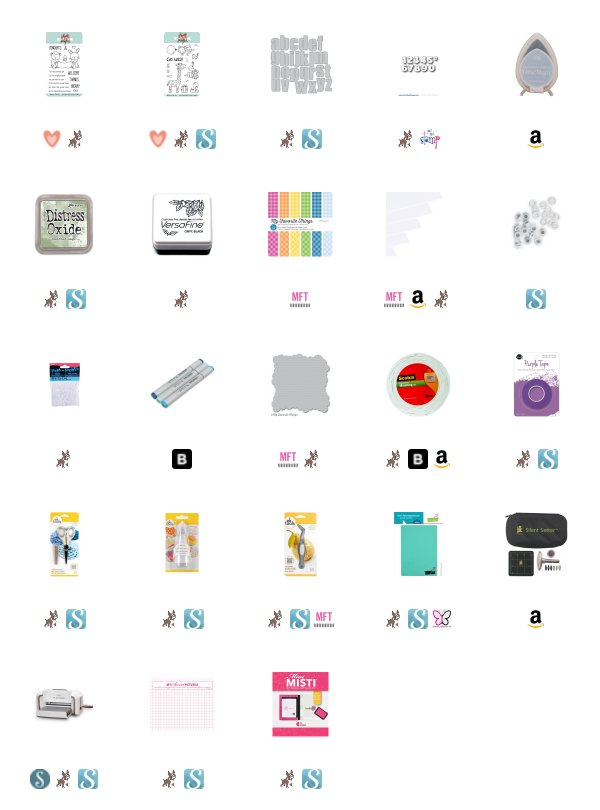
To jazz up this design just a little for the second card, I decided to cut the shadow directly into the background. I gave the shadow dimension by layering it with four other shadows under it with Classic Kraft cardstock. I used Tombow Mono liquid adhesive to do that as well.

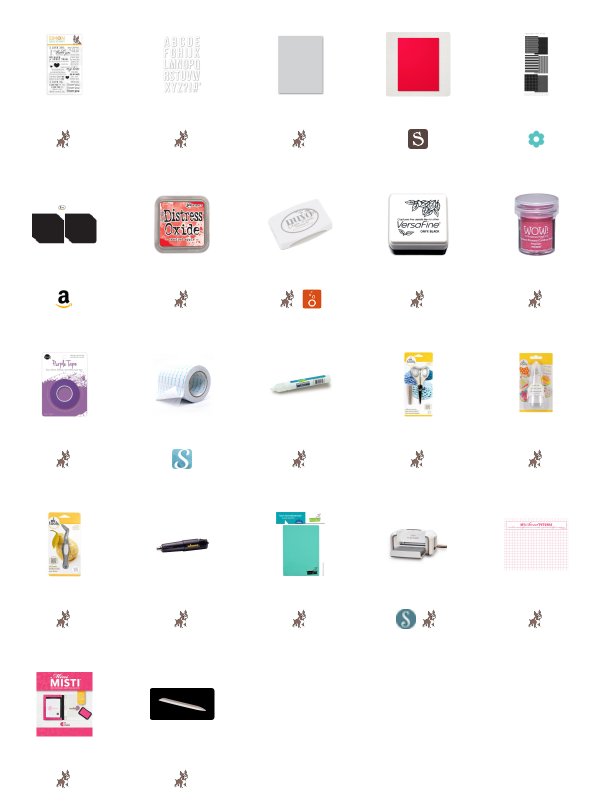
As for the word die, I layered the same Dark Indigo cardstock together to create the sentiment, but this time, I brushed some gold paint along the bottom of the words to increase it's visibility and to also make it shine.


The sub-sentiment and the hearts were done similarly to the first card only with a little gold shine added to the hearts and a bit of a different arrangement on the card front.

I hope you enjoyed my projects today. To check out more from Neat & Tangled you can (CLICK HERE!) to visit the online shop and the blog for even more inspiration. The NEW January release will be available Friday, January 11th at 8:00am EST.

Thank you for visiting my blog today.

Koren


Tuesday, January 8, 2019

Neat & Tangled Piece of Cake January Release

Hello everyone.

Today is day two of Neat & Tangled's January Release week and we are showcasing the NEW Piece of Cake stamp set and coordinating sentiment set. This stamp set screams "color me", and that's just what I did. The NEW Release will be available Friday, January 11th at 8:00am EST you can (CLICK HERE!) to shop.

I started with a Simon Says Stamp Fog card base. I taped off the edges to leave a 3 1/2 by 4 3/4 rectangle somewhat in the center. I used my Nuvo Blender brush to ink blend a little Distress Oxide Ink in Abandoned Coral, attempting to leave a little less color towards the center of the rectangle. This is all I did for the background of this card.


Then, I stamped the large cake and kids image from the Piece of Cake stamp set with My
Favorite Things Extreme Black ink. This ink is Copic friendly and leaves behind a nice crisp black line. I stamped it on Neenah 110 lb cardstock. This is my go-to cardstock for Copic coloring. I have created a Copic Color Map with all of the markers I used to color this image. I also used a little bit of colored pencil to shade some of the darkest areas of my image. I like doing this because it deepens the contrast of the colored images, which I really like.


After the image was colored, I used the coordinating die to cut it out. I also used the Journaling numbers die set to inlay the number 10 within the center of my cake. I like to personalize cards this way. I ran the image through my Spellbinders Platinum Die cutting machine with the one and the zero nested inside the cake. I saved all of the pieces that it cut out. I then added a piece of plain white copy paper to the back of where I cut out the 10 with tape runner adhesive.

I proceeded to cut out the number one and the zero four more times in both Papertrey Inks's Blueberry Sky and Stampin' Up!'s Poppy Parade. I layered them together alternating the blue and red cardstock to build up the dimension using Lawn Fawn Glue Tube liquid adhesive. You can only see this by looking at it from the side, but it adds a little something. To top if off I added the original pieces of the one and zero to create a camouflaged inlaid die cut and placed it in the same spot that I cut it from only a bit taller now. I was sure not to forget the center of the zero that was adhered flat to the card panel.


The entire cake image was then popped up with Scotch 3M Foam Tape and placed on the card base leaving room at the top for the sentiment. I stamped the "Another Birthday?" sentiment from the same Piece of Cake stamp set onto Blueberry Sky cardstock with Nuvo Clear Mark embossing ink. I heat embossed it using Ranger White embossing powder and trimmed it down with my Fiskars wire guide paper trimmer. This trimmer helps me see exactly where I am cutting. I popped it up with foam tape as well.

To finish off this project I added little white pom poms to the tops of all their little party hats. I used liquid adhesive to stick them on.

I hope you enjoyed this project. There is plenty more coming this week so stay tuned. You can (CLICK HERE!) to make your way over to the Neat & Tangled shop. The NEW January Release will be available on Friday, January 11th at 8:00 am EST.

Thank you for visiting my blog today.

Koren


Monday, January 7, 2019

Neat & Tangled January Release Just Because


Hello everyone.

I am so excited to be writing my first blog post as a member of the Neat & Tangled 2019 Design Team. I have loved Neat & Tangled since the moment I laid eyes on all of the awesome products they produce. I have been a long time fan and now I get to show you all what is NEW and exciting. These products will be available through this link on Friday January 11th at 8:00am (CLICK HERE!) to shop Neat & Tangled.

Today we are showcasing the NEW Just Because stamp set and coordinating dies. I love this set but, I will be saying that a lot, and that is probably going to get annoying this week, because I love the entire release, as always- but these are simply fantastic. I have two projects for you today using this set. So, keep reading!


I used Versafine Onyx Black Ink to stamp my background onto a piece of Neenah 110lb cardstock. I used the xoxox (hugs and kisses) and some of the hearts to stamp a random background pattern. Then I cut it down to 3 1/2 by 4 3/4. This piece was then added to a Simon Says Stamp Fog card base with craft foam attached to the back using Scrapbook.com double sided adhesive.

Next, I cut the "Love you" shadow from a piece of Papertrey Ink's heavy weight vellum. This is going to help the "Love you" word die stand out in front of the busy background I just created. The "Love you" die was used to cut out the sentiment from Stampin' Up!'s Melon Mambo cardstock. I cut it four times and adhered them together using Lawn Fawn Glue Tube adhesive. I also used that same adhesive to stick the word die to it's vellum shadow. After giving it a little time to dry, I used that same liquid adhesive to place it on my background piece justified top center. This is not measured, I totally eyeballed this.


To finish off the card, I added a few Ebony Black Nuvo drops scattered in the background. I think this  card turned out funky and cool. So, I made another...

This time I created a more consistent pattern for the background. I popped it up using craft foam and double sided adhesive just as I did with the first card.


For the sentiment, I stamped "Hugs & Kisses" also from the Just Because stamp set in Distress Oxide Picked Raspberry. I cut it down to a 2 inch by 2 inch square.

In order to add it to the card front. I placed an eyelet on the top right corner in a coordinating color. These eyelets actually came with my Provo Craft eyelet setter. That was super handy. Then I strung some Black Sequin twine from Stampin' Up! along the top to give it a little shine. I also added some Scotch 3M Foam Tape to the back to make sure it didn't slide around. If you would like for it to move around, just skip this step. This was also added to a Simon Says Stamp Fog card base. Go figure.


I hope you enjoyed my projects for today. I am thrilled to be part of the Neat & Tangled Design Team this year and I hope to inspire you with many projects as we showcase the January release this week. Remember the NEW January Release products will be available starting Friday, January 11th at 8:00am (CLICK HERE!) 

Thank you for visiting my blog today.

Koren


Saturday, January 5, 2019

Heffy Doodle If I Were An Elephant


Hello everyone.

Today I am sharing with you a video I created for Heffy Doodle. In it I create a handmade "Thanks" card using the Heffy Doodle Elephant of Surprise stamp set and a few other Heffy supplies.

A full list of supplies will be linked below as well as photos and a link to the video itself.


Thank you so much for stopping by my blog today.

Koren