Tuesday, December 18, 2018

Your Next Stamp Simply Thinking of You Card Video

Hello everyone.

Today I am sharing with you, my latest card video for Your Next Stamp. In this video I'm using the Simply Circles Background stamp set to do a little stamping and watercoloring.


This is a super simple but great way to use supplies that you might be neglecting, like my poor little Distress Ink cubes. I haven't played with them very much lately and I think I need to start.


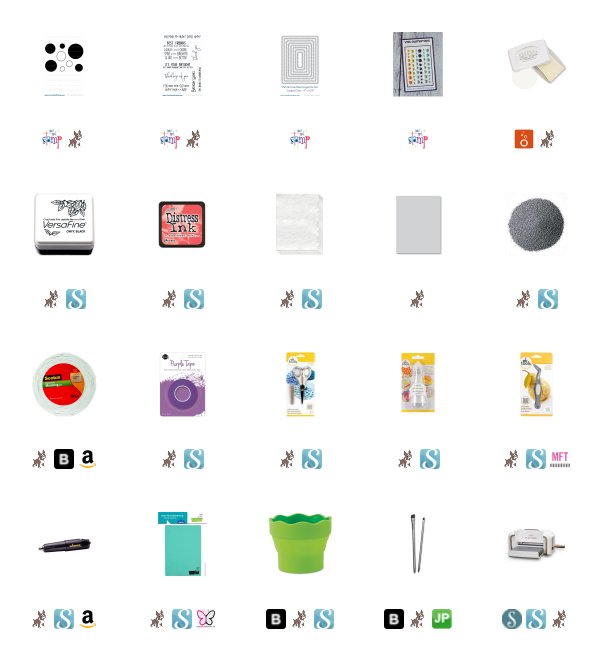
I have photos of my project for you as well as a link to the YouTube video I created while making this project. I have also created a complete list of supplies used to make this card. Affiliate links are used when available at no added cost to you. A small percentage of the sale goes to me as a commission and then I get to make more inspiration (sorta) videos.


Thank you so much for visiting my blog today.

Koren


Saturday, December 15, 2018

Heffy Doodle Another Year Boulder Card Video


Hello everyone.

Today, I am sharing a video I created while making my latest project for Heffy Doodle. In this video, I'm making a birthday card or just a New Year's card. I feel like it could even work as an anniversary card. In the video I'm using Heffy Doodle's Prehistoric Pals stamp set and coordinating dies as well as a few other goodies.


Everything should be linked on this blog post as well as a few photos of my project.

I hope you enjoyed stopping by my blog today,

Koren


Tuesday, December 11, 2018

Your Next Stamp 12 Days of Christmas 2018 Day 11


Hello everyone.

Over at Your Next Stamp we are celebrating the 12 days of Christmas with extra special inspiration. We were all tasked with creating a project to give as a gift for the 12 days of Christmas. I'm day 11 and I'm super excited to share with you my project.


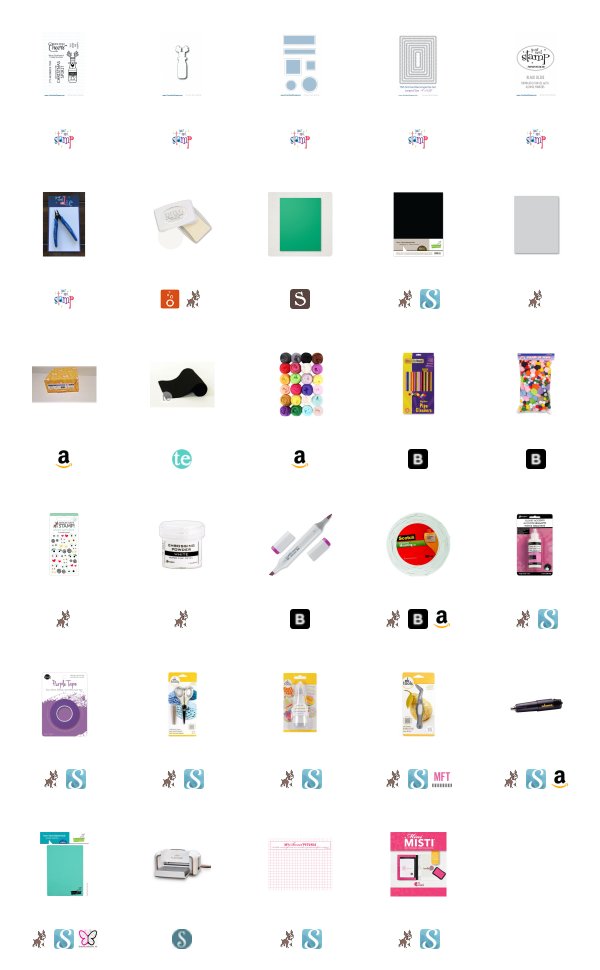
I used the new Reindeer stamp and die sets to create a unique gift of a 6 pack of ReinBEERS, with a coordinating card.  This was an absolute blast to make- I made so many errors in my process with this project, but I loved every scatter-brained minute of it, and I hope you do too!  Check out the video below to join in my fun!

Thank you for visiting my blog today,

Koren


Thursday, November 29, 2018

The 29th Day of NUVEMBER with the Nuvo Craft Spoon and Nuvo Sparkle Dust.


Hello Everyone.

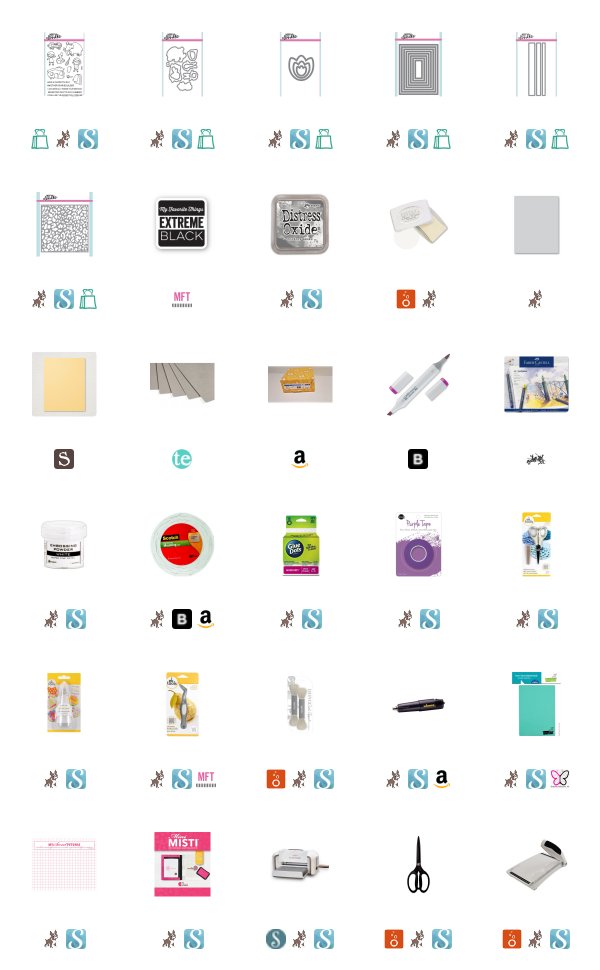
Today the 29th day of NUVEMBER... I am sharing with you a project I made for Tonic Studios using their Nuvo line of Sparkle Dust. These products were sent to me in order for me to do this blog post. This finely cut glitter is incredibly beautiful, but sometimes glitter can be hard to work with. Well, I also tried the Nuvo Craft Spoon. This spoon helped me use the glitter and contain it’s infamous traveling ability. I was able to stamp sentiments and color images all using the Nuvo Sparkle Dust and Nuvo Craft Spoon. To find out more about Tonic Studios (CLICK HERE!) to go to their website.


To create my card, I started with a piece of Neenah 110 lb cardstock cut to 3 1/2 by 4 3/4. I placed this piece of heavy weight cardstock into the Mini MISTI and arranged my first sentiment stamp. I used the word “sending” from Neat & Tangled’s Good Vibes Stamp Set. I placed this stamp in the top left center of the card. My idea was to arrange the sentiments into a cluster and use different colored Nuvo Sparkle Dust to create them. Before stamping, just like heat embossing, I prepped my cardstock with my EK Success powder tool and then I stamped the perfectly placed sentiment with The Glue Pad adhesive twice in my Mini MISTI to get a very sticky impression. I then used the Nuvo Sparkle Dust in Fresh Kiwi, a very pretty shade of green. To do this carefully, I used the Nuvo Craft Spoon it get the glitter out of its container and safely to the project. Because of it’s size, the spoon helped me carry the material from it’s small container to the project safely. It also allowed me to place the glitter where I had stamped the sentiment containing the amount of glitter used and scattered on my project. I just tapped off the excess onto a piece of copy paper much like I do with my excess embossing powder.


I then Stamped the sentiment “to the world”. To do this I took one of the sentiments in the Neat & Tangled Itty Bitty Welcoming Committee Stamp Set and masked off the rest of the sentiment. I stamped in the same exact way as I stated above, only this time, I used Nuvo Sparkle Dust in Hollywood Red to color it. After tapping off the excess, the small amount left can be easily placed back into the container for use on another project.


Next, I used Neat & Tangled Journaling Alpha Dies to cut out the word Joy. I love this word. I cut each letter four times from Neenah 110 lb Classic Crest Solar White cardstock. This is my favorite white cardstock to use, so I have a lot on hand. I adhered each letter together using small amounts of liquid glue. For this process, I like to use Ranger Multi Medium Matte liquid adhesive that has been placed into a blunt tipped syringe for precision adhesive placement. Once it was dry, I coated the outside of the letter with that same liquid glue and dipped the letters into the Nuvo Sparkle Dust in Silver Sequin. This turned out great! I wasn’t sure if I wanted to coat the sides of the letters to mask the white under the silver, but I didn’t go through the effort of doing that and I really think it still looks great. You could definitely coat the sides with adhesive as well and hide the white. I’m just not that particular about my projects in general. I finished this part of the card by adhering the letters spelling the word Joy inbetween the two previously finished sentiments. I used the same liquid adhesive to do this.


While giving the last step time to dry. I decided to color my images. The images used on this project are from Neat & Tangled’s Better Together Stamp set which features these adorable kids and some cute stuffed animals, which to me screams Christmas, and they even look like they could be wearing Christmas Jammies, so... I colored them to look like Christmas Jammies. I stamped them with My Favorite Things Extreme Black Ink, which is alcohol marker friendly, on the same Neenah cardstock and colored them with my Copic Markers. I have created a Copic Color Map listing all of the markers and pencils I used on this project. I like to Pin them to Pinterest for reference later.


The images where then cut out and adhered to my card front using liquid adhesive and Scotch 3M foam tape. I popped the entire panel up using white craft foam and Scrapbook.com double sided adhesive. I also cut a piece of patterend paper from the My Minds Eye Winterberry 6x6 paper pack with the Mama Elephant Femme Frames scalloped rectangle. I stuck that to a Simon Says Stamp Fog card base that had been scored and folding in landscape fashion in a typical A2 size card base. The finished panel was then adhered to that.

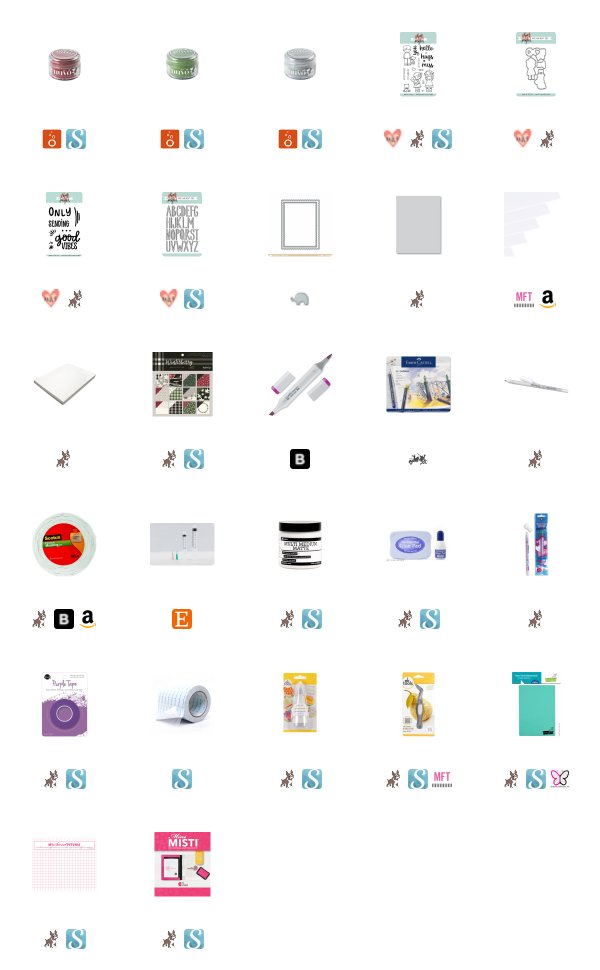
I hope you enjoyed my project using the Nuvo Sparkle Dust and Nuvo Craft Spoon. To find more from Tonic Studios (CLICK HERE!) to visit their website. This post was sponsored in part by Tonic Studios and a full list of Affiliate links are linked below when available.

Koren

Wednesday, November 28, 2018

Your Next Stamp Ice Skating Unicorn Card Video


Hello Everyone.

Today I am sharing with you a video that I created for Your Next Stamp, using their Winter Unicorns Rock stamp set and a few other YNS products. To check out more from Your Next Stamp (CLICK HERE!) to visit the YNS online store and blog.

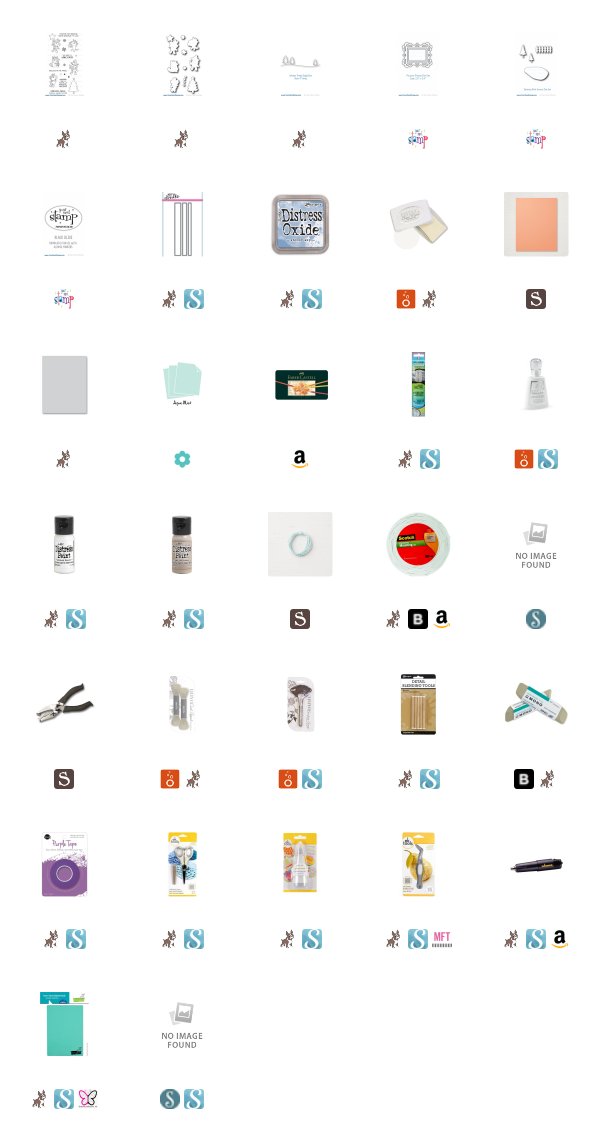
Along with photos of my card and a link to my YouTube video I created while making this card. I also have linked all of the products I used to create this card.


A Faber Castell Polychromos Color Map is above for you to save for later reference. This includes all of the colored pencils I used to color my images.

I hope you enjoyed visiting my blog today.

Koren


Saturday, November 24, 2018

Queen & Co. Fantasia Inspired Autograph Book Video


Hello.

Funny story... I loved Queen and Company products so much that I asked if I could join their affiliate program and do a video using their Disney inspired products. I fancy myself a Disney addict and I just had to play with this awesome stuff. Well, it turns out they they liked my videos so much that they sent me some stuff to play with INCLUDING the their Magical Characters Card Kit and a bunch of other super cool Queen & Co. embellishments. They have an awesome assortment of embellishments on their site. They have everything from wool roving to the tiniest of diamond shaped gems! (CLICK HERE!) to visit the Queen & Co. website.


Queen & Co also has easy to use shaker kits. If you go to the Queen & Co. website, you can get easy to use, and playful shaker kits (like the one I use on the project featured in my YouTube video this week) with almost everything you would need to make a shaker card.


I have added a link below that will take you to the YouTube video I created while opening this kit with Dexter and creating an awesome autograph book for my next Disney trip. I think the project turns out great and Dexter wants to make one of his own now. There is also a full list of supplies linked below using affiliate links where available. Make sure, if you don't use my link, use another blogger's link whenever you can... It supports the blogger's business and allows them the opportunity to bring inspiration like this to you, as much as possible.


Remember to (CLICK HERE!) and visit the Queen & Co website and check out ALL the cool stuff that they have available. I know you will enjoy it.


I hope you enjoyed visiting my blog today. I have another autograph book that I made for Tim.... I like the Fantasia inspired version a little better, but now I need a goofy and a Minnie and...


Koren


Tuesday, November 20, 2018

Your Next Stamp Tweet Holiday Greetings Card Video


Hello everyone.

Today I am sharing my latest video for Your Next Stamp. In this video, I am creating a handmade greeting card using Your Next Stamp Supplies. I am using the Home for the Holidays stamp set and coordinating dies to create a cute way to say hello during the holidays.

This card is super simple to create. Most of the time it took to create this card was in the coloring. I love that you can use non traditional colors and still make a cute holiday scene with these bird houses.


Below I have linked my YouTube video that I created while making this card and a Copic color map listing all of the markers I used to color my images. I will also leave a complete list of supplies.

Thank you for visiting my blog today,

Koren


Saturday, November 17, 2018

Spellbinders Gingerbread House with Nuvo Vintage Drops

Hello everyone.

Today I am sharing with you a video I created a for Spellbinders, using their Charming Cottage Box Die Set.  I have been dying to make a gingerbread house, but not the kind you eat, just the kind you create using paper. This die did the trick for me. I was able to create an adorable gingerbread house that was festive and fun for the holiday season.


I love the beautiful Scandinavian gingerbread houses you see on Pinterest. If you haven't seen these types of gorgeous gingerbread houses, then do yourself a favor and google or Pinterest Scandinavian Gingerbread House and you will see my inspiration for this project. You can also keep reading so see some photos of the completed project and a complete list of supplies.

The video below shows a much simpler way to use the die and create a stunning light up Gingerbread house. Check the description box of the video for a list of supplies used on that project.


As far as the creation of the gingerbread house with the Nuvo drops on it. I created the house the same exact way as I created the house in the video. I just decorated the outside differently and added a different stamped sentiment on the biscuit like tag.

I added each Nuvo Vintage drop onto flat layouts of the gingerbread house and waited impatiently for them to dry. There were quite a few times were I messed up dropped things on freshly dropped drops! It was not an easy project to create, but I had a blast, despite its difficulty. I absolutely love how it turned out and I'm hoping to create more just like it over the holidays with my family.


A complete list of supplies I used to create this project is linked below, using Affiliate links when available at no additional cost to you- these links help provide some financial relief to small businesses, such as myself. Thank you for supporting my blog and YouTube Channel. I really appreciate you all so much. Happy Holidays.

Koren


Tuesday, November 13, 2018

MFT's Sassy November Release


Hello everyone.

Today I am sharing with you a project I made using My Favorite Things November Release, Sassy Pants Holiday and a few other Die-namics to make the cards really cool. To see the entire NEW Release from MFT (CLICK HERE!) to visit MFTStamps.com.

These cards are super simple to create. Keep reading to find out how these were made.


I started with a piece of navy blue cardstock and ink blended some Distress Ink in Chipped Sapphire towards the outside edge of the card panel.  I did this to add an ombre effect or richness to the card. This panel measures 3 1/2 by 4 3/4. I enjoy using this size panel for the front of my cards.

For the tree portion, I used MFT's Christmas Tree Window die placed directly in the center of the blue inked panel. Then I ran it through my die-cutting machine. This cut out the most perfect Christmas tree with ornaments strung all around it and a star at the top.


To add some interest I used foam tape behind this panel to pop it up onto a piece of Neenah Solar White 110 lb cardstock. I inlaid a gold foil star at the top of my tree, but the rest is nicely popped up onto crisp white. I stamped the sassy sentiment from the NEW Sassy Pants Holiday stamp set using Versamark ink and heat embossed it with Hero Arts Gold Embossing Powder. I placed this on a Simon Says Stamp Fog card base and called it done. I love the way it turned out so I made another.

This one is made the same exact way except I inlaid the gold foiled cardstock in the center of this NEW Snowflake Window Die. This panel is adhered flat to the white cardstock below it using liquid adhesive. It too is popped up onto a Fog card base.


I hope you enjoyed my project and the NEW products from MFT. You can (CLICK HERE!) to see more of MFT's November Release and tons of fantastic inspiration.

If you have a sassy sense of humor like myself, these sentiments are surely going to be a staple in your holiday stamp collection.

Koren


Your Next Stamp Merry Christmas Deer Card Video

Hello Everyone.

Today I am sharing with you my latest video for Your Next Stamp. Today I am using the Your Next Stamp Holiday Wreaths Stamp Set and a few other supplies to create a handmade greeting card to share Christmas cheer.. with a deer. I crack myself up.

So, I began with Paper Trey Ink's Pine Feathers cardstock, which is a gorgeous rich, and dark green and I applied some Nuvo Clearmark embossing ink to a few if the individual stamps from my new Your Next Stamp Holiday Wreaths stamp set.  I applied the sticky ink in a random pattern, then generously dusted the ink with Hero Arts Gold embossing powder, and heat set it.  I used the same color combinations, and technique for the banner and sentiment.  And once again, I repeated this same technique on my wreath, but this time used the wreath from the same stamp set, and StampinUp!'s Old Olive light green cardstock to create a tone on tone effect.


Once I had my wreath stamped, and looking fabulous, I used the coordinating dies that are available for purchase with this set to cut out my wreath.  This die was fantastic.  It is open-backed which makes aligning the image with the die unbelievably easy.

I selected my deer from the Winter Critters Wreath stamp set from Your Next Stamp, and, using Your Next Stamp Black Olive ink, stamped him onto Neenah 110lb solar white cardstock.  This is a copic-friendly ink, and I immediately set out to use my copies and make him beautiful.  On the tip of his nose, I finished him off with a drop of Nuvo Crystal Glaze to make his nose sparkle like Rudolph.


Now that my images were complete, it was time to assemble.  I used Scotch 3M Foam tape, aligned my images the way that I wanted them, and used that foam tape to give me a layered effect.  I adhered this panel to a top folding A2 sized card base in Simon Says Stamp Fog cardstock, and found that happy place where the card is done.  Anything else is too much, and anything less was not enough.  I love the way that this turned out.  The products worked so well, and I screwed up so much while making this one, but the result was so so worth it.

I hope you enjoyed my project today, and I look forward to connecting with you again soon.  Until next time!

Koren


Easy Card Background How-To

Saturday, November 10, 2018

Heffy Doodle Veggie Much Card Video

Hello everyone.

Today I am sharing my latest video created for Heffy Doodle. In this video I'm using the NEW Veggie Patch Stamp Set and coordinating dies to create a fun card to say "I Love You" to some-veggie special in your life.


Not only do I have a YouTube Video showing the creation of this card but also a few photos and a Copic Marker Color Map showing the exact markers I used on my project.

I was inspired to create this card after seeing fellow Design Team member Franci's card. She made an awesome version of this card and her carrots where in the ground! I loved it so much that I wanted to make one of my own. To check out her card (CLICK HERE!)


I hope you enjoyed visiting my blog today.

Koren


Friday, November 9, 2018

Neat and Tangled and Benzie Designs Collaboration Felt Ornaments


Hello everyone,
Today I am sharing with you, a project that I created using some products from Neat and Tangled, and Benzie Designs, who collaborated to create the dies used for this project.  (CLICK HERE!) to visit  Benzie Designs, and (CLICK HERE!) to visit Neat and Tangled.


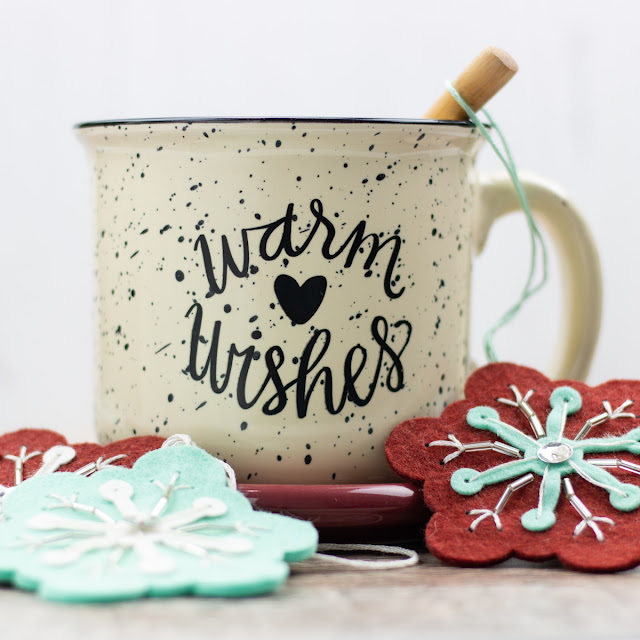
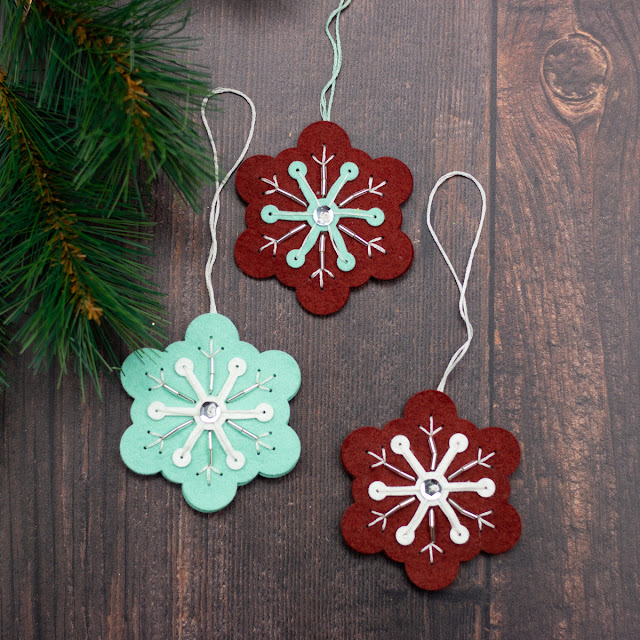
Using the Ugly Sweater and Snowflake Stitching dies from the Neat and Tangled and Benzie Designs collaboration and Glitter and Glass and Winter Mint felt color palettes from Benzie Designs, I set out to make some special winter ornaments.  These palettes include a beautiful selection of high quality felt, but also offer coordinating embroidery flosses (which I purchased).  I cut the sweaters (one for the front, and another for the back) from the glitter and glass color palette.  I was really channeling the "ugly sweater" fad that has become popular over the last several years, but I think I missed the mark a bit, because these turned out really cute!


Once I had the sweaters themselves cut, I proceeded to cut the sweater cuffs and collars from a coordinating color, and stitched them onto the sweater using the embroidery floss.  I used the same process for the candy cane, wreath, snowman, and gingerbread man.  However, I elected to enhance these items by selectively stitching some seed beads onto them to dress them up a bit.  I then attached these items to the sweaters using liquid glue in lieu of the stitching.

Using the embroidery floss again, I made loops of floss, and secured them to the back of my sweaters, and then used liquid adhesive to attach the backs of the sweaters, and moved on to my snowflakes.


I followed much of the same steps to create my snowflakes- beginning with the Winter Mint palette of felt (again with the coordinating embroidery floss), I die cut my main snowflake shapes (in twos- one front and another rear), and inner structure of the snowflakes from the felt.  I then created an interesting series of stitching, incorporating sequins and glass beads to add some sparkle to the felt (what's a snowflake without sparkle anyway?).  After getting them looking the way that I wanted,  I again added some loops to the backs before sealing the snowflake "panels" with liquid adhesive.  These loops will allow me to hang some of these cute "ugly" sweaters from our Christmas tree this year!

I hope you enjoyed my project today, I certainly had a lot of fun playing with something a little different, and I think this would be a fantastic family crafting idea- everyone could spend a little time creating something adorable for your holiday celebrations!

Koren