
Hello Everyone.
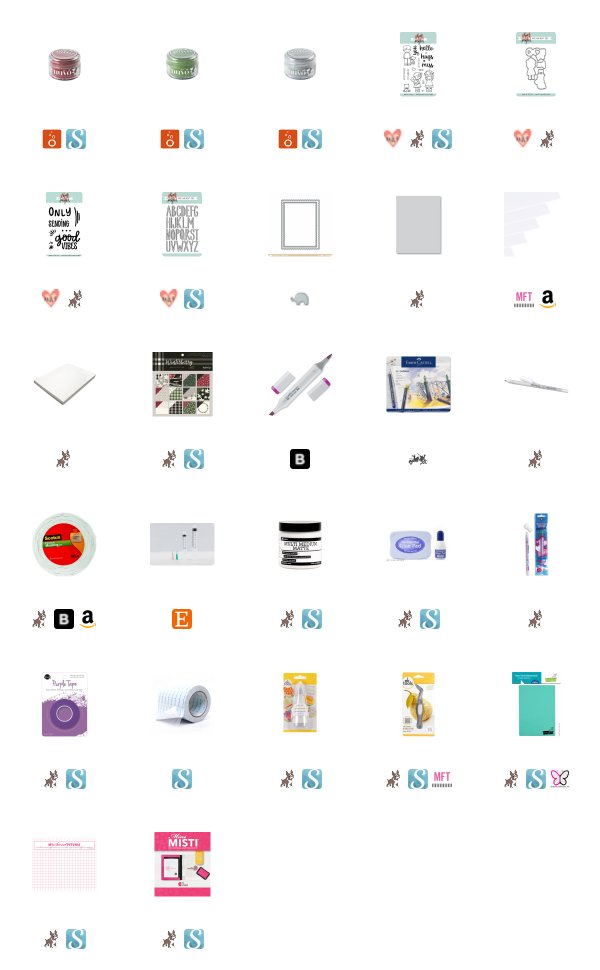
Today the 29th day of NUVEMBER... I am sharing with you a project I made for Tonic Studios using their Nuvo line of Sparkle Dust. These products were sent to me in order for me to do this blog post. This finely cut glitter is incredibly beautiful, but sometimes glitter can be hard to work with. Well, I also tried the Nuvo Craft Spoon. This spoon helped me use the glitter and contain it’s infamous traveling ability. I was able to stamp sentiments and color images all using the Nuvo Sparkle Dust and Nuvo Craft Spoon. To find out more about Tonic Studios (CLICK HERE!) to go to their website.

To create my card, I started with a piece of Neenah 110 lb cardstock cut to 3 1/2 by 4 3/4. I placed this piece of heavy weight cardstock into the Mini MISTI and arranged my first sentiment stamp. I used the word “sending” from Neat & Tangled’s Good Vibes Stamp Set. I placed this stamp in the top left center of the card. My idea was to arrange the sentiments into a cluster and use different colored Nuvo Sparkle Dust to create them. Before stamping, just like heat embossing, I prepped my cardstock with my EK Success powder tool and then I stamped the perfectly placed sentiment with The Glue Pad adhesive twice in my Mini MISTI to get a very sticky impression. I then used the Nuvo Sparkle Dust in Fresh Kiwi, a very pretty shade of green. To do this carefully, I used the Nuvo Craft Spoon it get the glitter out of its container and safely to the project. Because of it’s size, the spoon helped me carry the material from it’s small container to the project safely. It also allowed me to place the glitter where I had stamped the sentiment containing the amount of glitter used and scattered on my project. I just tapped off the excess onto a piece of copy paper much like I do with my excess embossing powder.

I then Stamped the sentiment “to the world”. To do this I took one of the sentiments in the Neat & Tangled Itty Bitty Welcoming Committee Stamp Set and masked off the rest of the sentiment. I stamped in the same exact way as I stated above, only this time, I used Nuvo Sparkle Dust in Hollywood Red to color it. After tapping off the excess, the small amount left can be easily placed back into the container for use on another project.

Next, I used Neat & Tangled Journaling Alpha Dies to cut out the word Joy. I love this word. I cut each letter four times from Neenah 110 lb Classic Crest Solar White cardstock. This is my favorite white cardstock to use, so I have a lot on hand. I adhered each letter together using small amounts of liquid glue. For this process, I like to use Ranger Multi Medium Matte liquid adhesive that has been placed into a blunt tipped syringe for precision adhesive placement. Once it was dry, I coated the outside of the letter with that same liquid glue and dipped the letters into the Nuvo Sparkle Dust in Silver Sequin. This turned out great! I wasn’t sure if I wanted to coat the sides of the letters to mask the white under the silver, but I didn’t go through the effort of doing that and I really think it still looks great. You could definitely coat the sides with adhesive as well and hide the white. I’m just not that particular about my projects in general. I finished this part of the card by adhering the letters spelling the word Joy inbetween the two previously finished sentiments. I used the same liquid adhesive to do this.

While giving the last step time to dry. I decided to color my images. The images used on this project are from Neat & Tangled’s Better Together Stamp set which features these adorable kids and some cute stuffed animals, which to me screams Christmas, and they even look like they could be wearing Christmas Jammies, so... I colored them to look like Christmas Jammies. I stamped them with My Favorite Things Extreme Black Ink, which is alcohol marker friendly, on the same Neenah cardstock and colored them with my Copic Markers. I have created a Copic Color Map listing all of the markers and pencils I used on this project. I like to Pin them to Pinterest for reference later.

The images where then cut out and adhered to my card front using liquid adhesive and Scotch 3M foam tape. I popped the entire panel up using white craft foam and Scrapbook.com double sided adhesive. I also cut a piece of patterend paper from the My Minds Eye Winterberry 6x6 paper pack with the Mama Elephant Femme Frames scalloped rectangle. I stuck that to a Simon Says Stamp Fog card base that had been scored and folding in landscape fashion in a typical A2 size card base. The finished panel was then adhered to that.
I hope you enjoyed my project using the Nuvo Sparkle Dust and Nuvo Craft Spoon. To find more from Tonic Studios (CLICK HERE!) to visit their website. This post was sponsored in part by Tonic Studios and a full list of Affiliate links are linked below when available.
Koren

I am genuinely glad to read this weblog posts which contains lots of
ReplyDeletevaluable facts, thanks for providing these kinds of statistics.
Good site you have here.. It's difficult to find good quality writing like yours these days.
ReplyDeleteI truly appreciate individuals like you! Take care!!
I am in fact delighted to read this website posts which carries plenty
ReplyDeleteof valuable facts, thanks for providing these information.
Hello to every body, it's my first pay a visit of this web site; this blog carries remarkable and actually excellent material in favor of readers.
ReplyDeleteVery nice article. I definitely love this site.
ReplyDeleteStick with it!
It is actually a nice and useful piece of information. I'm glad that you
ReplyDeletejust shared this helpful info with us. Please keep us up to date like this.
Thank you for sharing.
I couldn't refrain from commenting. Well written!
ReplyDelete