Tuesday, October 30, 2018

Your Next Stamp Gross-Tastic Birthday Card Video


Hello Everyone.

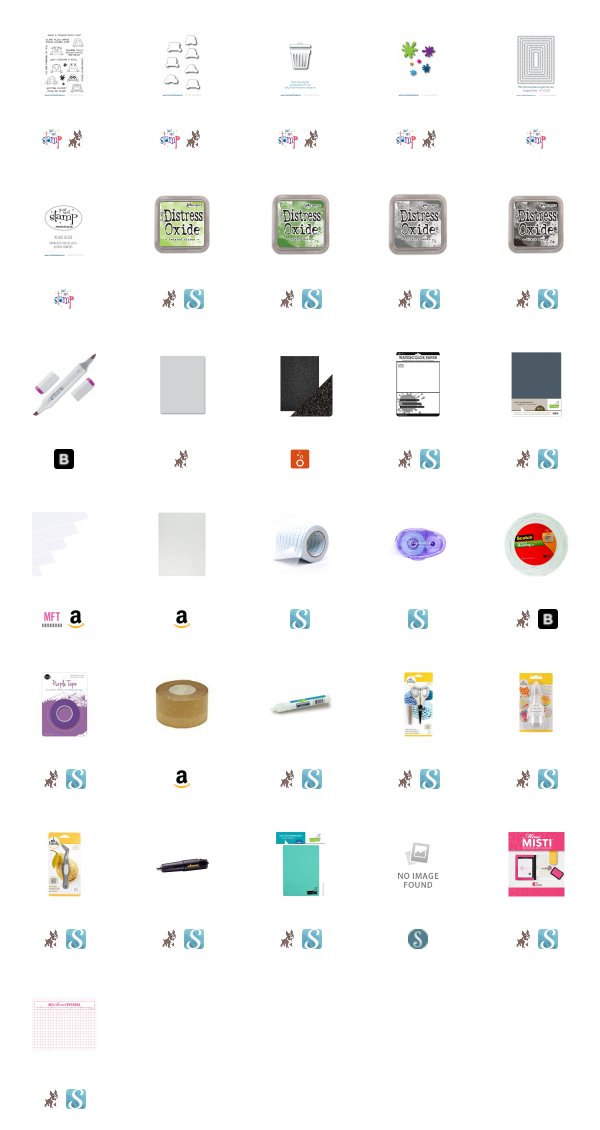
Today I am sharing with you my latest video for Your Next Stamp. In this video I'm using the Silly Trash Monsters Stamp Set and the Trash Can Die to create a Gross-tastic scene. I even used the Slime Splats to add a little more gross to the tastic.


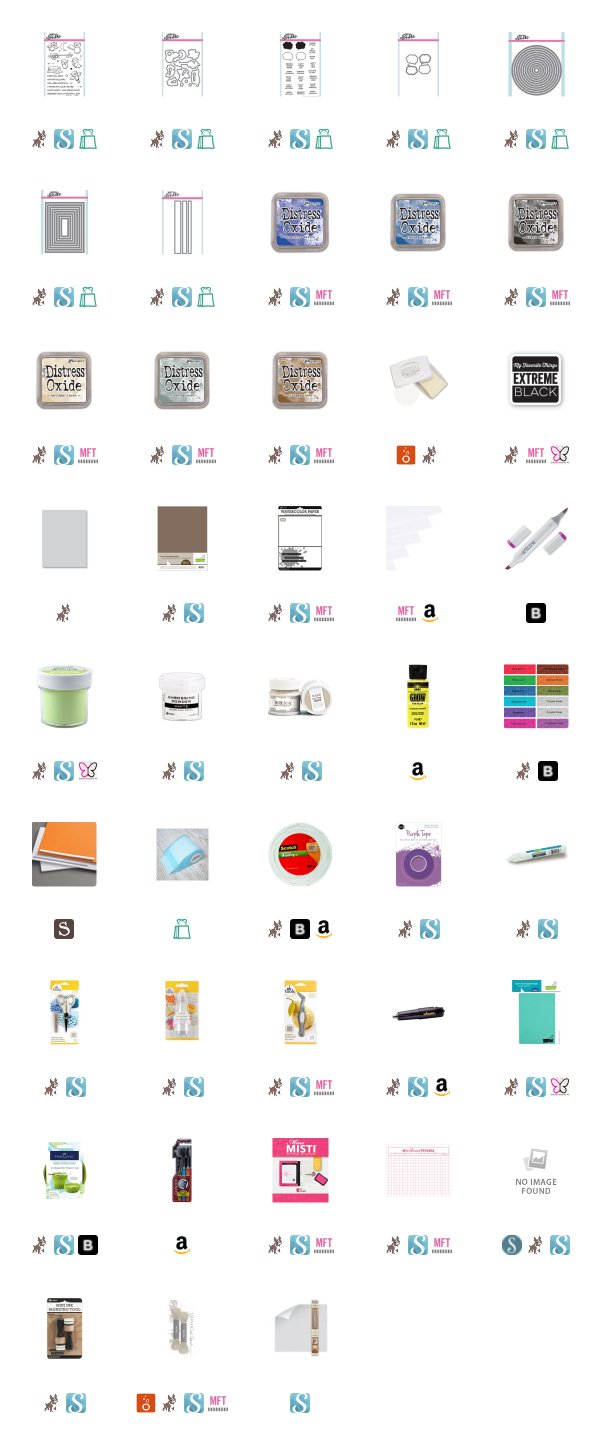
Just below will be photos of my project as well as a link to the video I am sharing over on my YouTube channel. I also have a Copic color map and a complete list of supplies for this project using affiliate links when available.

I want to thank you for visiting my blog today. I hope you enjoy my video.

Koren


Sunday, October 28, 2018

Heffy Doodle and Marvy Uchida Collaboration

Hello everyone.

Today I am sharing with you a... well a bib. It’s a My First Birthday bib. The kind of bib that you would wear while eating a smash cake. Here in the U.S. it has become a tradition to give your child his/her own personal cake to eat during their first birthday party- and its a big sticky mess of fun! This has been going on for quite some time. I know I had a "smash cake" on my first birthday and so did my little brother.  You know the kind. The personal cake your parents got you to eat all by yourself, on your very first birthday. Well, if you haven’t experienced this both as a child and/or as a parent, you should. It’s a fabulous way to celebrate a first birthday.

So the Heffy Doodle design team has paired up with Marvy Uchida to create some projects using  products from both companies, and to put forth some inspiration for all of you to maybe think outside of the box for your next stamping project.


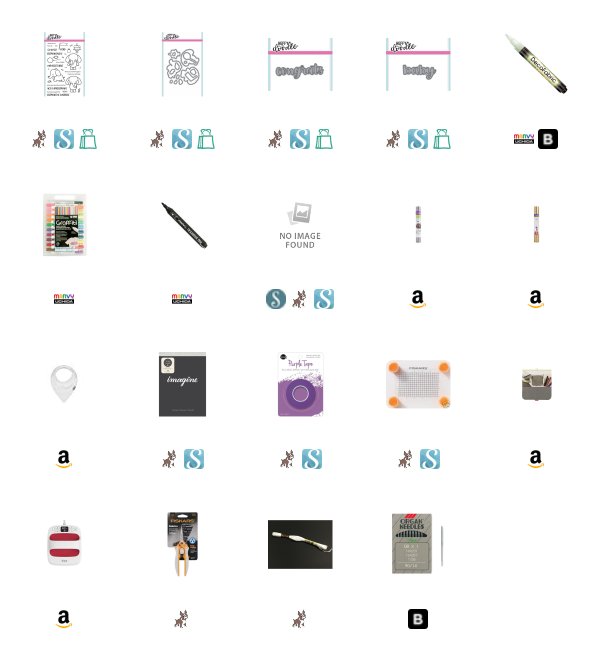
I purchased a pack of bandana style white bibs from Amazon. I bought more than enough, because I was unsure of just how many times, I would mess this up. So, I bought a little extra insurance.

I started by cutting out all of the die cuts I would iron on my project. I cut out both the "Congrats" as well as the "Baby" using Heffy Cuts Word Die from Heffy Doodle. I also used a large number one by Altenew using their Bold Numbers Die Set. I cut the word dies from Iron On Vinyl by Circut. I used a metallic gold for the words and a glitter version for the number one. I also cut a ballon using the coordinating die set from Elephant of Surprise. I set those aside to later be set in place and ironed on permanently.


I then mounted the cake image from the Heffy Doodle Elephant of Surprise Stamp Set onto my Fiskars stamp press. I used Marvy Uchida's Transfer pen to ink up my stamp. I basically inked the lines of the stamp with the transfer pen just like I do with a Memento Marker. I then stamped the image onto a regular piece of tissue paper or tracing paper. I masked the image with Avery Reposition-able sheets after fussy cutting it out with my Fiskars Scissors. This is just like I would do when working with ink and paper. I then loaded the elephant image onto the Fiskars Stamp press and inked it up with the Marvy Transfer pen just as before. I turned the stamp press over and lined him up to appear to be behind the cake. I stamped it down onto the transfer paper as well.


I then moved the tracing paper over to my ironing board or Easy Press mat (as was the case with this project). I also heated up my iron at this point. A regular household iron is what I used. I turned the transfer paper over onto the bib in the placement of where I wanted this image to live on the finished project. You then take your iron and run it over the paper with the ink side facing the bib. Just as if you are ironing on a patch. When you have given it enough heat the lined image will then appear onto the bib. It will look faded as if you have stamped the image in a light gray ink. Think of it as no line coloring.

I then used Marvy Uchida Graffitti Markers to color in my image. I used gray markers in two shades. I started with the darker shade in the shadows of the image and blended it out with a lighter gray shade toward the lighter parts of the image. I also used the Marvy Uchida Glow in the Dark Yellow Marker to add a glow in the dark candle on top of the cake. It glows wonderfully when you turn off the lights to sing happy birthday.


I then laid out all of the die cuts that I cut earlier, and arranged them onto the bib where I wanted them. There is clearly a dull side and a shiny side to the vinyl that I used for this project. It was easy to determine which side faces the bib with the adhesive on it. Make sure the adhesive side is down, facing the bib. I used a light cloth and laid it over the die cuts being careful not to disturb them and shift them out of place. I then applied heat using my household iron until the die cuts where securely stuck down.

I added a little piece of twine coming from the elephant's hand to the balloon. I threaded it through the bib using a sewing needle and tied it in the back to secure it to the bib. Doing this makes the balloon string 3 dimensional, yet secure.

I hope you enjoyed my project today. I love idea of creating this keepsake for a friend or loved one. I know I would have loved to have one for my children. I can't wait to give this to another Mom to keep in her 1 year old's baby box.

Thank you for visiting my blog today.

Koren

Saturday, October 27, 2018

Heffy Doodle Glow in the Dark Background Card Video


Hello Everyone.

Today I am sharing with you a card I made using Heffy Doodle products. I'm using the BRAND NEW Heffy Doodle Hootiful Stamp Set and Coordinating Dies along with a bunch of other NEW Release products.


My YouTube video creating this project will be linked below along with photos and a complete supply list, using Affiliate links when possible at no added cost to you. I also created a Copic Color Map that is perfect for saving my Copic color combos to Pinterest for future reference.

Thank you for visiting my blog today and I hope you enjoy the video.

Koren


Friday, October 26, 2018

Heffy Doodle Dino Time inspiration


Hello Everyone.

Today I am sharing with you some inspiration from the NEW Heffy Doodle Release. If you haven't seen the latest Heffy Doodle Release (CLICK HERE!) to go to the Heffy Doodle Website and see for yourself. Don't forget to comment along the hop for your chance to win a 50 pound! Gift voucher for the Heffy Doodle online store.

For those of you that want instant gratification, keep reading. Heffy Doodle has given us a coupon code to share with you for 15% off your purchase from the Heffy Doodle online store only. The coupon code is:  58YbSx3L

But that's not all. For a limited time, in the Heffy Doodle online store, with any 30 pound purchase (before shipping and after discounts) you can receive the Dinky Dino's stamp set! - MIC DROP! Thats right, you can only get it this way for a limited time. So, you know what you have to do.

Today, I'm playing with the NEW Dino Time Stamp Set and Coordinating Dies. I also have the Dinky Dinos Set which is Free when a certain amount of money spent, and is available only, in the Heffy Doodle online store. (CLICK HERE!).


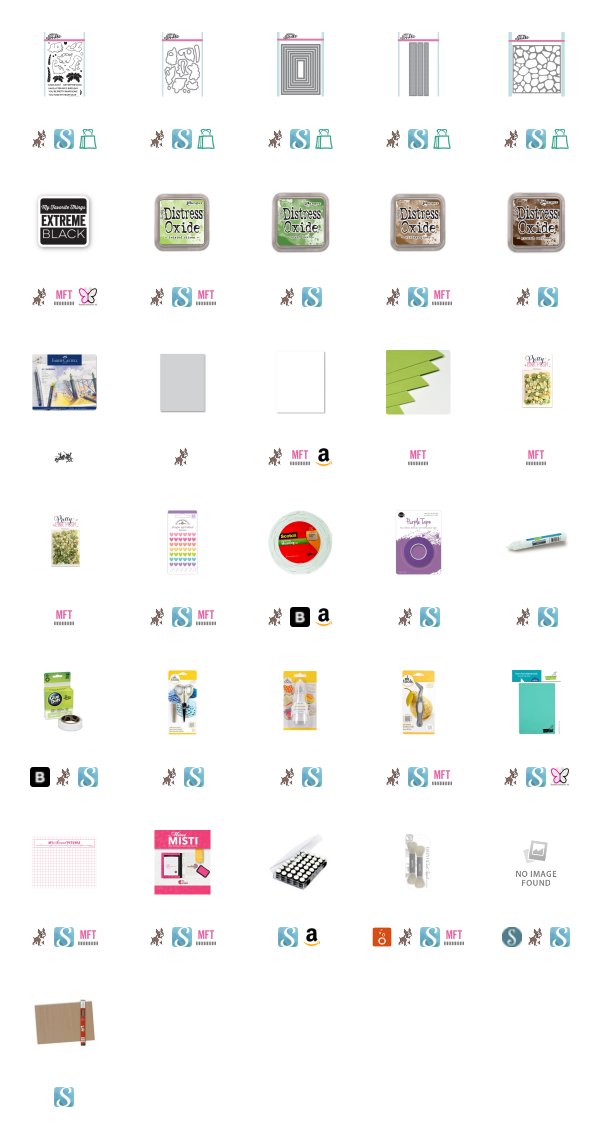
I started with the NEW Stoney Maloney Stencil by Heffy Doodle and a piece of Sour Apple Cardstock by MFT. I ran it through my Spellbinders Platinum die cutting machine in the emboss sandwich and embossed the stencil into the light green cardstock. I then left the stencil in place and ink blending some Mowed Lawn Distress Oxide Ink onto the card panel with a Nuvo Blending Brush. After applying a fair amount of ink, I then cut the panel down with my good buddy Karl. He is my Heffy Doodle second to largest Stitched Rectangle Die. His name is Karl. Anyhoo... I popped that panel up onto a Simon Says Stamp Fog card base cut to an A2 size and top folded and scored it. I used white craft foam and Scrapbook.com double sided adhesive. 

I love how the background turned out. The dimension looks great and it totally reminds me of reptile skin. 


I stamped my images with MFT Extreme Black ink which is Copic marker friendly. I have made a Copic Color Map with a complete list of the markers I used on these images below. I then used liquid adhesive and foam tape to add some dimension to the cluster of dinos. The brown Dino is flat to the background, while all the others are popped up. I also added the adorable shell piece with some liquid adhesive.

The tropical trees in the Dino Time Stamp set are super cool because they are solid images. I love that I can mix line drawings with solid images to create an adorable prehistoric scene. I used a sponge dauber to apply Distress Oxide Inks in Vintage Photo and Ground Espresso to the trunks of the palm trees and adhered them flat to the background with Lawn Fawn Glue Tube liquid adhesive. I then used the same technique to color the leaves of the tree with Distress Oxide inks in Mowed Lawn and Twisted Citron. In hindsight, I might have added some Lucky Clover to add a little more depth. I popped up the leaves with Scotch 3M Foam Tape. I used some Pretty Pink Posh Whimsical Forest sequins to act as the coconuts. They were adhered with Mini Glue Dots.


As for the sentiment, also from the Dino Time stamp set, I used my MISTI to stamp the sentiment onto another piece of Fog cardstock in both Ground Espresso on the bottom of the letters and Twisted Citron on the top. If I were to recreate this card,  I would use a darker ink on the top to make it stand out a bit more. I also cut the sentiment down with Heffy Doodles Stitched Strips of Ease Die Set and popped it up below my images with foam tape.

To finish off the card I added a light green heart soaring above them. The heart is from Doodlebug Sprinkles Rainbow Hearts.

Thank you for visiting my blog today. Make sure you are following along for the hop and commenting along the way.

Koren

Blog Hop Line Up!


Tuesday, October 23, 2018

MFT's Festive Flamingo Card Kit

Hello everyone.

Today, I am sharing with you my project using the NEW Festive Flamingo Card Kit by MFT! You will be able to find this kit over on the My Favorite Things Online Store (CLICK HERE!).

MFT sent me this kit to play with, and I needed to come up with an inspiring project to showcase to all of you. This task was easy because the card kit is amazeballs! The Festive Flamingo Card Kit by MFT comes with this Festive Flamingos Stamp Set and coordinating dies. It also comes with an awesome Petite Plaid Paper Pack (which wasn't available to me, logistical issues) and a bunch of Premium MFT cardstock!


I don't own a ton of MFT cardstock but what I have purchased from them, is fabulous. I have often had a desire to just order a bunch of cardstock from them. Due to budgetary restraint, sadly that has never happened. I still have hope that one day, it will.

After receiving this card kit in the mail, I began brainstorming what type of card I would make for this project. I often turn to Pinterest for the latest card making inspiration or to see things I've pinned for an idea I had. While on Pinterest I search for things that might give me inspiration. For this card I searched for Ice skating. I will post the photo that I found from this search that gave me the idea for this card.


I started my project with a piece of MFT's light blue green cardstock. It looks like Snow Cone or Berrylisous. I'm not sure of the correct shade. I have linked to both below. Either one would work well. I cut down the piece to 3 1/2 by 4 3/4 and I cut the top down with a Mountain edge die. I ink blended Distress Oxide Ink in Mermaid Lagoon onto the light blue green cardstock. I used my Nuvo Blending Brush to apply the ink in an ombre effect on the outside of the edges toward the center of the panel. This brush gives a light blend of ink which turned out gorgeous.

I decided to mimic the snow on top of the ice with embossing paste. So I used White embossing paste and MFT's Captivating Mandala Stencil to create a snowflake like ice skate marks on the the ice we just created. Even though the background looked fabulous already, I wanted more. Clearly it needed sparkle. So... I added both Frost and Sparkle Shimmer Spritz to the background panel.


I used the two ice skating flamingos from the Festive Flamingo stamp set for my icey project. I stamped them with MFT's Extreme Black Ink and colored them with my Copic Markers. I will have a Copic Color Map with the complete list of markers used for you to pin. If you haven't checked out my Copic Color Map Collection, head on over to Pinterest (Click Here). That is another great reason to join Pinterest and get tons and tons of Copic Color Combinations. Anyway- back to the card!  I popped up my images with Scotch 3M foam tape right over the Mandala stenciled ice skating marks. 


For a sentiment, I stamped both sentiments with Nuvo Clear Mark embossing ink and heat embossed with Ranger White embossing powder. I stamped both sentiments onto that same light blue green cardstock from the list, but I only ink blended on the top sentiment. I also framed that top sentiment with a piece of Lawn Fawn's White Glitter Cardstock. I left the bottom sentiment matte with no ink blending. I thought it helped draw out even more of that blue green color from the rest of the card. Both of these sentiments were popped up with Scotch 3M foam tape. I adhered the panel to a light gray card base and also added the white snow caps to my mountains. The entire panel is also popped up with foam tape. 

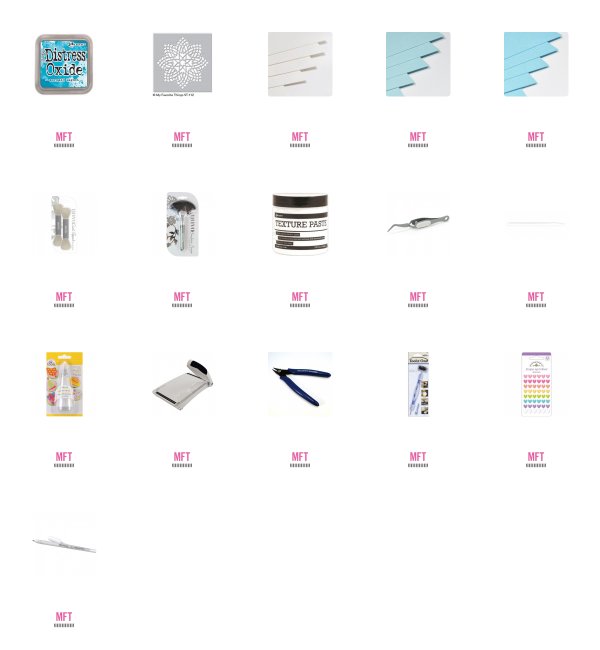
Thank you for visiting my blog today. (CLICK HERE!) to see more information about the Festive Flamingo Card Kit while supplies last. Below are a complete list of supplies using affiliate links. 

Koren 


Tuesday, October 16, 2018

Your Next Stamp Warm Winter Wishes Card Video


Hello Everyone.

Today I am sharing with you my latest video for Your Next Stamp. In today's video, I'm using the NEW Your Next Stamp Fleece Navidad Stamp Set and Coordinating Dies to create a cute handmade greeting card. To see more from Your Next Stamp (CLICK HERE!) to visit the Online Shop and Blog.


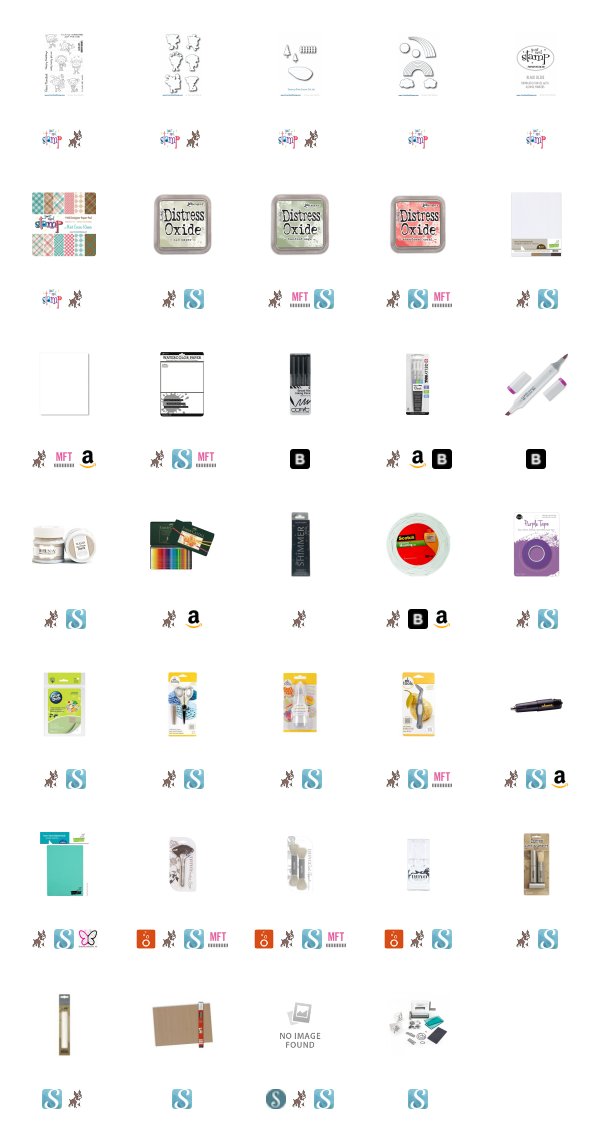
For today's project, I will link not only the video below, but also pictures of my project and the Copic Color Map that I made showing the exact Copic Markers I used to color the image. All of the supplies are linked below using Affiliate links when available.

Thank you so much for stopping by my blog today.

Koren


Monday, October 15, 2018

Heffy Doodle New Release Blog Hop Oct 2018

Hello Everyone.

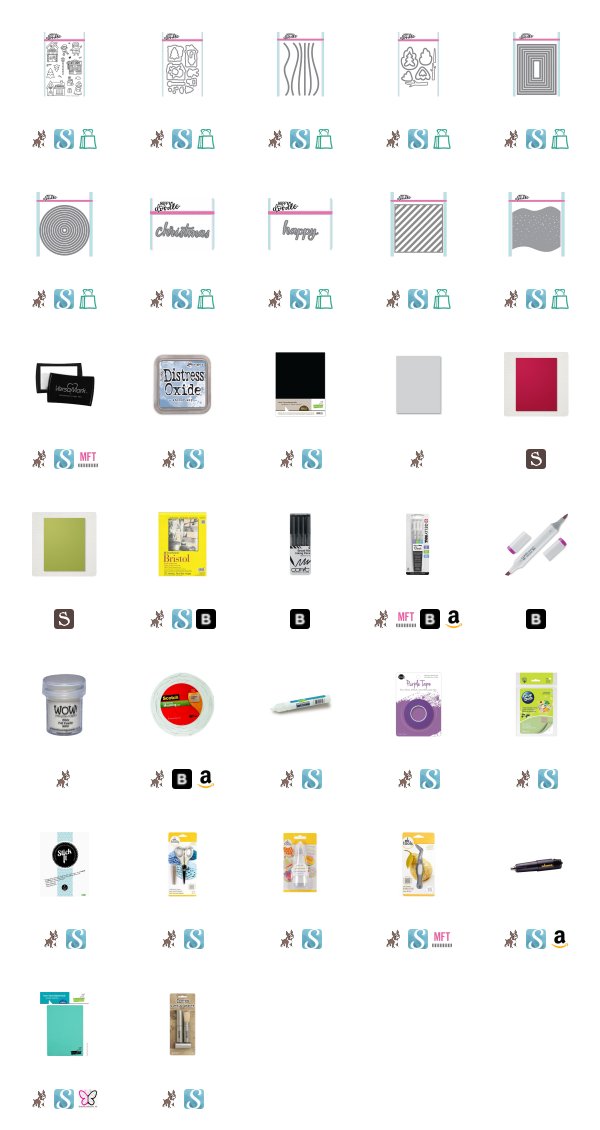
Today is an exciting day because Heffy Doodle has a NEW Release! I'm super excited to share with you a card I made using some of the products from this NEW Release. For this one, I chose Santa's Village stamp set. This set also has a set of coordinating dies available for purchase as well. I also used a few other products, so continue reading. I will also provide a complete list of supplies I used for this project at the bottom of this post.


I started with a A2 size top folding card base in Simon Says Stamp's Fog Cardstock. I then grabbed a piece of Stampin' Up!'s Cherry Cobbler Cardstock. I used the NEW Candy Store Stencil and some Versamark Ink. I laid the stencil on top of the cardstock and rubbed my Versmark Ink Pad over it to coat the cherry red cardstock with sticky embossing ink. I then used WOW! White Puff Embossing Powder and heated it with my heat tool. It leaves a bumpy rough texture that reminds you of snow.
To finish off this panel, I cut it down using the NEW Imperial Stitched Rectangles by Heffy Doodle (the second from largest). I like to call him Karl. Karl is NEW to me with this release, but I know we are going to be fast friends. That red and white striped panel was popped up onto white craft foam and double sided adhesive.


 I took a piece of Strathmore Bristol Smooth White Cardstock and the NEW First Snow Stencil and ink blended some soft snow hills using a Ranger Distress Stencil Brush and Distress Oxide Ink in Stormy Sky. I then added several layers of paper hills cut once from the same Stitched Circle Die and then again from one of the NEW Slopey Joes Border Dies. I did this twice with two different Slopey Joes dies. The first layer was adhered directly to the ink blended circle with Lawn Fawn Glue Tube Adhesive and then the next layer was popped up with Scotch 3M Foam Tape. This circle layer was popped up on top of the red and white strip panel justifying it towards the center of the card.

I then cut both the NEW Happy Heffy Cuts Word Die and the NEW Christmas Heffy Cuts Word Die out of the same Cherry Cobbler Cardstock from Stampin' Up! I cut them each three times and layered them together. I made sure the back of the cardstock was coated with Stick It adhesive before die cutting. This makes the die cut a sticker with an adhesive back. This helps when you layer several intricate die cuts together. After I layered them all together. I added a small amount of Gelly Roll White Gel Pen to make it look like snow had fallen on the tops of the letters.


I then stamped many of the images from the NEW Santa's Village Stamp Set (coordinating dies are available for this set). I stamped my images with Memento Tuxedo Black Ink onto Neenah Solar White Cardstock. I added some texture to the front of  Santa's workshop and some snow to the rooftop. I also added stripes on the little elf's pants. I then colored my images with Copic Markers. I will leave a Copic Color Map in this post for you to pin on Pinterest. This helps you save interesting Copic Coloring Combos. You will find a great resource on my Pinterest boards. I have saved hundreds of Copic color combinations there. Check it out! (CLICK HERE!)


I added bits of white gel pen to my images to clean them up and make the white parts appear just a bit whiter. I popped up the images with varying widths of adhesive scattered throughout the card front. I arranged a scene and even made my little elf hanging onto the letters of the die cut word sentiment. 

To add just a little more to this already cluttered card. I cut one of the trees from the NEW Forest Builder Die Set by Heffy Doodle and stuck it in amongst the Copic colored trees. I like the way the two styles coordinate well together. 

Here is the blog hop line up for the release. Make sure you comment along the way for a chance to win a Heffy Doodle Gift Certificate. 

Prize:

A random winner will be selected for a £50 gift certificate to the Heffy Doodle store. To be eligible, leave comments across the entire blog hop by 11:59 PM PST on 22nd October 2018. Winners will be announced on the Heffy Doodle Blog on 24th October 2018.

Kori (You are here)


I want to thank you for visiting my blog today. 

Koren 


Saturday, October 13, 2018

Heffy Doodle Snow Globe Inspired Card Video


Hello everyone.

Today, I am sharing with you my latest project for Heffy Doodle. Heffy Doodle is preparing for a GIGANTIC NEW Release... This is the biggest release Heffy Doodle has ever had! So much stuff for your crafting pleasure!


Today, I'm using the NEW Wanna Build a Snowman stamp set. Which will have coordinating dies available for the release. I love this set. I can not pick a favorite from the release. There is too much goodness. I'm just starting with this one (insert smiley face) lol.

Below, I will link my YouTube video I made while creating this card, just in case you like that sort of thing. I will also have photographs for your viewing pleasure. I also have a Copic Color Map for you to Pin to Pinterest with ALL of the markers I used to color my images for this project.


I also used quite a few other Heffy Doodle release supplies on this card. Including The NEW stitched Circle dies, Stargazer Backdrop Die, the Stitched Slopey Joes border dies, and the NEW First Snow stencil which is two stencils in one. So much great stuff in this release. To see the entire release, please (CLICK HERE!) to visit the Heffy Doodle Online shop. Make sure while you are visiting that you check out the blog too and see ALL of the wonderful inspiration the rest of the design team has been coming up with.

Thank you for visiting my blog today.

Koren


Thursday, October 4, 2018

Heffy Doodle and WOW! Embossing Collaboration Post

Hello everyone.

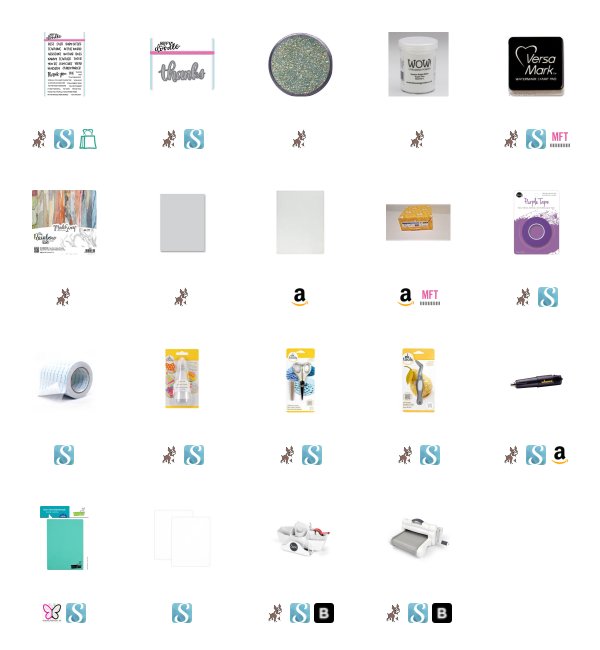
Today, I am sharing my project for the Heffy Doodle and WOW! Embossing collaboration. I created a fairly simple card using the WOW! Embossing Under the Sea embossing powder and the Heffy Doodle Heffy Cuts word die "thanks". I also used a sentiment from the Teach Me Words stamp set that says "for a great year".


I also used some beautiful, new to me, patterned paper from Simon Says Stamp. The patterned paper is called The Rainbow Bark and it is filled with the most beautiful tree bark images that you would ever see. I am a big fan of natural elements, especially wood. My Father also had a fascination with wood. He was a carpenter and made such amazing things from wood. I never saw anything quite this colorful from his designs though.


I coated the word die-cut cardstock in the embossing powder several times to get a bunch of color on it. I used Neenah 110 pound cardstock layered 3 times to give it plenty of rigidity and dimension. Mostly so that it could withstand the heat of my heat tool multiple times. I also love the dimension that it gives the project. I applied each layer using Lawn Fawn Glue Tube liquid adhesive.


I popped up the background that was cut to 3-1/2" by 4-3/4" with double sided adhesive and white craft foam. I then stamped the sentiment in Versamark ink and used plain white embossing powder to heat emboss the sub sentiment.

The card base is of course Simon Says Stamp Fog cardstock. Because I have an addiction.

Thank you for visiting my blog today.

Koren


Tuesday, October 2, 2018

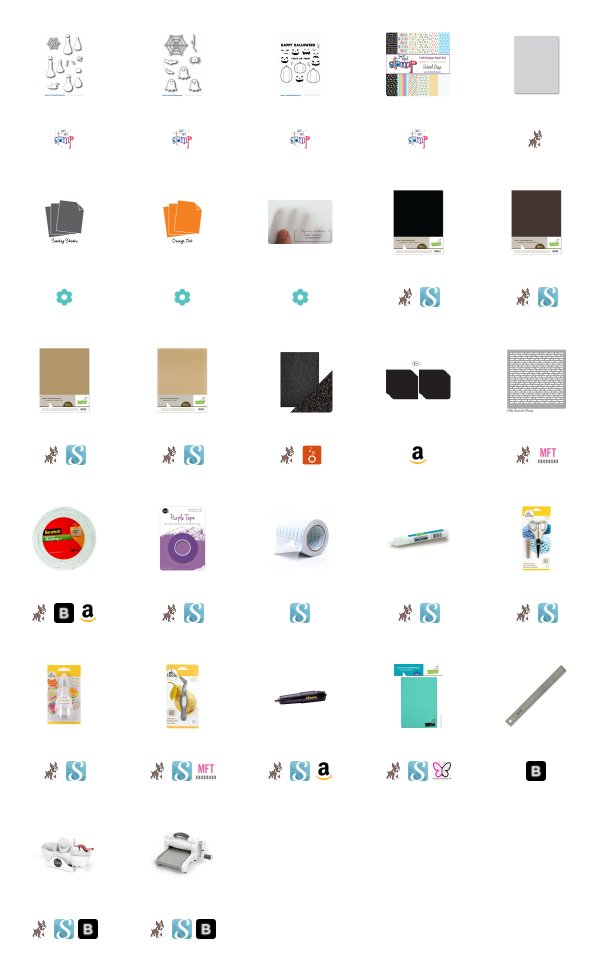
Your Next Stamp Halloween Card Video


Hello everyone!

Today I am sharing with you my latest Your Next Stamp Stamp, Create, Repeat video. In it, I'm using the NEW Drink if you Dare die set to create a FUN collage of potions and elixirs that are really quite cute.


I have a few photos to share with you as well as a link the the YouTube video I created while making this card. I will also have a complete list of supplies linked below using affiliate links when available at no cost to you which allowed me a small commission off of the sale of your click. Thank you for supporting our awesome community of creatives.


Thank you for visiting my blog today.

Koren