Today I am sharing with you a... well a bib. It’s a My First Birthday bib. The kind of bib that you would wear while eating a smash cake. Here in the U.S. it has become a tradition to give your child his/her own personal cake to eat during their first birthday party- and its a big sticky mess of fun! This has been going on for quite some time. I know I had a "smash cake" on my first birthday and so did my little brother. You know the kind. The personal cake your parents got you to eat all by yourself, on your very first birthday. Well, if you haven’t experienced this both as a child and/or as a parent, you should. It’s a fabulous way to celebrate a first birthday.
So the Heffy Doodle design team has paired up with Marvy Uchida to create some projects using products from both companies, and to put forth some inspiration for all of you to maybe think outside of the box for your next stamping project.

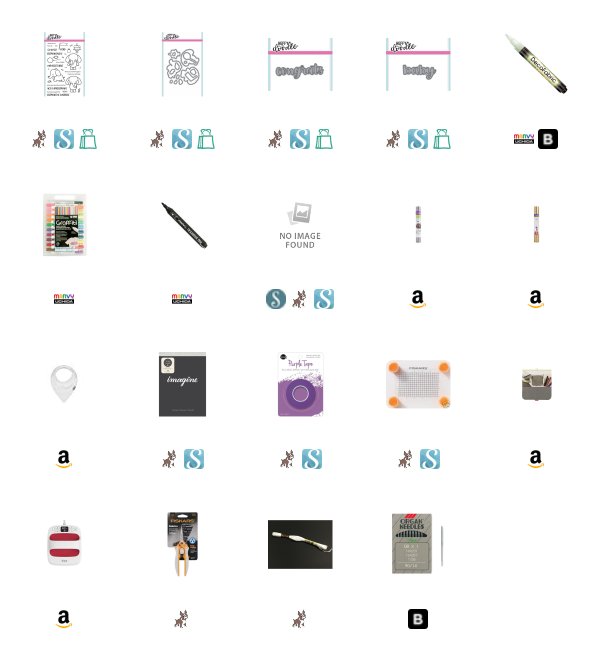
I purchased a pack of bandana style white bibs from Amazon. I bought more than enough, because I was unsure of just how many times, I would mess this up. So, I bought a little extra insurance.
I started by cutting out all of the die cuts I would iron on my project. I cut out both the "Congrats" as well as the "Baby" using Heffy Cuts Word Die from Heffy Doodle. I also used a large number one by Altenew using their Bold Numbers Die Set. I cut the word dies from Iron On Vinyl by Circut. I used a metallic gold for the words and a glitter version for the number one. I also cut a ballon using the coordinating die set from Elephant of Surprise. I set those aside to later be set in place and ironed on permanently.

I then mounted the cake image from the Heffy Doodle Elephant of Surprise Stamp Set onto my Fiskars stamp press. I used Marvy Uchida's Transfer pen to ink up my stamp. I basically inked the lines of the stamp with the transfer pen just like I do with a Memento Marker. I then stamped the image onto a regular piece of tissue paper or tracing paper. I masked the image with Avery Reposition-able sheets after fussy cutting it out with my Fiskars Scissors. This is just like I would do when working with ink and paper. I then loaded the elephant image onto the Fiskars Stamp press and inked it up with the Marvy Transfer pen just as before. I turned the stamp press over and lined him up to appear to be behind the cake. I stamped it down onto the transfer paper as well.

I then moved the tracing paper over to my ironing board or Easy Press mat (as was the case with this project). I also heated up my iron at this point. A regular household iron is what I used. I turned the transfer paper over onto the bib in the placement of where I wanted this image to live on the finished project. You then take your iron and run it over the paper with the ink side facing the bib. Just as if you are ironing on a patch. When you have given it enough heat the lined image will then appear onto the bib. It will look faded as if you have stamped the image in a light gray ink. Think of it as no line coloring.
I then used Marvy Uchida Graffitti Markers to color in my image. I used gray markers in two shades. I started with the darker shade in the shadows of the image and blended it out with a lighter gray shade toward the lighter parts of the image. I also used the Marvy Uchida Glow in the Dark Yellow Marker to add a glow in the dark candle on top of the cake. It glows wonderfully when you turn off the lights to sing happy birthday.

I then laid out all of the die cuts that I cut earlier, and arranged them onto the bib where I wanted them. There is clearly a dull side and a shiny side to the vinyl that I used for this project. It was easy to determine which side faces the bib with the adhesive on it. Make sure the adhesive side is down, facing the bib. I used a light cloth and laid it over the die cuts being careful not to disturb them and shift them out of place. I then applied heat using my household iron until the die cuts where securely stuck down.
I added a little piece of twine coming from the elephant's hand to the balloon. I threaded it through the bib using a sewing needle and tied it in the back to secure it to the bib. Doing this makes the balloon string 3 dimensional, yet secure.
I hope you enjoyed my project today. I love idea of creating this keepsake for a friend or loved one. I know I would have loved to have one for my children. I can't wait to give this to another Mom to keep in her 1 year old's baby box.
Thank you for visiting my blog today.
Koren

It is safe for marking on all fabrics including synthetics. fabric paint
ReplyDelete