Sunday, May 26, 2019

Memory Box Unboxing and Project Share


Hello everyone.

I have an awesome NEW video for you today. Memory Box reached out to me and asked me if I wanted to play with a few of their products so that my followers could see some of their stuff. Of course I said yes. I have loved using Memory Box products as well as their sister companies Birch Press Designs and Poppy Stamps. I couldn't wait to get my hands on these Fish Tales stamp sets to make a card.

To find out more about what Memory Box has to offer (CLICK HERE!) but be warned!!! You will immediately fall in love.

I have a video project as well as another card that I created off camera. I still have so many ideas, be on the look out for more card projects featuring these items.


Here is a link to the video I created showing off all of the supplies that were sent to me. Some of them I picked out myself and some of them are newer products that they thought my followers would enjoy seeing. I loved everything that was sent to me and I want to personally thank them choosing me for this collaboration.


As for the second project I created, I started with four pieces of Neenah 110 lb cardstock cut to 4 1/4 by 5 1/2. I usually keep these close by because it is my most used cardstock. I decided that I was going to ink blend on these panels. I wanted the blend to be as smooth as possible and I wanted them to be as alike as possible.

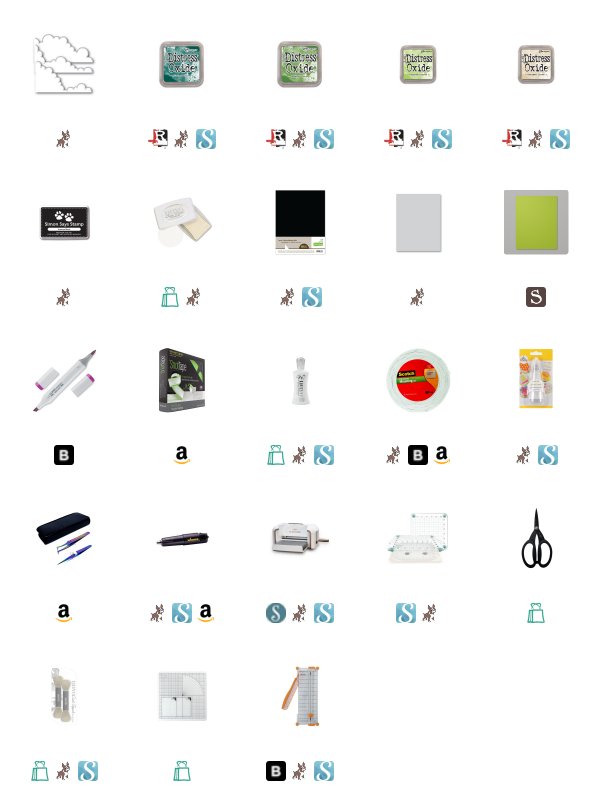
I choose Distress Oxide ink in Brushed Corduroy, Antique Linen, Tumbled Glass, Salty Ocean, and Mermaid Lagoon. This combination is similar to the ink colors used on the project in the video above, only with this one, I used Antique Linen and Brushed Corduroy, these are my favorite "sand" colors.


I made sure to ink blend all four panels as similarly as possible. To get a very smooth blend I used Ranger Ink Blending tools for this, and I love the way these look and I think it will set the perfect seascape background. They were each cut down to 3 1/2 by 4 3/4.

Once the backgrounds were well dried (only a few mins needed), I used the Underwater Collage, Seaweed Collage, and Coral Collage dies to cut from the panels. I lined them each up towards the center of one of the panels, leaving the fourth panel alone to serve as the background for the others to be built upon.

I used a Simon Says Stamp Fog cardstock card base cut to size A2 in top folding orientation. I adhered the background panel first with Scotch double sided tape. I then used Scotch foam tape to pop up each additional panel stacking them and lining them up the best I could. I makes the perfect little dimensional scene for your critters to live in. The coral, seaweed, and bubbles all add to the theme of the card.


For my images, I used Memento Tuxedo Black ink to stamp several of the lined images from the Memory Box Fish Tales stamp set. I used my We R Memory Keepers Precision Press to stamp them. I used an alcohol marker friendly ink because I wanted to play with my new to me Nuvo Alcohol Markers. I chose 5, three color blends to color my fish. I have made a Nuvo Alcohol Marker Color Map so that you can see the makers I used plus a close up of the card for reference.

I adhered the fish on the interior sections using Nuvo Deluxe Liquid adhesive. To pop up the fish on the outside of the die cut panels I used the same Scotch Foam Tape.


I also used foam tape to pop up the sentiment strip. I stamped the sentiment "let minnow how things are going" with Nuvo Clear Mark embossing ink onto a piece of Lawn Fawn Black Licorice cardstock and heat embossed it using Ranger White embossing powder. I cut it down using my Fiskars wire guide paper trimmer.

To see more from Memory Box (CLICK HERE!). All of my supplies used on these projects are linked below using Affiliate links when available, at no cost to you. Thank you for supporting our crafty community.

I hope that you enjoyed my projects today. I hope you all are having a wonderful Memorial Weekend with your families. Thank you for visiting my blog today.

Koren


Thursday, May 23, 2019

Spellbinders So Many Sentiments Die Set


Hello everyone. 

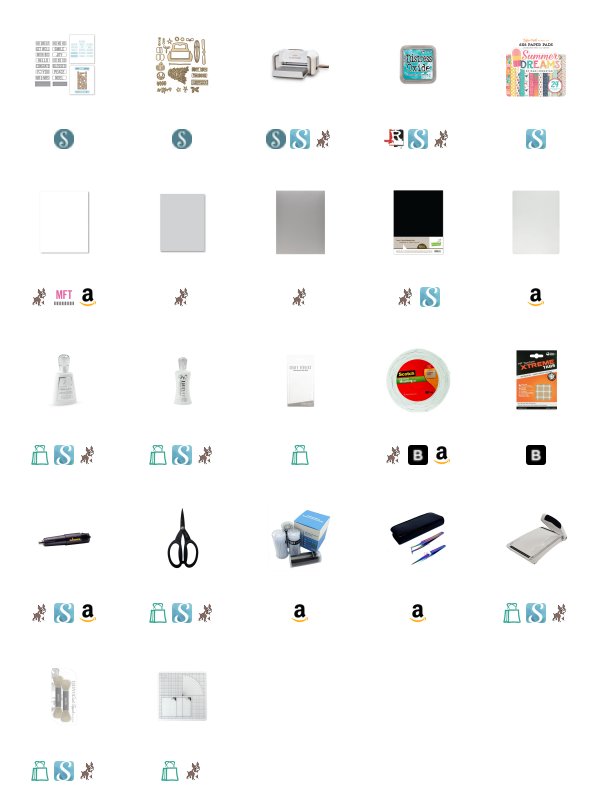
Today I am sharing with you a few cards I’ve made using the NEW Spellbinders “So Many Senitiments” Die Set. This set is an add-on set from last October’s “Truckin’ Through the Seasons” die set that originally appeared in a Large Die Kit of the month. I made a few Christmas Cards using it, and if you would like to check those out,  (CLICK HERE!). Today I’m using the NEW add on set as well as the original Truck Die Set to create some fun summer inspired cards, and since you’re already here, no more clicking is necessary- the fresh stuff is right here! 


I started by cutting out some patterned paper backgrounds from one of my favorite 6x6 paper pads called Summer Dreams. I believe it has been discontinued but it’s made by Echo Park (at least was). If you can find it, snatch it up, I know I will- its a great pack. I cut three of the patterns that appealed to me the most, and cut them down to 3 1/2 by 4 3/4.  

For two of those patterns, I ink blended a little bit of Distress Oxide Ink in Peacock Feathers around the outside. I used my Nuvo Blender Brushes to add the inked edges. 


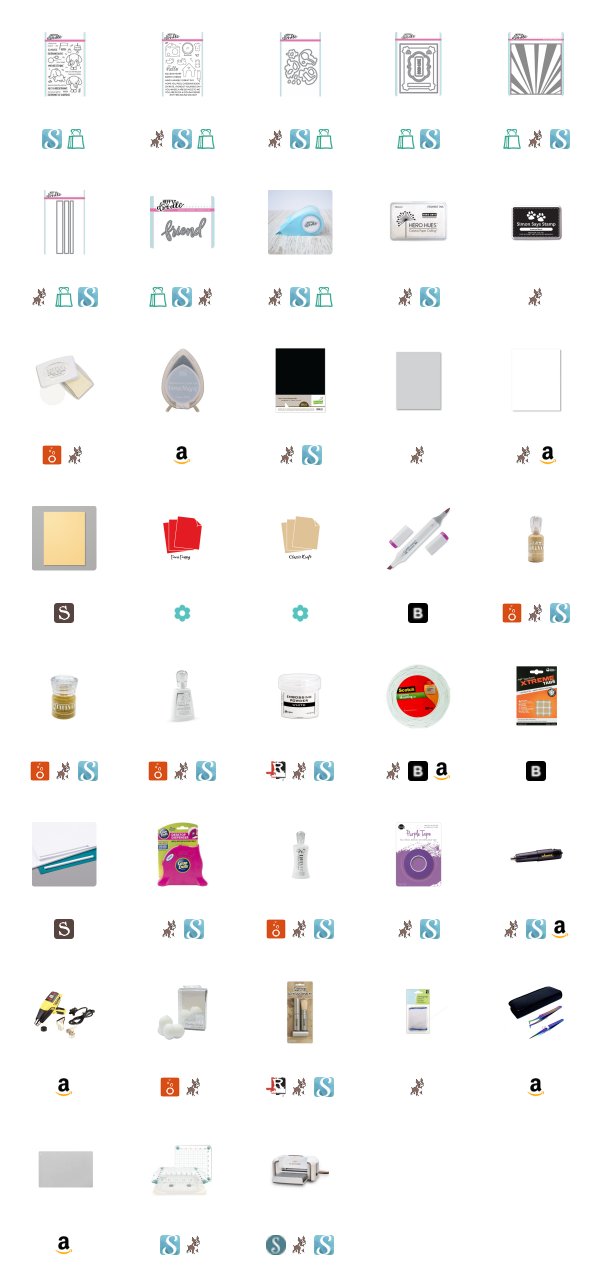
On the background with the popsicles, I used the NEW “get well” die from the Spellbinders So Many Sentiments Die Set, and cut it into the top center of the card front. I popped it up onto a coordinating piece of pattered paper from the same pack and added it to a Simon Says Stamp Fog card base and called it done, it was super simple, yet- with just that simple die cut and mounting the image to the base- I had a card that was ready to give away. 

The background with all the illustrations on it was also popped up onto a Fog card base using Scotch Double Sided Adhesive.  But to this one, I added a few of the original die cut shapes from the Truckin Through the Seasons die set to the bottom left corner of the panel. I created a surf board and a beach ball out of various patterns from the same pack of paper from Echo Park and added a layer of Crystal Glaze to the outside to make it shiny and look like they are ready to ride some waves. 


To finish off this card I added the NEW Hello die cut from Neenah 110 lb Solar White Cardstock. I first cut the plain rectangle shape that comes in both sets and then I centered the “hello” within it and cut it out four times. I used my Nuvo Deluxe Adhesive to adhere all of my layers together.  

To attach it to my card front I used Tombow Extreme Clear Adhesive Tabs cut into small strips and added to the back of the word die. This adhesive is clear and although you may be able to spot it, it doesn’t stand out quite as much as a white adhesive does. 


For my final card, I assembled the truck die and created a scene using  elements from both sets. I used various colors and types of cardstock. They will be linked below except for the EK success assorted wood paper that I used for the surf boards, as it is no longer available. I am sure we can find something comparable though, so, don’t fret. This time I cut out four of the scalloped and pierced rectangles and the “wish big” sentiment, both from the NEW set. I used the same clear adhesive tabs to pop it up on the tailgate of my truck. Most of the other elements of this truck were either popped up using Scotch 3M foam tape or adhered using liquid adhesive. 


I hope you enjoyed my card projects using the NEW Spellbinders So Many Sentiments Die set and the Trucking Through the Seasons Set. These sets are a lot of fun and there are so many different sentiments with this NEW set that it makes the versatility of this set so vast you will have years of use out of these products. 

Thank you for stopping by my blog today. To check out my from Spellbinders (CLICK HERE!) 

Koren 


Saturday, May 18, 2019

Heffy Doodle Forest Builder Flower Card Video


Hello everyone.

Today I have an interesting card for you and a video. I'm using the Heffy Doodle Flower Builder Dies to create a unique looking flower. I like finding ways to stretch my supplies, so I'm sharing my idea with you today.


These dies were intended to make trees, but if you look at them in a different light, you will find that the shapes sort of resemble flowers. So, I laid out my pieces into a flower arrangement. I think it turned out cute and it was a lot of fun to create.

I hope you will check out my YouTube video of my making this card. I will leave it linked in this post.

Thank you for visiting my blog today.

Koren


Friday, May 17, 2019

Neat & Tangled May Release Week Wrap Up


Hello everyone. 

Today is the day. The Neat & Tangled May Release is now available in the shop. (CLICK HERE!) to visit the Neat & Tangled Online Store to shop the NEW Release. This week was a lot of fun. I think my favorite of the release is the G.O.A.T. stamp set and coordinating dies because of that adorable little farmer. 


As a close second is the Quilted Background stamp. This fun geometric pattern is simply fantastic for so many techniques, it’s sure to be a staple in my collection. 

Thank you so much for stopping by my blog today. Maker sure you (CLICK HERE!) to shop the NEW Release and to visit the blog for today’s Giveaway information. 

Koren 


Thursday, May 16, 2019

Neat & Tangled May Release Week: Day Four Foliage Frames

Hello Everyone. 

Today is Day Four of Neat & Tangled’s May Release Week, and we are using the NEW Foliage Frames stamp set and coordinating dies to inspire you today. This stamp set is easy to use and it  creates the most elegant cards. It features a circle pattern, that is the size of a  background, in clear photopolymer as well as matching added foliage to add versatility. These additional pieces of foliage also have coordinating dies. The die set even has a die that cuts just the center of the large circular pattern stamp, which is what I did today. 

Don’t forget to (CLICK HERE!) to visit the Neat & Tangled blog for more information about today’s featured set, as well as the giveaway for today’s post. There will also be some more inspiration over there from the design team that is sure to wow you. This release goes LIVE tomorrow Friday, May 16th at 8:00 AM. 


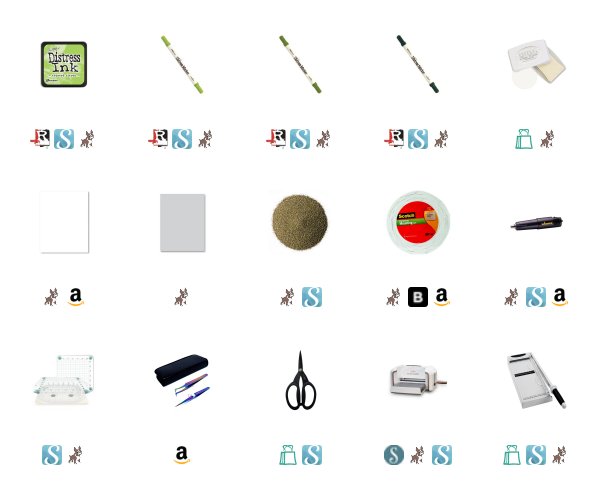
I started with a piece of Ranger Watercolor cardstock, and loaded the large stamp from the Foliage Frames set into my We R Memory Keepers Precision Press. I inked up the stamp first with Distress Ink in Twisted Citron. This gave a good green base to work with. Then I used my Distress Markers in Mowed Lawn, Peeled Paint, and Pine Needles to add some more depth to the colors of the image.  I stamped it twice to get the look you see in the finished photos. 

I cut the panel down to 4 3/4 by 3 1/2 inches and used the Foliage Frames dies to cut out the center of this stamped image. Just the center for now. This leaves an opening in the center that is perfect for a sentiment. 


To add to this panel, I also stamped the smaller individual pieces of foliage from the same set, using the same technique as above, only this time I used the coordinating dies to cut them out. 

As for a sentiment, I used the “hello” sentiment from the Foliage Frames Stamp set. I stamped it using Nuvo Clear Mark embossing ink onto a piece of Neenah 110lb. cardstock, and heat embossed it with Hero Arts Gold Embossing Powder. 

To add a little more detail, I added a few of the berry clusters that come with the set. I’m not sure what the actual name for this image is, but it basically looks like a cluster of three circles. I feel like they represent berries or nuts or just some other element of the arrangement. Anyway, I stamped them and heat embossed them as well, and scattered them throughout the panel. 


To put this card together, I added Scotch 3M Foam Tape to the under side of the original panel to provide some dimension for the sentiment. I then added the entire panel to a Simon Says Stamp Fog card base. 

I hope you enjoyed my project for today. Make sure you stop over to the Neat & Tangled Blog to see what the rest of the design team as created to inspire you. (CLICK HERE!)

Thank you so much for visiting my blog today. 


Koren 


Wednesday, May 15, 2019

Neat & Tangled May Release Week: Day Three Quilted Background

Hello everyone. 
Today is Day Three of Neat & Tangled’s May Release Week and we are showcasing the NEW Quilted Background stamp. This stamp is a 6x6 red rubber background stamp and it features a geometric pattern similar to a quilting pattern, hence the name, I suppose. I immediately knew that I wanted to  ink blend behind those beautiful shapes. 

Make sure you (CLICK HERE!)  to visit the Neat & Tangled Blog and see what the rest of the design team has created using this awesome NEW product. There is also Giveaway information there for today’s giveaway . You should never miss a giveaway opportunity, by the way. 


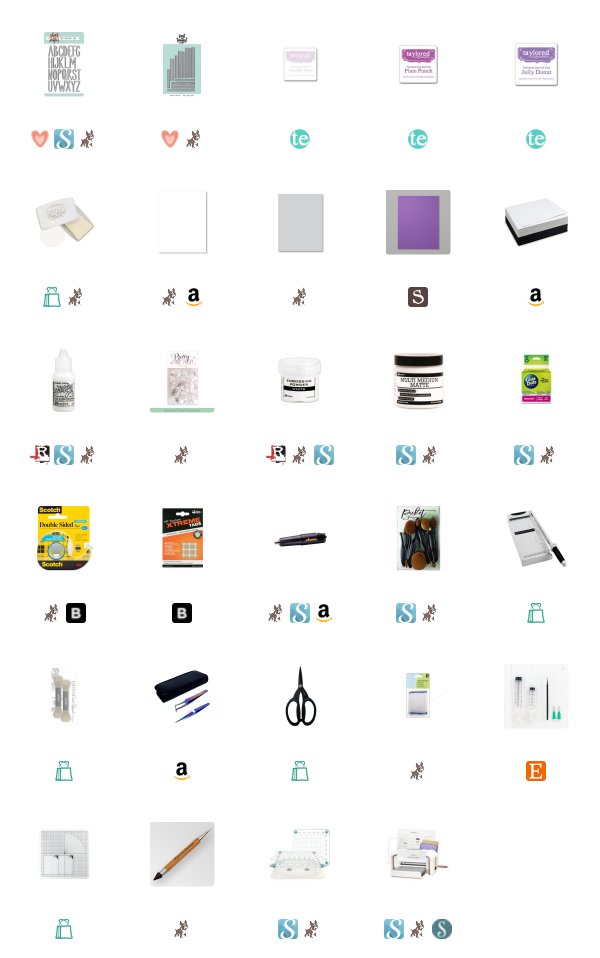
Today I grabbed a piece of Neenah 110 lb. Solar White cardstock and my We R Memory Keepers Precision Press. I loaded the background stamp onto one of the plates in order to get a great impression for my background. The Precision Press allows me to stamp in the same place multiple times to ensure your ability for an even, and well-stamped image. I used Nuvo Clear Mark Embossing Ink  and heat embossed it using Ranger White Embossing Powder.  

Once the freshly heat embossed background had cooled I used my Nuvo Blender Brushes to ink blend some Tailored Expression inks onto the background. I used Lavender Glaze, Plum Punch, and Jelly Donut Dye Inks to ink blend my background.  

I absolutely love the look of a smooth ink blended background no matter what color it is. This panel was then cut down to 3 1/2 by 4 3/4 inches and popped up onto a Simon Says Stamp Fog card base using white craft foam and Scotch doubled sided tape.


One of my favorite die sets is the Journaling Alphas by Neat & Tangled. They remind me of a Rae Dunn Design and I absolutely love the hand drawn feel.  So, I cut the word “friend” out of Neenah 110 lb. Solar White cardstock. I cut them (4) times each. I layered them together using Ranger Multi Medium Matter liquid adhesive and my blunt tipped syringe. 

To jazz up the word die, I used some of the same inks I used on the background but I used them to ink blend the bottom of each letter. To help me do this, I used Picket Fence Studios Life Changing Blender Brushes. The extra small round tipped blender brush is one of my favorites for detail blending like this. I can build up color with small amounts of ink to a very small area. 

After the ink had dried, I still did not think it was quite jazzy enough, so I added Ranger Stickles Frosted Lace to the very very bottom of each letter. This way the ink faded into white and the glitter faded into the ink.  The letters were adhered one by one using Ranger Multi Medium Matte and a small scale to help align the images. 


To add to the sentiment, once again I stamped a sub sentiment using Nuvo Clear Mark Embossing Ink onto Stampin’ Up!’s Gorgeous Grape.  I used Neat & Tangled’s Skinny Strips to cut out the smallest fishtail banner from the set to house the next part of the sentiment. “You are special to me” was heat embossed using the same Ranger White embossing powder as before.  The strip was then popped up using Tombow  Extreme Clear Adhesive Tabs. 

To finish off the card, I used micro Glue Dots to stick some Clear sequins onto the front of my card panel to add even more sparkle and shine. 

I love how this card turned out and it was very easy to create. The color combinations for card like this are endless. Have fun creating a background of your own. 

Don’t forget to visit Neat & Tangled For more information on the Giveaway. (CLICK HERE!) While you are there, check out the rest of the design team’s blogs and comment to increase your chances of winning. 

Thank you so much for visiting my blog today. 

Koren 


Tuesday, May 14, 2019

Neat & Tangled May Release Week: Day Two G.O.A.T.

Hello everyone.

Welcome to Day Two of Neat & Tangled's May Release Week. I hope you enjoyed Day One. (CLICK HERE!) if you somehow missed day one.  Today, we are showcasing the NEW Neat & Tangled G.O.A.T. stamp set and coordinating dies. This stamp set features an adorable image of a farmer with a pitch fork and of course a goat. The G.O.A.T. sentiment cracks me up. The acronym means The Greatest of All Time.

Make sure you (CLICK HERE!) to visit the Neat & Tangled blog and check out what the rest of the design team has created. If you comment on the design team members' blog posts you will be entered into a Giveaway. You can find all of the information regarding that giveaway on the Neat & Tangled Blog.

My card today somewhat matches yesterday's card. I had thought about making one long card, but I liked them better separate. Plus, I got a little carried away with the striped ink blending backgrounds and decided both needed to be used.


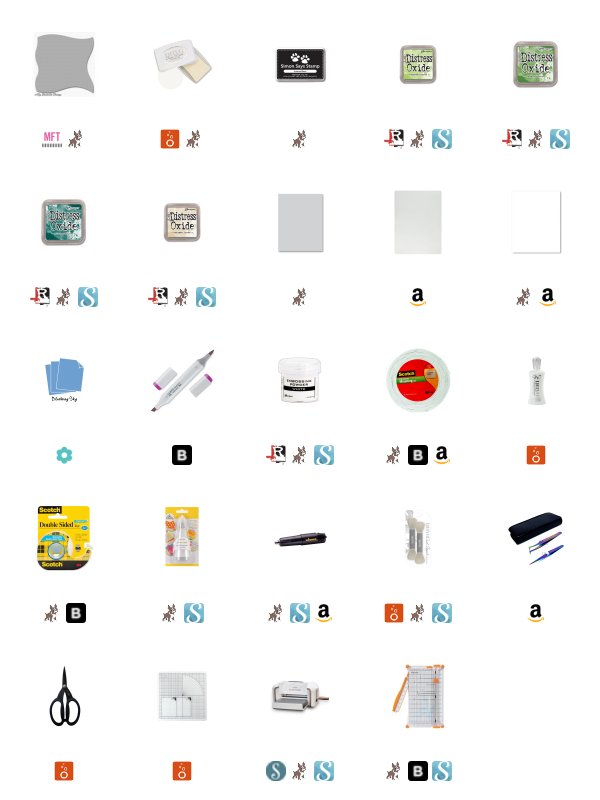
To make this background, I grabbed a piece of Neenah 110 lb cardstock and my MFT Drifts and Hills stencil. I used the stencil as both a stencil and a mask for this card. I masked the sky first to keep it from any green exposure. I used Distress Oxide Ink in Mowed Lawn and Twisted Citron to create the cascading light green hills. After the light green hills were created, I used 1/4 inch art tape to mask off the light green in order to add some Pine Needles Distress Oxide Ink and create some darker stripes. For the hill in the foreground I used double the art tape to make 1/2 inch stripes.

Once the green hills were created, I used the same Drifts and Hills stencil to keep the green safe from any yellow contamination. I used Antique Linen Distress Oxide Ink to blend a little light in the sky. I used Nuvo Blender Brushes to do all of the Ink blending for this background.


I stamped my images with a We R Memory Keepers Precision Press. I stamped them onto another piece of Neenah 110 lb Solar White cardstock. I used Simon Says Stamp Intense Black Ink to be able to color them with my Copic Markers. 

I have created a Copic Color Map for you to see all of the markers that I used to color these images. I also used my Gold Faber colored pencil #273 to add some shadows to my images. 

Once my images were colored I used the G.O.A.T. coordinating dies to cut them out. I used Nuvo Deluxe Adhesive to adhere the farmer flat to the background and the other images were popped up with Scotch 3M Foam Tape. 

I did replace the patch in the farmers jeans by paper piecing a piece of Fancy Pants Oh Happy Day patterned paper. It is a medium gray with white dots. 


The sentiments are also from the G.O.A.T. stamp set and they were both stamped with Nuvo Clear Mark embossing ink. The "happy birthday" was stamped onto unknown off white paper that I have in my stash (sorry guys) and adhered flat to the background with liquid adhesive.  The "you old goat" was stamped onto Papertrey Ink's Blueberry Sky cardstock and both were heat embossed using Ranger White embossing powder. I cut the sentiments strips down with my Fiskars Wire Guide paper trimmer. I used my Tonic micro snips to cut a fish tail banner end into one of the ends of the blue strip. Then,  I popped it up with foam tape. 

The entire panel was added to a piece of white craft foam using scotch double sided adhesive and then placed onto a Simon Says Stamp Fog Card Base. 

I hope you enjoyed my project for today. There will be more inspiration tomorrow for Day Three. Make sure you check out the Neat & Tangled Blog for more inspiration and a chance to win a Giveaway. (CLICK HERE!) 

Thank you for visiting my blog. 

Koren 


Monday, May 13, 2019

Neat & Tangled May Release Week: Day One Barnyard Buddies

Hello everyone.

Today is exciting because it is day one of Neat & Tangled's May Release Week! Today we are showcasing the NEW Neat & Tangled Barnyard Buddies stamp set with coordinating dies. This stamp set features a few farm animals, plus an adorable tractor image and a barn too! To visit Neat & Tangled and check out the blog to see the rest of the design team's inspirational projects (CLICK HERE!).

Remember to comment on each of the design team's blogs this week each day for your chance to win prizes featuring this weeks release. The NEW May Release will go LIVE Friday, May 17th at 8:00 AM EST. (CLICK HERE!)

Today, my project is super simple but also really fun to create. I was inspired by all of those beautiful fields (and even lawns for that matter that are so impeccably manicured that they are simply works of art). Although the real farms are far more beautiful than the stripes I ink blended on this background- I tried to capture their essence.


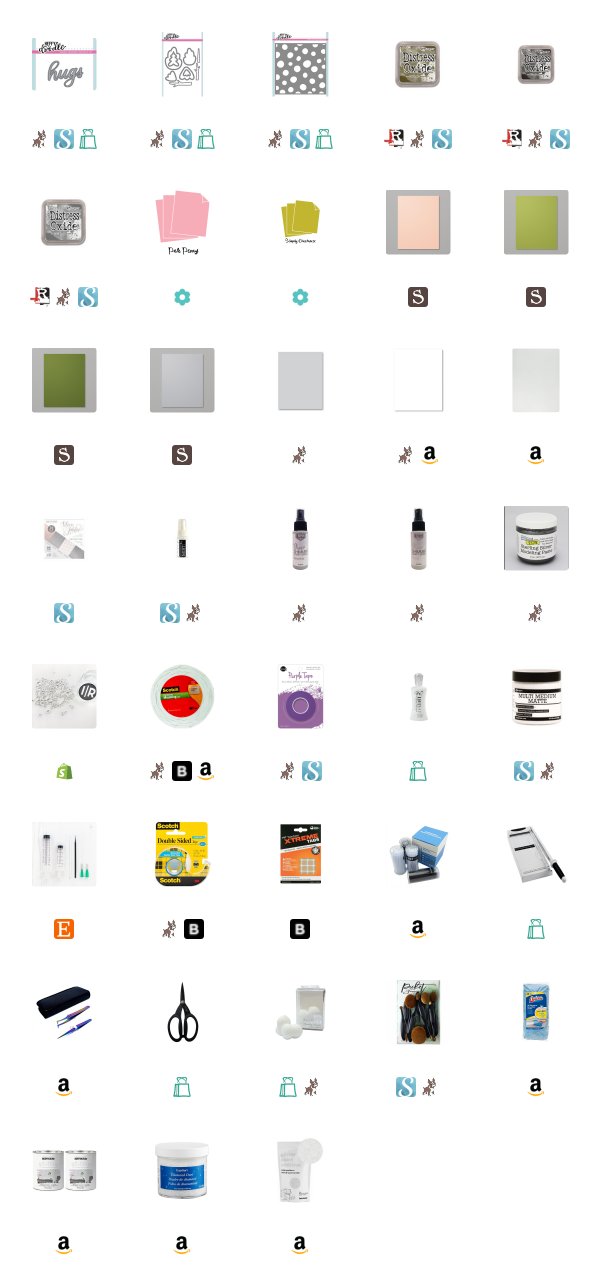
I started with a piece of Neenah 110 lb. cardstock, cut to 3 1/2 by 4 3/4.  I applied some Snot Tape (more on this in a minute), to my card panel leaving the sky exposed to my inking first. I used Distress Oxide Ink in Antique Linen and a Nuvo Blender Brush to create a light sunny background, leaving the very edges to fade to white.

So- back to the Snot Tape, (it will be linked below, by the way). This tape is unique in design. It's marketed purpose is for painters to mask walls but it is absolutely awesome for masking your paper for ink blending. This is the best stuff I've found for this purpose. It is not waterproof, but for inking such as this, it's awesome. It has a gel like adhesive that allows you to stick it to your paper without worry of it ripping when you peel it back off. Also, because of it's gel like nature, it leaves behind this beautifully blended edge and not a harsh line, and I haven't experienced any tape residue whatsoever. I probably sound crazy, but if you ink blend, you know what I'm saying.


Then I peeled the Snot Tape off of my paper and turned it around to leave the ground available to be inked. With this Snot Tape, I am able to trust the my freshly inked sky won't be damaged. 

For the ground. I started by inking the ground with Distress Oxide in Twisted Citron. I used my Nuvo Blender Brush to do this, adding small amounts of Mowed Lawn in the Oxide as well. For the most part I want to leave the base layer as light as possible but still give it a little life and dimension. 

I then applied art tape in 1/4 in width. I have had these skinny rolls of art tape for years and years. I think Tim brought it home for me to use before Dexter (our five year old) was even born. I used these in double width. Adhering them to the light green background that I had just inked. Doing my best to line them up. I did not use a ruler, I just eyeballed it. I figured if they can do it with a tractor, I can use my eyes. 

After the tape was applied I used Mowed Lawn and Pine Needles Distress Oxide inks to blend on the darker stripes of lawn. Fading all of it to the bottom left of the card panel. 


As for the images they are all from the NEW Neat & Tanged Barnyard Buddies stamp set. I stamped them with Simon Says Stamp Intense Black Ink and colored them with my Copic Markers. I also used the coordinating dies to cut them out with my Spellbinders Platinum Die Cutting Machine. Everything was stuck on using Scotch 3M foam tape, except for the barn. I used Nuvo Deluxe adhesive to stick it flat to the card panel. That way the other images looked more interesting as they were popped up. 

While I had my die cutting machine out, I also cut a piece of Stampin' Up!'s Granny Apple Green with the Poppy Stamps Stitched Cloudline Die set. I have seen other crafters use their cloud dies as tops of trees and I figured it would also act as a bush for me today, and I channeled a little Bob Ross as I nestled in this happy little bush with my little horse as his friend hanging out in the foreground. 

This bush will also be a home for my sentiment which was also from the Barnyard Buddies stamp set. I stamped it using my We R Memory Keepers Precision Press. It was stamped in Nuvo Clear Mark embossing ink onto Lawn Fawn's Black Licorice cardstock. I heat embossed it using Ranger White embossing powder. I also trimmed it down to size with a Fiskars Wire Guide Paper trimmer. 

I want to thank you for visiting my blog today. I hope you enjoyed my card. A full list of supplies should be linked below. Don't forget to visit the Neat & Tangled Blog for more inspiration from the rest of the design team. (CLICK HERE!)

Koren 


Saturday, May 4, 2019

Heffy Doodle Dumbo Inspired Card Video


Hello everyone.

Today I have another great video featuring Heffy Doodle. In this video I create a handmade greeting card using Heffy Doodle's Elephant of Surprise and Hello Squeakheart Stamp sets. This card was inspired by Dumbo, the Disney Classic Animated Movie. I have not seen the first one, but I probably will watch it some time soon.

I wanted to use the Heffy Doodle Rays the Roof stencil to create a Circus themed card and Dumbo was perfect for the attempt. Fun Fact: I do not like clowns. They scare me, so, I don't go to the circus.


This card isn't scary at all though. It's fun and so is the video I made while creating it. I hope you will check it out. I have also made  a Copic color map listing all of the alcohol markers I used to color my images for this project.

Thank you for stopping by my blog today.

Koren