Showing posts with label spellbinders. Show all posts

Sunday, April 25, 2021

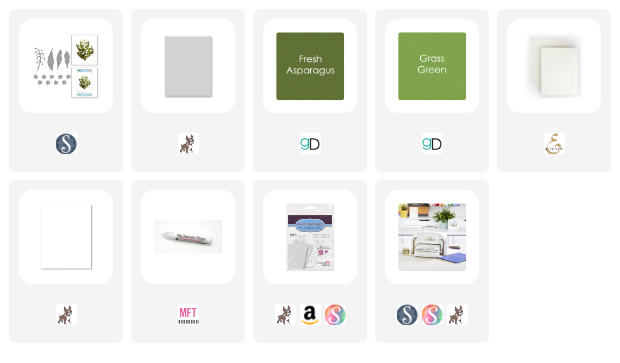
The One with the Spellbinders Love Block Stamp Set Card Project


Hello everyone. Today I have a card using the Love Block stamp set from Spellbinders. 

To check out more from Spellbinders and to find more inspiration from other designers using this set (CLICK HERE!) and visit their website where you can shop and search the blog. 

I cut the largest stamp in the set apart (don't worry it will always fit back together nicely) to be able to stamp the word love in a vertical line down the center of my card. 

I cut a piece of white heavy weight cardstock to 3 1/2 inches by 8 1/2 inches. I then cut strips of a select color palette of cardstock to 3/4 inch strips and adhered them to the card panel with tape runner adhesive. 

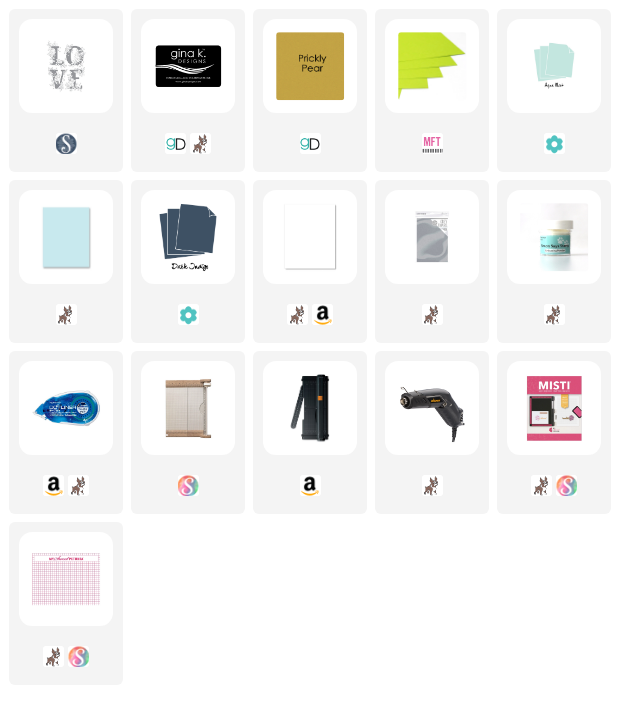
Once I had my card panel nicely adhered, I loaded it into my MISTI. I placed the "LOVE" letters from the Love Block stamp set into a vertical line in the center of my card panel. I stamped it with watermark ink and used fine detail white embossing powder to heat emboss it. 


Because I used tape runner adhesive to stick down my paper strips, the heat from the heat tool started to lift the strips from the panel. Next time, I will be sure to use a stronger adhesive. To save the panel, I attached it to a piece of grey board to help give it some strength. Then I saturated the edges with the same sticky ink and embossed a white edge all around my card panel to give it a more rustic look. It wasn't the clean lines I was originally going for, but I really like how it turned out. 

I added the panel to a white card base cut to 7 by 8 1/2 inches and scored at 3 1/2 inches. 

I hope I've inspired you to create something today. To check out more by Spellbinders (CLICK HERE!)

Thank you for visiting my blog, 

Koren 

Tuesday, April 20, 2021

The One with the Spellbinders Lilly of the Valley Card Project


Hello everyone. Today I have a project using the Spellbinders Lilly of the Valley die set by Susan Tierney-Cockburn. I was inspired to create this card based on one of my favorite video games, Animal Crossing New Horizons. In this game when you reach the level of five stars you are given a special Lily of the Valley flower as a trophy of sorts, hence the sentiment "you will always be five stars to me". 

To check out more from Susan and the Spellbinders team (CLICK HERE!) and visit the website to shop and to find inspiration. 


This card is simple but the dies can be a little tedious to handle due to their size. Once you cut out all of the pieces in the Lilly of the Valley die set, you shape them with a round ball tool. I used my scoring tool that has a small and medium ball on the two ends. I followed Susan's video that you can watch (CLICK HERE!) to assembly the flowers. Once they were assembled I adhered them onto my background panel using liquid glue. 

For the background I used an old embossing folder by Stampin' Up! to emboss the triangular trees that mimics the look of the designs of the animal crossing game art. 

The sentiment was created in Photoshop and printed out. Once I printed it out, I trimmed it down using my paper trimmer and popped it up using foam adhesive to give it dimension. 

I can't wait to send this card to one of my crafty friends that I play Animal Crossing online with. In fact, I may make several and send them to all of my gaming buddies. 

I hope that I've inspired you to create something today. To check out more from Spellbinders (CLICK HERE!). 

Thank you for visiting my blog today,

Koren 


Friday, February 12, 2021

The One with the Spellbinders Dancing Hearts Die set


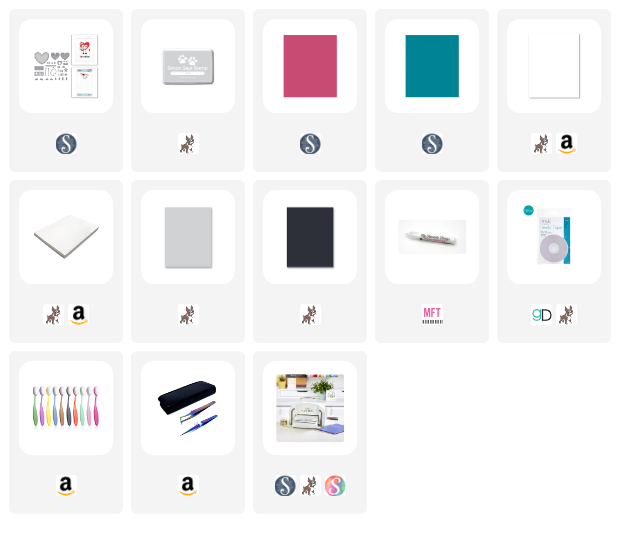
Hello everyone. Today I have a card project using the Spellbinders Dancing Hearts die set. This die set creates a dancing heart complete with moving legs or arms, or arms and legs. It's so fun. My seven year old son created one right along with me. It's very easy to put together. 

I have linked the products used on this project below. To find this set and more from Spellbinders (CLICK HERE!)

Background: 

I started with a piece of  110 lb. white cardstock cut to 4 1/4 by 5 1/2. I wanted to create a light gray buffalo check type background to set the stage for my dancing hearts. I used low tack masking tape to mask off 1/2 inch strips. I ink blended the strips with light gray Fog ink using my ink blending tools. I wanted to get a significant amount of this ink onto my paper to make sure it wasn't too light. I wanted it to be light gray, not, non existent gray. I ink blended until I felt there was enough laid down, and then removed the masking tape and shifted it 1/2 inches downward. I did this in both directions creating a buffalo plaid kind of background. To finish the background I cut it down to 3 1/5 by 4 3/4. 


Focal image:

The Dancing Hearts die set come with everything you need to create a dancing heart and then some. I wanted to create a heart couple. So I used the largest heart die in the set for my "guy" and the smallest heart shaped die for my "lady". For my guy I used Fun Stampers Journey Blue Lagoon cardstock. I added a little ink blended section with a small amount of Black Soot ink to one side of each of my hearts just to add a little interest to them and help them not be so flat. For the lady I used Fun Stampers Journey Sweet Berry cardstock. I cut the arms, legs, feet and eyes all from Black cardstock. The whites of the eyes and the white gloves were cut from the same white cardstock. I also cut the mechanism provided in the set to make them dance with the same heavy weight white cardstock.  

Sentiment:

I cut the "be mine" sentiment that is provided in the Dancing Hearts die set from the same black cardstock four times. I stacked these die cuts together and adhered them with liquid adhesive to create a thick chip board like sentiment. 


Assembly:

To put this card together, I first stuck my background panel to an A2 size card base cut and scored in a top folding portrait orientation. I used craft foam and tear tape adhesive to pop it up. I then arranged my Dancing Hearts onto my panel in a way that would allow their legs and arms to swing as freely as possible. I mechanism included with this set is a simple piece that has a hole in the center to fit a round piece of dimensional foam tape. You use a strong adhesive to attach whatever it is that you want to swing on your card to this piece. Once the arms and legs are attached to it, you can place the mechanism around the piece of foam tape and stick it to your card. Once the heart is adhered on top of it. The heart with be stationary but the piece with the arms and legs will be swing from the foam tape but won't move because the heart is keeping it in place on the foam tape. 

All of the accessory images were added with liquid adhesive. The Dancing Hearts die set comes with many different accessories for you to add to your hearts to dress them up. I stuck the sentiment below my dancing couple with liquid adhesive. 

I hope i've inspired you to create something today. To find more from Spellbinders (CLICK HERE!) and visit their website. 

Thank you for checking out my blog today, 

Koren


Monday, October 26, 2020

The One with the Fun Stampers Journey Buzzworthy Collection


Hello everyone. 

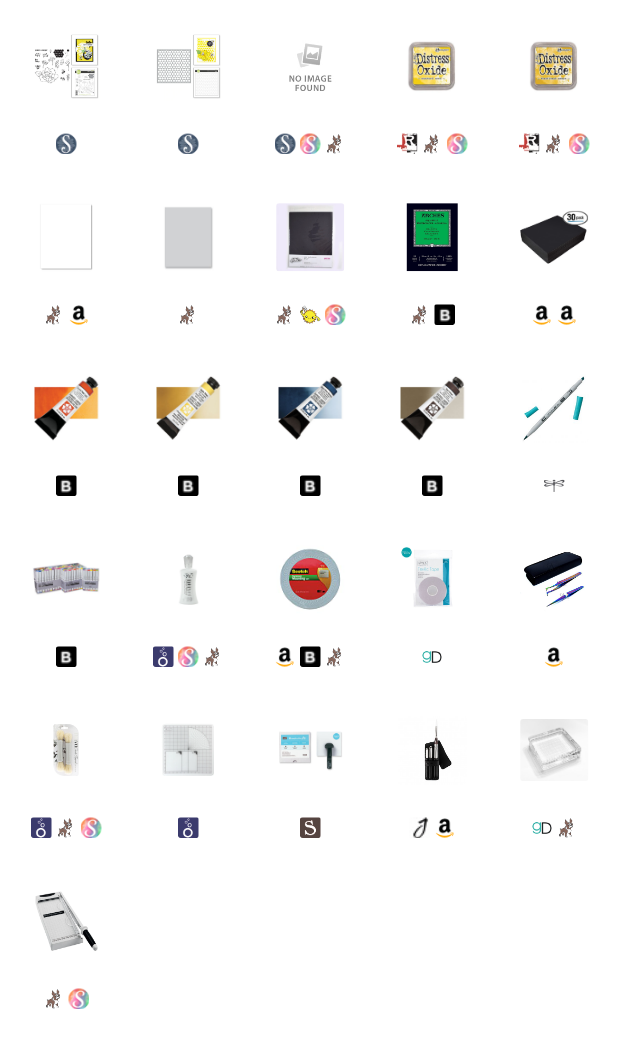
Today I am playing with the Fun Stamper's Journey Buzzworthy Collection. I have the Sweet as Honey Stamp set and the Sweet Honey Comb Stencil. This set features some bees and a beautiful floral image, as well as some additional greenery images, but I did not use on the cards I am sharing with you today. I made three somewhat different cards using the same color scheme and many of the same products. The stamps are red rubber which always leave behind a great image but because they are not clear, can be a little trickier to use. To help me be successful with red rubber stamps I like to use a Stamp-A-Ma-Jig stamp positioner tool. 

To find more from this collection (CLICK HERE!) to visit the Spellbinders website where you can both shop and be inspired by tons of additional projects using these products. 


For the first card, I used the solid cluster of honey combs from the Sweet as Honey Stamp set to stamp a border along the bottom and the top of my card panel (which measures 3 1/2 by 4 3/4"). I stamped this onto two separate panels interchanging the design. I took one of the panels and cut it along the edge of the honey combs in order to create an additional layer to pop up onto my design. I used Distress Oxide ink in Mustard Seed to stamp them onto a piece of Neenah 110 lb. Classic Crest cardstock. I stamped the sentiment "you're a keeper" using Versafine Clair Nocturne ink towards the center of the panel, leaving space for my bee image to live. The bee was stamped using alcohol marker friendly ink and colored using my Tombow ABT Pro alcohol markers. I fussy cut the image to the best of my ability and then popped up all of the images using Scotch 3M foam tape. 


I wanted to keep all of the cards around the same color scheme so each card has a little black and white feel along with the traditional honey color to the combs. This next card I kept it super simple and did some watercoloring. I added a little color to the background panel using a wet on wet technique and a little bit of splatter. I used Arches cold pressed watercolor paper. The sentiment from the same Fun Stampers Journey Sweet as Honey stamp set, was stamped toward the bottom right using Versafine Clair Nocturne ink. The image was stamped in Distress Oxide in Antique Linen and colored with a few Daniel Smith watercolors. I fussy cut the image and popped it up with Scotch Foam tape. I trimmed the white watercolor panel down to 3 1/4 by 4 1/2 and stuck it to a piece of black cardstock cut to 3 1/2 by 4 3/4 leaving a very small 1/4 inch frame. 


On the third and final card, I used the Sweet Honey Comb stencil also from the Buzzworthy collection, to ink blend a bit. I concentrated the Distress Oxide ink in Fossilized Amber toward the bottom left corner of the card panel both with the stencil in place and without to give a faded look to my honey combs. I then stamped the solid image in Mustard Seed, the honey combs from the Sweet as Honey stamp set right on top of my ink blending to give a look of dimension. (I wished the honey combs were the same size but they are slightly different). I then stamped the sentiment "Bee happy". Since the black ink is much harder to work with, I started with the black and masked the part of the image that stamped BEE. I stamped "happy" in the same Versafine Clair Nocturne ink. I then masked the happy in order to stamp the "Bee" in the same Distress Oxide ink. The bee image for this card was left black and white on purpose. It was stamped in black ink and cut out. I popped it up with foam tape once again. I really enjoyed the look of the black outline from the previous card so I did that also. 


All of these cards were attached to Simon Says Stamp Fog card bases in size A2 in a top folding portrait orientation. 

I hope you enjoyed having a play with the Fun Stamper Journey Buzzworthy collection. If you want to take a closer look at these products for see much more inspiration using them (CLICK HERE!) to visit the Spellbinders website where you can shop or read the blog. 

Thank you so much for visiting my blog today. I hope I've inspired you to create something! 

Koren 

Sunday, November 10, 2019

Spellbinders Scenic Snapshots


Hello everyone.

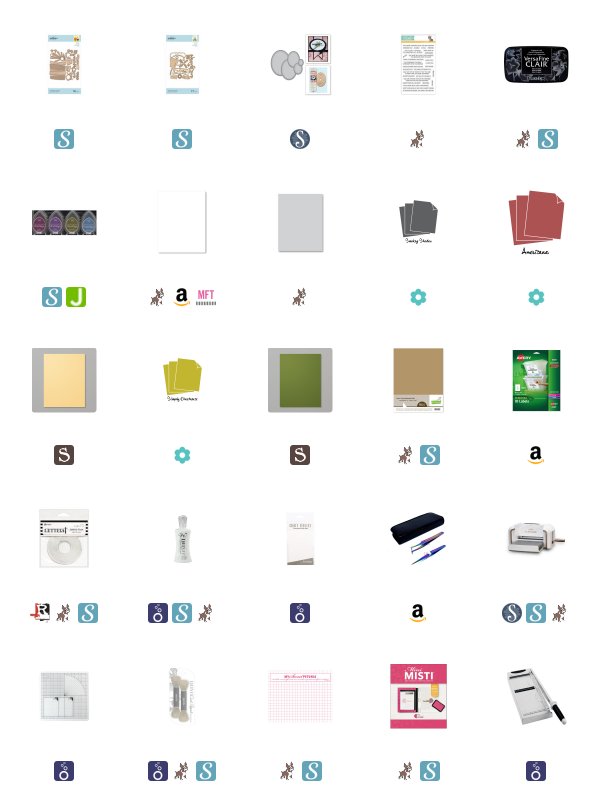
Today I have two cards featuring Spellbinders Shapeabilites Scenic Snapshots Harvest Time and Adventure Time. I love these sets. The size is perfect even without the coordinating bell jar die in the Santa's Workshop set. One of my favorite way to make a card is to create a small scene. This set does that for me. I love how these cards turned out.

To shop the entire Spellbinders Shapebilites Scenic Snapshots Collection (CLICK HERE!).

For the first of two projects, (which were made in very similar ways), I cut a piece of Neenah 110 lb. Cardstock to 3 1/2 by 4 3/4. I then took a piece of Avery Repositionable Label Sheet and a very old Spellbinders set of oval dies and cut an oval from the label sheet. I have had this set of dies for such a long time, and like many of my Spellbinders die sets, I love it when I have an opportunity to play with them. They were probably the first die set I ever bought. Anyway, I set aside the oval and used the negative mask left by the die to mask the parts of my card that I do not want the ink to get on. I tried to center the oval as best I could. It helps to cut the piece of label sheet to the size of the card panel you are working with before you die cut the mask. Doing this helps you line up the mask to apply it to the card panel.


After the oval mask was positioned the way I liked it, I then took VersaMagic Chalk Ink in Aegean Blue and a Nuvo Blender Brush and brushed the ink towards the bottom of the oval blending the ink upwards towards the top of the oval. I was trying to blend it to white somewhere around the top of the oval. I did this for both backgrounds used on the projects today.

I wanted to stamp my sentiments for each card before creating the scenes. I used Simon Says Stamps You Got this stamp set for both "keep going" and the "you make life beautiful" sentiments. I stamped them with my Mini MISTI using Versafine Clair Nocturne ink.

I then began the arduous task of cutting all of my die-cut pieces. I used the mountains and one layer of grass to create my scene. Varying the adhesive depths to get some dimension. I added snow caps to my mountains as well as a pine tree towards the forefront. I used a thin strip of clear foam adhesive to add it to the scene. I also used one of the clouds up in the sky using foam adhesive to pop it up.


The second card was created using the ray of the sun adhered flat to the background with liquid adhesive. When I was choosing an oval size for the background mask, I used the size of this sun ray to determine which size die was used.

I then used the trees and their tops in varying depths for dimension as well as two layers of grass. I will make sure I link all of the cardstock used on these projects below. Last was the barn and all of its components. I cut some yellow cardstock to fit behind the barn to make it look like light was coming from within the barn. I also considered using a dark gray but I wanted to keep the card bright. I don't know. Maybe the next card I will use gray.

I hope that I've inspired you to create something today. To check out more from Spellbinders (CLICK HERE!).

Thank you for visiting my blog today,

Koren


Thursday, May 23, 2019

Spellbinders So Many Sentiments Die Set


Hello everyone. 

Today I am sharing with you a few cards I’ve made using the NEW Spellbinders “So Many Senitiments” Die Set. This set is an add-on set from last October’s “Truckin’ Through the Seasons” die set that originally appeared in a Large Die Kit of the month. I made a few Christmas Cards using it, and if you would like to check those out,  (CLICK HERE!). Today I’m using the NEW add on set as well as the original Truck Die Set to create some fun summer inspired cards, and since you’re already here, no more clicking is necessary- the fresh stuff is right here! 


I started by cutting out some patterned paper backgrounds from one of my favorite 6x6 paper pads called Summer Dreams. I believe it has been discontinued but it’s made by Echo Park (at least was). If you can find it, snatch it up, I know I will- its a great pack. I cut three of the patterns that appealed to me the most, and cut them down to 3 1/2 by 4 3/4.  

For two of those patterns, I ink blended a little bit of Distress Oxide Ink in Peacock Feathers around the outside. I used my Nuvo Blender Brushes to add the inked edges. 


On the background with the popsicles, I used the NEW “get well” die from the Spellbinders So Many Sentiments Die Set, and cut it into the top center of the card front. I popped it up onto a coordinating piece of pattered paper from the same pack and added it to a Simon Says Stamp Fog card base and called it done, it was super simple, yet- with just that simple die cut and mounting the image to the base- I had a card that was ready to give away. 

The background with all the illustrations on it was also popped up onto a Fog card base using Scotch Double Sided Adhesive.  But to this one, I added a few of the original die cut shapes from the Truckin Through the Seasons die set to the bottom left corner of the panel. I created a surf board and a beach ball out of various patterns from the same pack of paper from Echo Park and added a layer of Crystal Glaze to the outside to make it shiny and look like they are ready to ride some waves. 


To finish off this card I added the NEW Hello die cut from Neenah 110 lb Solar White Cardstock. I first cut the plain rectangle shape that comes in both sets and then I centered the “hello” within it and cut it out four times. I used my Nuvo Deluxe Adhesive to adhere all of my layers together.  

To attach it to my card front I used Tombow Extreme Clear Adhesive Tabs cut into small strips and added to the back of the word die. This adhesive is clear and although you may be able to spot it, it doesn’t stand out quite as much as a white adhesive does. 


For my final card, I assembled the truck die and created a scene using  elements from both sets. I used various colors and types of cardstock. They will be linked below except for the EK success assorted wood paper that I used for the surf boards, as it is no longer available. I am sure we can find something comparable though, so, don’t fret. This time I cut out four of the scalloped and pierced rectangles and the “wish big” sentiment, both from the NEW set. I used the same clear adhesive tabs to pop it up on the tailgate of my truck. Most of the other elements of this truck were either popped up using Scotch 3M foam tape or adhered using liquid adhesive. 


I hope you enjoyed my card projects using the NEW Spellbinders So Many Sentiments Die set and the Trucking Through the Seasons Set. These sets are a lot of fun and there are so many different sentiments with this NEW set that it makes the versatility of this set so vast you will have years of use out of these products. 

Thank you for stopping by my blog today. To check out my from Spellbinders (CLICK HERE!) 

Koren 


Monday, May 22, 2017

Your Next Stamp Chameleon Feature Day Card with Video

Hello fellow card makers. Today I am sharing my Feature Day card for Your Next Stamp. Today also happens to be Karen's Sons birthday, Karen is the owner of Your Next Stamp. To Celebrate this, she is offering 22% off! For more information visit the Your Next Stamp Blog. To visit the Your Next Stamp Blog... Click Here! To visit the Your Next Stamp Store... Click Here! To check out their new Releases... Click Here!


The Feature Day objective for us was to be inspired by a famous artist or painting to create a project. I have always been attracted to Graffiti art. In my opinion Graffiti art isn't a crime, the real crime is to not see the beauty and talent behind it. Don't get me wrong, destruction of property is a crime, but artists such as Lee Quinones, when given the proper outlet, can really display true talent and inspiration. So, I used him and the New York City Subway art movement as my inspiration for todays card.

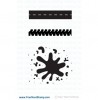
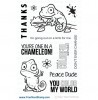
I used the One in a Chameleon Stamp set to create my card. I tried to make it appear as though he was camouflaged into the brick wall.  I also used the Mud Splatter stamp set to create my colorful background with a rainbow of ink colors. I made sure to mask his eyes and shadow his body to make sure the life of the image still existed. Photos of my project, a link to the YouTube video creating this card, and a full list of supplies are below.


Supplies:

Stamps:
Your Next Stamp, One in a Chameleon and Mud Splatter

Dies:
Mama Elephant, Femme Frames
Spellbinders, Page Maps Say What

Ink:
Memento, Tuxedo Black
Taylored Expressions, Cherry Pop, Candy Corn, Lemon Meringue, Peapod, and Cookie Monster
Distress Ink, Black Soot and Hickory Smoke

Other:
Copic Markers
Nuvo, Crystal Drops, Apple Green, Caribbean Blue, and Ebony Black
MFT, Brickwall Stencil
Gelly Roll, Black Glaze Pen

Thank you for visiting  my blog today,

Kori


Saturday, February 4, 2017

Sweet Stamp Shop Haul and Card Share with Video

Hello fellow card makers. Today I am sharing with you my Sweet Stamp Shop Haul Video and Card Share. I have ordered from Sweet Stamp Shop before and I will definitely be ordering from them again in the future. The stamps are adorable. Sweet Stamp Shop has gone deep into the planner community with all their adorable planning type stamps. Although I don't stamp in my planner, their stamps for this purpose are genius and it makes a girl think about starting to stamp in her planner.

I ordered my stamps on a Friday afternoon and was stamping away by Wednesday afternoon. I couldn't be happier with my order. I also made two cards with my stamps with many more to come. If you would like to see those cards and what was in my order, watch the video linked below on my YouTube channel. Photos of my card share as well as a list of supplies used are also listed below.


Supplies:

Stamps:
Sweet Stamp Shop, Believe Princess, Hope Princess, Fishy, Peekaboo Cats, Royal Wish

Ink:
Memento, Tuxedo Black
Hero Arts, Unicorn White

Dies:
Spellbinders, Nesting Labels two, Shape Banner Basics 2

Cardstock:
Papertrey Ink Soft Stone
Tim Holtz Distress Watercolor  Cardstock

Embossing Powder:
Simon Says Stamp, Detail White

Other:
Copic Markers
Daniel Smith Watercolors

Thank you so much for visiting my blog today,

Kori

Sunday, January 8, 2017

January Birthday's

Hello fellow card makers. Today I am sharing the cards that I made for the people in my family that have January birthdays. I have two cards for this month. They are both similar in design and nature and so are the ladies receiving them.

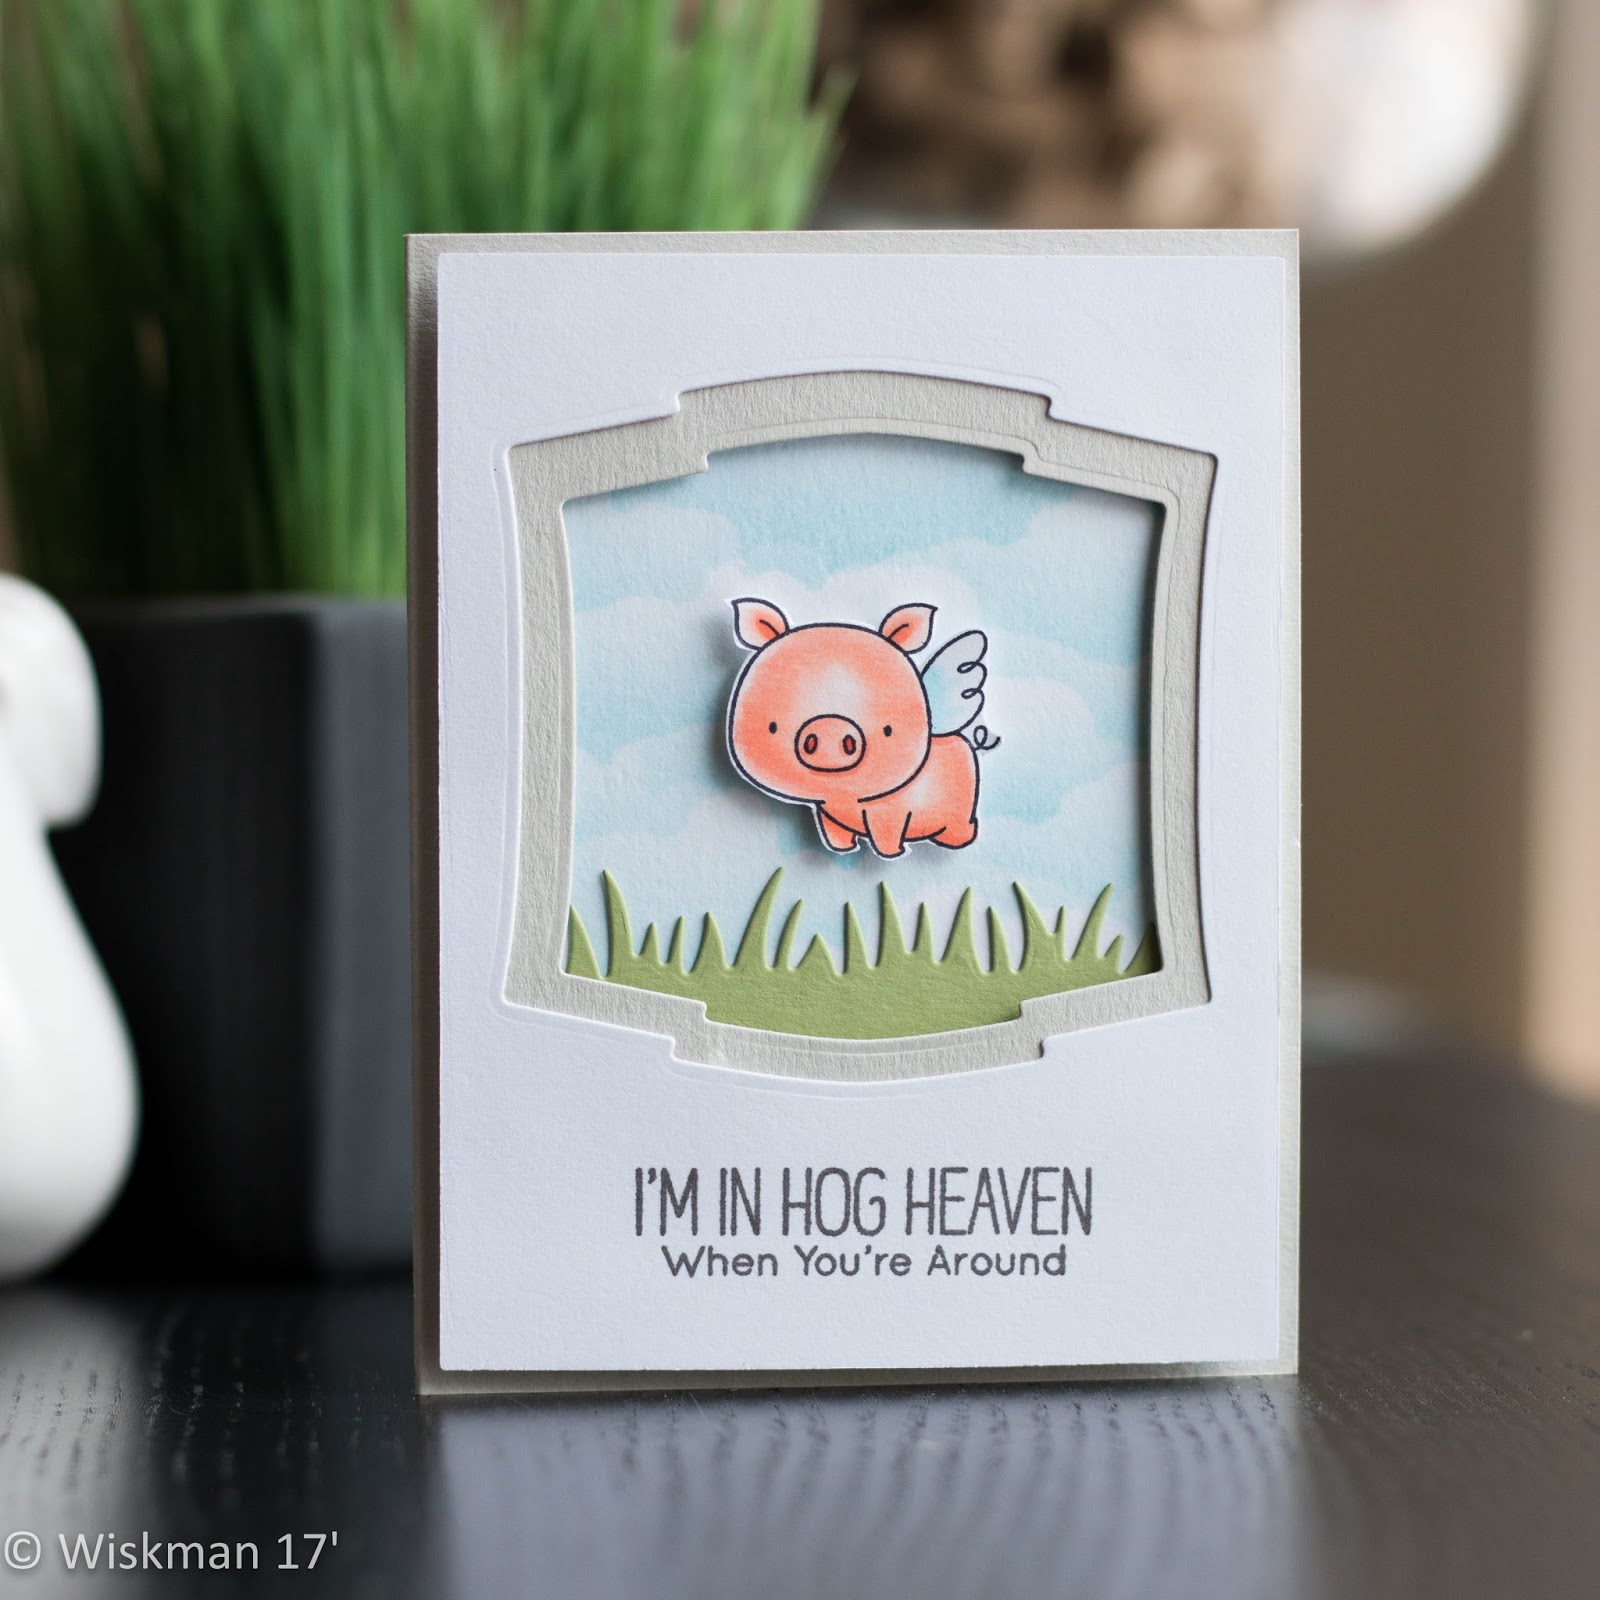
For both cards I used a homemade stencil to ink some clouds in the background using Tumbled Glass, Distress Ink. I cut a window in the front of each card and created a mini scene. Photos and a list of supplies used are below.


Supplies for card #1
Stamps:
MFT, Hog Heaven

Dies:
Spellbinders,
Lawn Fawn, Grassy Borders

Ink:
Memento, Tuxedo Black
Taylored Expressions, Earl Gray
Distress Ink, Tumbled Glass

Cardstock:
Neenah, Solar White 110 lb.
Simon Says Stamp, Fog
Stampin' Up!, Pear Pizazz

Other:
Copic Markers
Gelly Roll Glaze, Black


Supplies for Card #2
Stamps:
Paper Smooches, Spectrum

Dies:
MFT, Wonky Stitched Rectangles
MFT, Jumbo Peek A Boo Window
Paper Smooches, Rainbow

Cardstock:
Neenah, Solar White 110 Lb.
Simon Says Stamp, Fog
Stampin' Up!, Real Red, Pear Pizazz, and Old Olive
PTI, Orange Zest, Lemon Twist, Blueberry Sky, and Wisteria Wonder

Other:
Copic Markers
Distress Markers
Spectrum Nior, Clear Sparkle Pen
Gelly Roll Glaze, Black
Nuvo Glitter Drops, White Blizzard