Hello everyone.
Today I have two cards featuring Spellbinders Shapeabilites Scenic Snapshots Harvest Time and Adventure Time. I love these sets. The size is perfect even without the coordinating bell jar die in the Santa's Workshop set. One of my favorite way to make a card is to create a small scene. This set does that for me. I love how these cards turned out.
To shop the entire Spellbinders Shapebilites Scenic Snapshots Collection (CLICK HERE!).
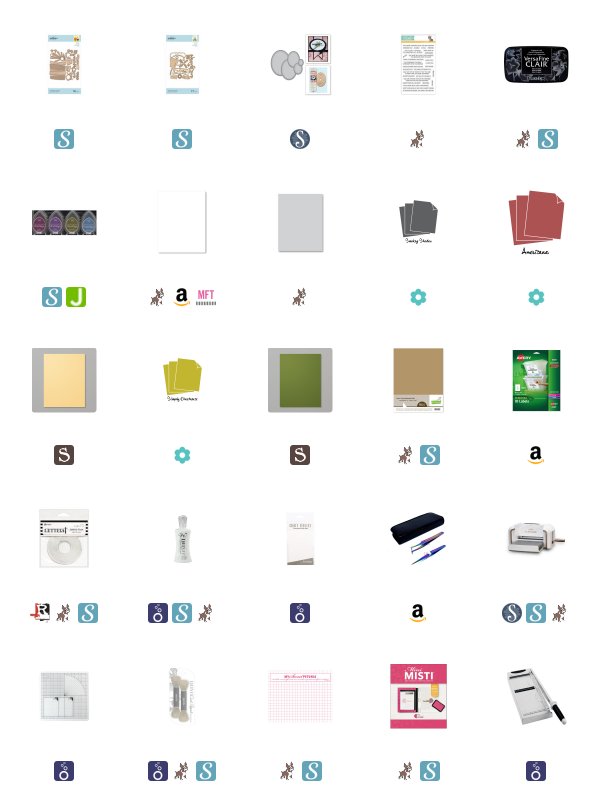
For the first of two projects, (which were made in very similar ways), I cut a piece of Neenah 110 lb. Cardstock to 3 1/2 by 4 3/4. I then took a piece of Avery Repositionable Label Sheet and a very old Spellbinders set of oval dies and cut an oval from the label sheet. I have had this set of dies for such a long time, and like many of my Spellbinders die sets, I love it when I have an opportunity to play with them. They were probably the first die set I ever bought. Anyway, I set aside the oval and used the negative mask left by the die to mask the parts of my card that I do not want the ink to get on. I tried to center the oval as best I could. It helps to cut the piece of label sheet to the size of the card panel you are working with before you die cut the mask. Doing this helps you line up the mask to apply it to the card panel.
After the oval mask was positioned the way I liked it, I then took VersaMagic Chalk Ink in Aegean Blue and a Nuvo Blender Brush and brushed the ink towards the bottom of the oval blending the ink upwards towards the top of the oval. I was trying to blend it to white somewhere around the top of the oval. I did this for both backgrounds used on the projects today.
I wanted to stamp my sentiments for each card before creating the scenes. I used Simon Says Stamps You Got this stamp set for both "keep going" and the "you make life beautiful" sentiments. I stamped them with my Mini MISTI using Versafine Clair Nocturne ink.
I then began the arduous task of cutting all of my die-cut pieces. I used the mountains and one layer of grass to create my scene. Varying the adhesive depths to get some dimension. I added snow caps to my mountains as well as a pine tree towards the forefront. I used a thin strip of clear foam adhesive to add it to the scene. I also used one of the clouds up in the sky using foam adhesive to pop it up.
The second card was created using the ray of the sun adhered flat to the background with liquid adhesive. When I was choosing an oval size for the background mask, I used the size of this sun ray to determine which size die was used.
I then used the trees and their tops in varying depths for dimension as well as two layers of grass. I will make sure I link all of the cardstock used on these projects below. Last was the barn and all of its components. I cut some yellow cardstock to fit behind the barn to make it look like light was coming from within the barn. I also considered using a dark gray but I wanted to keep the card bright. I don't know. Maybe the next card I will use gray.
I hope that I've inspired you to create something today. To check out more from Spellbinders (CLICK HERE!).
Thank you for visiting my blog today,
Koren


So pleasing to look at; I love this type of card. Makes me want to look through my scenic PTI dies and create.
ReplyDelete