Thursday, October 31, 2019

Neat & Tangled October Release Week: Day Four


Hello everyone. It’s Day Four of Neat & Tangled’s October Release Week. Today I’m using the NEW Circular Stamp Set to create a fun universal card that can be used all year round with tons of different color combinations.

(CLICK HERE!) to check out the Neat & Tangled Website to shop the NEW October release and visit the blog for lots of inspiration. Comment here and over on the N&T Blog for your chance to win today’s GIVEAWAY. Winners will be announced tomorrow Friday on the Neat & Tangled Blog.


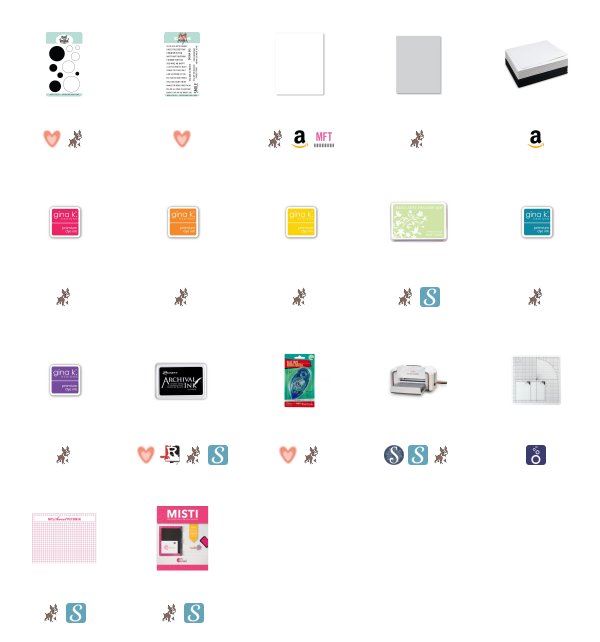
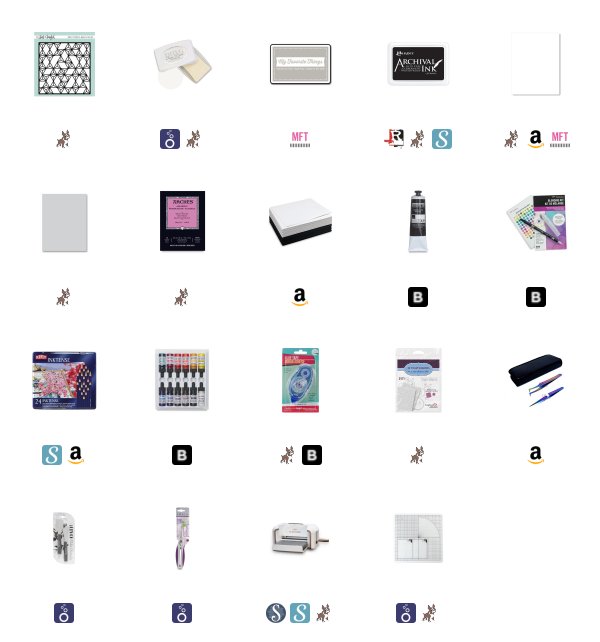
I started with Neenah 110 lb. Classic Crest Solar White cardstock cut to 3 1/2 by 4 3/4. I loaded it into my Original MISTI and stamped all of the circles in the NEW Neat & Tangled Circular Stamp Set in a random pattern filling the available space on the panel. I used Gina K  dye inks in Passionate Pink, Sweet Mango, Blue Lagoon, Wild Lilac, and Wild Dandelion. I also used Hero Arts Green Hills. I stamped them several times each to make sure I got great coverage using the solid stamps.

I then stamped the outline circle for each coordinating circle off center with Ranger Archival Ink in Jet Black. The outline image as well as the solid color circle are both available in the NEW Circular stamp set.


I took the “smile” stamp from Neat & Tangled’s So Many Sentiments. I aligned the sentiment in the open space on the panel and stamped it with the same Jet Black ink.

I then added the entire panel to a Simon Says Stamp Fog card base cut to size A2 and scored in a top folding portrait orientation. I added the panel with a piece of craft foam and Tombow Mono tape runner adhesive.

Make sure you (CLICK HERE!)  to visit the Neat & Tangled website to shop and visit the blog to see tons of inspiration from the design team.

Thank you for visiting my blog today,

Koren

Wednesday, October 30, 2019

Neat & Tangled October Release Week: Day Three


Hello everyone. It’s Neat & Tangled’s October Release Week- Day Three and I have another card that features the NEW Circular Stamp Set from the October Release. I also used a sentiment from the NEW Heartfelt Thanks Stamp Set. I really went for a vintage and more muted color scheme for this one, and definitely feel like the colors nailed that feeling.

Make sure you (CLICK HERE!) to visit the Neat & Tangled website to shop the new release and to check out the blog for tons of inspiration from the design team using the new release.

Comment here on this post, and on the N&T blog for your chance to win today’s GIVEAWAY. The winners will be announced Friday over on the Neat & Tangled blog.


I started with a piece of Neenah 110 lb. Solar White Classic Crest cardstock cut to 3 1/2 by 4 3/4. I loaded it into my Original MISTI along with the largest of the circles from the NEW Neat & Tangled Circular Stamp Set from the October Release. I placed it in the upper right hand corner of the panel stamping it each time and moving the stamp along the pattern. Trying desperately to keep them in line.

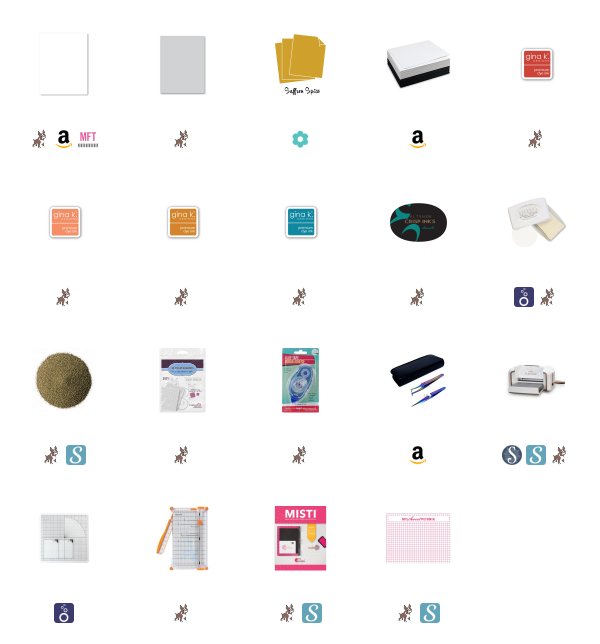
I used Gina K dye ink in Blue Lagoon, Honey Mustard, Peach Bellini, and Faded Brick. I also used Altenew Emerald. I stamped them each multiple times to ensure good solid coverage.

For the sentiment “a heartfelt thanks for all the love and joy you bring to my life” is from the NEW Neat & Tangled Heartfelt Thanks Stamp Set. I stamped it on Papertrey Ink Saffron Spice cardstock with Nuvo Clear Mark embossing ink and heat embossed with Hero Arts Gold embossing powder.


I cut down the sentiment strip using my Fiskars Wire Guide Paper Trimmer and popped it up onto my stamped background using Scrapbook Adhesives Foam Squares.

The entire panel was added to a Simon Says Stamp Fog card base cut to size A2 and scored at in a top folding portrait orientation. I used craft foam and Tombow Mono tape runner adhesive to pop it up.

Make sure you (CLICK HERE!) to visit the Neat & Tangled website to shop and check out all of the inspiration being shared on the blog by the design team.

Thank you so much for visiting my blog,

Koren

Tuesday, October 29, 2019

Neat & Tangled October Release Week: Day Two


Hello everyone. It’s Day Two of the Neat & Tangled October Release Week. If you haven’t checked out the entire NEW Release (CLICK HERE!) to visit the Neat & Tangled website to shop the release and to check out all of the inspiration for the design team being shared on the blog.

Make sure you comment below as well as on the Neat & Tangled post for today for your chance of winning today’s GIVEAWAY. The winner’s of this weeks giveaways will be announced this Friday over on the N&T Blog.

For todays project I’m using the NEW Circular Stamp Set to create a card inspired by some geometric art I found on Pinterest. To follow me on Pinterest (CLICK HERE!) I have several boards that I pin inspiring photos and color combinations for future reference.

Today’s project isn’t as simple as it looks. With its clean and simple design came lots of measuring and marking to make sure the squares did not look completely wonky.  How did I do? Maybe it’s still wonky, it’s ok. I did my best.


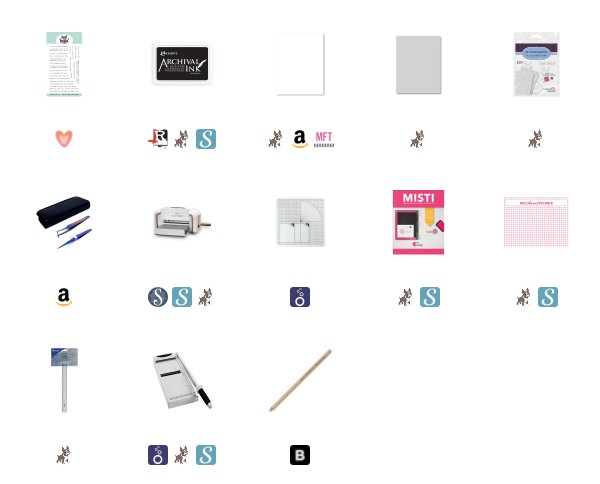
I took a Simon Says Stamp Fog card base cut to size A2 and scored in a top folding portrait orientation and loaded it into my Original MISTI. I aligned the sentiment from Neat & Tangled’s Typed Sentiments Stamp Set that says “I am inspired by your strength”. I stamped it using Ranger Archival Jet Black Ink. This ink will be available in the Neat & Tangled shop for a limited time while supplies last.

To stamp the squares, I cute nine 1 inch by 1 inch squares out of Neenah 110 lb. Solar White Classic Crest cardstock. I loaded them into my MISTI, into the lower corner as far as it would go. I also took the largest circle from the NEW Circular Stamp Set available now in the October Release. I used the same Ranger Archival Jet Black ink to stamp all nine squares the exact same way.

I found the pattern on Pinterest and used it to arrange the circle quarters into a very modern abstract placement. I used a T-Ruler to mark straight lines about 3/4 of an inch off both the right and left side of the card base. This will help me align the squares a little straighter.

I used Scrapbook Adhesives Foam Squares to pop up each individual square into place. Using the lines I made as a guide and then eyeballing the center row to line up with the other.


If the ink did not stamp perfectly, I did stamp it multiple times. I also took a black Copic marker to fill in any areas that were not black enough. Be careful because archival ink is not alcohol marker friendly and can make your lines bleed if you were using it to stamp a lined image and then color it with alcohol markers. I used this technique sparingly as to not create any issues with bleeding. You can still see some variations in the black solid image because of the nature of the ink.

This card was simple to create once I figured out a way to align the squares in a fashion that didn’t look too incredibly wonky. I really enjoyed this card and it’s sophisticated style.

Make sure you (CLICK HERE!) to visit the Neat & Tangled website to shop and check out all of the inspiration being share on the blog this week. The NEW October release is now available in the shop.

Thank you for visiting my blog today,

Koren

Monday, October 28, 2019

Neat & Tangled October Release Week: Day One


Hello everyone. It’s Neat & Tangled’s October Release Week! Today I have a card using the NEW Heartfelt Thanks Stamp Set. I also used the Modern Triangle Stencil also by Neat & Tangled but from an older release.

Make sure you (CLICK HERE!) to visit the Neat & Tangled website and blog to see the entire NEW October release and all of the inspiration from the design team. Definitely leave a comment for your chance to win today’s GIVEAWAY! The winners will be announced this Friday over on the Neat & Tangled Blog. Come back each day for another chance to win.

I started this project with a piece of Neenah 110 lb. cardstock cut to 3 1/2 by 4 3/4 inches. I used some low tack tape stuck to the back to keep my panel in place on my Tonic Studios 12 x 12 Glass Mat.  I also used the same low tack tape to keep my Neat & Tangled Modern Triangle Stencil in place over the panel. Making sure not to cover any of the cardstock with the tape.

In the corner of my glass mat I expelled about a quarter size pile of Blick Modeling Paste. This is a smooth white paste straight from the tube but I added a few drops of Dr. PH Martins Hydrus Watercolor ink to the pile to mix in some color. I added 2 drops of Phthalo Blue an additional 2 drops of Phthalo Green and mixed it together with my Nuvo Spatula.


Once the color was well incorporated and it was the desired shade, I applied it to the cardstock through the stencil using my spatula to roughly add texture as well. I also used the same amount of modeling paste and two drops of the Magenta shade from the same Dr. PH Martin’s Hydras watercolor set. I applied to the paper the same way only this time I concentrated the color to the bottom left leaving the two colors separated.

I set this panel aside to dry in front of a fan. It did take an hour or so to dry enough for me to mess with it at all and even then it probably could have used more time. So be patient and let it dry before you add images over top of it.

While my background was drying, I stamped the large image from the NEW Neat & Tangled Heartfelt sentiments stamp set with My Favorite Things Cement Gray Hybrid Ink. This ink is my favorite to use when I attempt no-line coloring. Although, with my coloring style, I end up drawing the lines back in with whatever coloring medium I am using at the time.

I wanted to use my Derwent Inktense pencils to color only the center of the arrangement. I have created a Derwent Inktense Watercolor pencils coloring map so that I could share the colors I used to color the image as well as save it to my Pinterest board in order to reference the color combination again.

I added the darkest shades to the shadow areas and I draw the color out with a blender pen. I really like the texture that pencils give so I try not to blend it too much and lose the pencil lines. I also add the darker colors to the darkest areas and don’t blend them out at all.


Once I was finished coloring the sunflower, I cut it out using my Tonic Studios Kush Grip Scissors. I also took my blender pen and reactivated the color on the edges to make the stark white edges blend in. I used Scrapbook Adhesives Foam Squares, which are also available in the Neat & Tangled Shop while supplies last. I placed a few on the backside of the sunflower and centered it on my card panel.

The entire panel was then popped up using a piece of craft foam. I adhered a slightly smaller piece to the back of the panel using Tombow Mono Tape Runner Adhesive (also available in the N&T shop for a limited time). I then added it to a Simon Says Stamp Fog Card Base cut to size A2 and scored in a top folding portrait orientation.

That is it for my project today. Make sure you come back tomorrow for more inspiration using the NEW Neat & Tangled October Release. Comment below and over on the Neat & Tangled Blog for your chance to win today’s GIVEAWAY. (CLICK HERE) to visit the blog and shop the NEW Release.

Thank you for visiting my blog today,

Koren
Friday, October 11, 2019

Tonic Studios Wonderful Wishes Release Party


Hello everyone.  Today is an exciting day because the NEW Tonic Studios Wonderful Wishes Release is being celebrated with an online party. The party starts over on the Tonic Facebook page with a LIVE broadcast. You wont want to miss it. It will have tons of inspiration from Tonic Studios and the rest of the design team plus some special guest designers. 

To check out the release (CLICK HERE!) to visit the online store to shop and to save 10% with my special discount link. Discount taken at checkout.


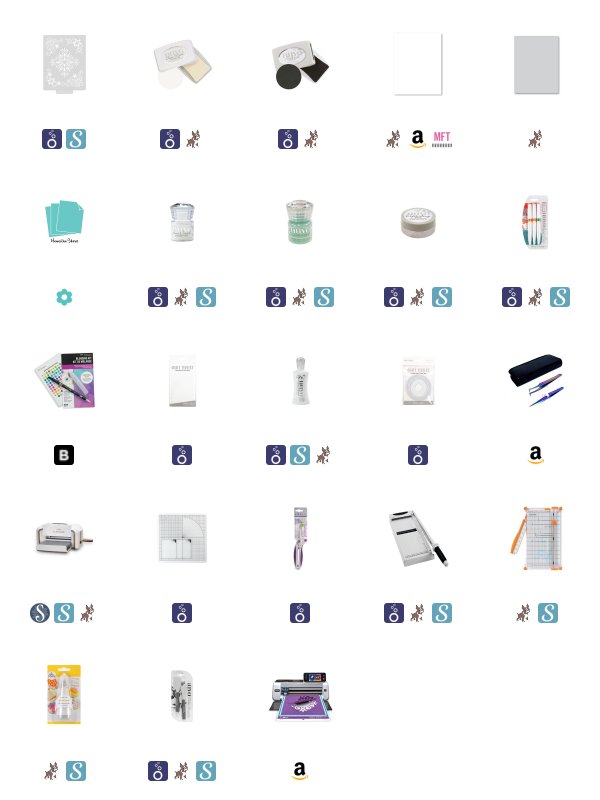
For my card, I started with a piece of Papertry Ink’s Hawaiian Shores cardstock and the Tonic Studios Snowflake Flurry Stencil. I used Nuvo Expanding Mousse in Warn Linen to create the snowflake background you see in the photo. I heated it right away with my Wagner Heat Tool to watch it expand into some snowy goodness. 


I took a piece of Neenah 110 lb. Solar White Cardstock and cut it to 3 1/2 by 4 3/4 inches. I used a scalloped circle die also from Tonic Studios to create an aperture toward the upper center of the card. The scallops leave a fun pattern to frame the background snowflake. 

I then loaded the recently diecut panel into my Mini MISTI and aligned the sentiment “wishing you the sweetest Christmas” making sure that I left room above it for some stamped and diecut treats. This sentiment is from the NEW Jolly Marshmallow Man stamp set in this release. I wanted to emboss only the Christmas part of the sentiment so I used some Thermoweb Purple tape to mask the first part of the sentiment. I will stamp that part later. I inked up the lower part with Nuvo Clear Mark embossing ink and removed the temporary purple tape masks and stamped it onto the panel. I heat embossed this part of the sentiment with Nuvo Cool Jade embossing powder. 


As for the second part of the sentiment, I stamped the “wishing you the sweetest” with the same embossing ink only this time I masked the Christmas part of the sentiment and embossed it with Nuvo Glacier White embossing powder. I used my Fiskars wireguide paper trimmer to cut out the thin sentiment strip. This will later get popped up onto the card panel using foam tape. 

I stamped my images using Nuvo Black Shadow Ink onto Arches Hot Pressed watercolor paper. After giving it a moment to dry I began to color my images using various colors in the Nuvo Aqua Flow collection. These markers, are basically watercolors in a pen. I find that too much product comes out at one time. I probably squeeze too hard, but to combat that, I use a blender pen to watercolor with instead of a brush and water. I enjoy water coloring much more now that I do it this way. I add a little bit of the watercolor to the darkest areas of the image then drawing the color out to the rest of the area using the blender pen. I will add a little darker color to make the contrast more intense in the shadows. I’ve made a list of the colors that I used to color these images for you to save for later. The images where cut out using my Brother Scan N Cut. 


To put the card together I used Craft Perfect Foam Squares to pop up the white front panel on top of the snowflake panel. I then adhered all of the images using the same foam squares cut down to fit into smaller crevices. Various heights of foam squares where used to complete the fantastical arrangement of candies. I started with the larger images in the back and the smaller images toward the front. 

I then stuck on the sentiment strip I created earlier with the same foam squares right above Christmas arranged just how the artist intended it, slightly off center to each other but filling the space nicely. 

To complete this project I adhered my card panel to a Simon Says Stamp Fog card base cut to size A2 and scored in a top folding portrait orientation. 

I hope I’ve inspired you to create something today. To check out the entire NEW Wonderful Wishes release by Tonic Studios (CLICK HERE!) and save 10%  at checkout. 

Thank you so much for visiting my blog today. 

Koren 

Tuesday, October 8, 2019

MFT & Friends October Release

https://www.shareasale.com/r.cfm?b=481500&u=1535136&m=47433

Hello everyone.

I am so happy to be joining MFT  in celebration of their NEW October release and it is full of festive products, sure to get your holiday crafting underway. I absolutely love the cards I am sharing with you today. To check out the MFT & Friends post over on the blog (CLICK HERE!) and see all of the design team and guest designer inspiration using the new release. I will also be sharing more cards over on Instagram so check my grid later today for more MFT  October release inspiration.


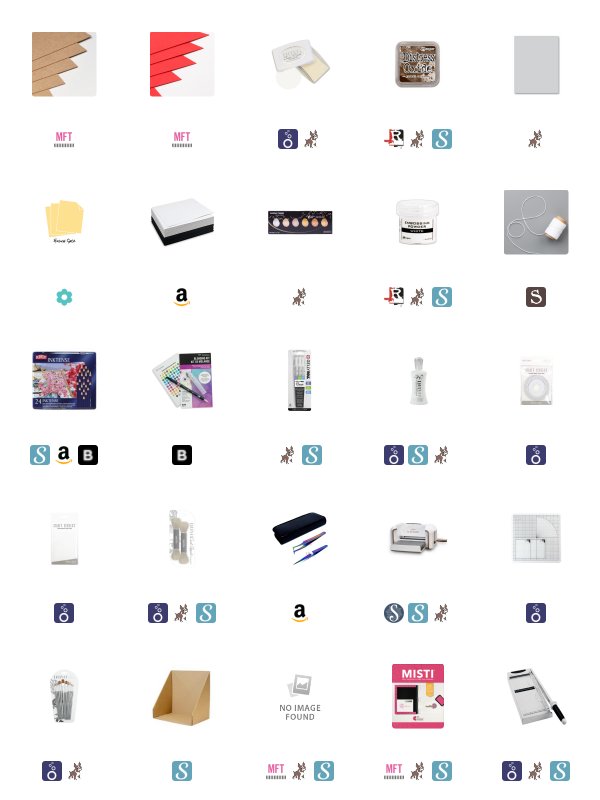
For my first card today I started with a piece of Poppy cardstock cut to 3 1/2 by 4 3/4. I used my Picket Fence Studios Blender Brushes to add some Distress Oxide ink in Ground Espresso to the outside edges. I made sure to leave the center of the panel that pure bright poppy red color.

I used the NEW Merry and Bright Die to cut the words from Papertrey Ink’s Harvest Gold cardstock. I cut it four times and layered them each together using Nuvo Liquid Deluxe Adhesive. This creates a nice thick die cut sentiment that becomes the focal point of your card.


To enhance my card further, I placed both the red background and the yellow word die into my splat box. I mixed a little of the Gansi Tambi Starry Colors #903 and placed a small amount of it onto an acrylic block. I then picked it up with a small round Nuvo Paint Brush and applied it to the card elements. I did concentrate most of the splatter onto the center of the background panel the best I could, but other than that, I was still generous with my splatter.

I adhered the word die along with the same liquid adhesive. The background panel was popped up using black craft foam and Craft Perfect tear tape adhesive. I popped it up onto a Simon Says Stamp Fog card base cut to size A2 and scored in a top folding portrait orientation.

As for my second card I started with a piece of Kraft cardstock, and loaded it, along with many of the images from the NEW MFT Stamps Reindeer Games stamp set. I scattered the images throughout the background as if I were designing my own patterned paper. I saw an image on Pinterest that inspired this design. It was of Christmas wrapping paper. It was adorable and the reason why I made this card. I stamped the images in Nuvo Clear Mark Embossing ink. I heat embossed them using Ranger White embossing powder.


To color them, I used my Derwent Inktense pencils. To use watercolor on non-watercolor paper is a real gamble sometimes. You can easily add too much water and destroy your project. So, I added the smallest amount possible to move the color around on my card without it pilling or warping. I only used two colors. I added Red where I thought the red should be and brown, where I thought brown would be. To make it a little more interesting I also filled in the white spots with a Gelly Roll white gel pen. I cut this panel down to 3 1/2 by 4 3/4.


I grabbed some white twine from my stash and wrapped around the panel just like I were wrapping a Christmas present. Before tying a bow in the front, I added a small tag that I cut using MFT’s Blueprints 1 that I think I’ve owned my entire life : ) I cut it out using the same Poppy cardstock as before. I stamped “for you” from the NEW Reindeer Games stamp set with embossing ink and used the same white embossing powder to heat emboss it. I added it to my twine and tied it into a bow. The tag was then popped up using Craft Perfect foam squares so that It would stay in place. I also added a Glue Dot beneath the bow in order to secure it in place.


I added this panel to a Simon Says Stamp Fog card base also in size A2 using tear tape adhesive and craft foam.

I hope that you enjoyed my projects today. Make sure you (CLICK HERE!) to visit MFT Stamps online store and blog to find tons of October release inspiration. I will have more on my Instagram feed later today.

Thank you so much for visiting my blog.

Koren