
Hello everyone. Today is an exciting day because the NEW Tonic Studios Wonderful Wishes Release is being celebrated with an online party. The party starts over on the Tonic Facebook page with a LIVE broadcast. You wont want to miss it. It will have tons of inspiration from Tonic Studios and the rest of the design team plus some special guest designers.
To check out the release (CLICK HERE!) to visit the online store to shop and to save 10% with my special discount link. Discount taken at checkout.


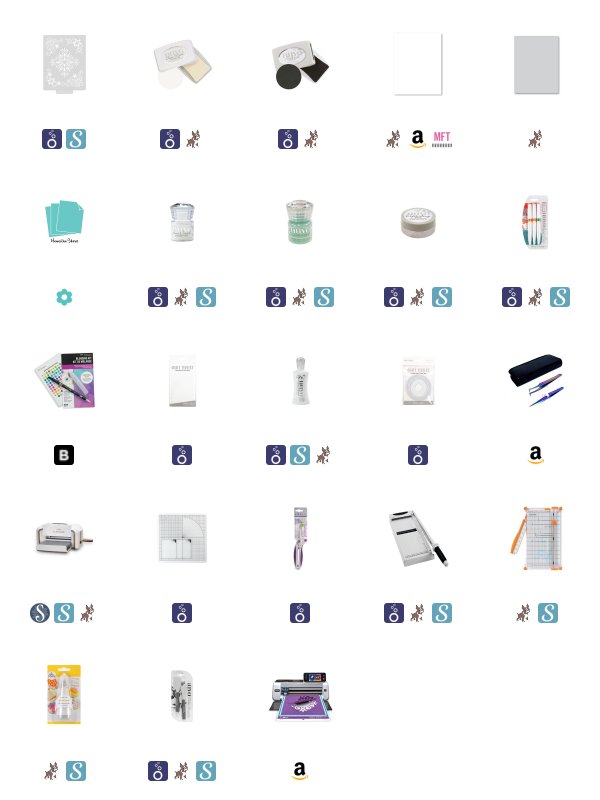
For my card, I started with a piece of Papertry Ink’s Hawaiian Shores cardstock and the Tonic Studios Snowflake Flurry Stencil. I used Nuvo Expanding Mousse in Warn Linen to create the snowflake background you see in the photo. I heated it right away with my Wagner Heat Tool to watch it expand into some snowy goodness.

I took a piece of Neenah 110 lb. Solar White Cardstock and cut it to 3 1/2 by 4 3/4 inches. I used a scalloped circle die also from Tonic Studios to create an aperture toward the upper center of the card. The scallops leave a fun pattern to frame the background snowflake.
I then loaded the recently diecut panel into my Mini MISTI and aligned the sentiment “wishing you the sweetest Christmas” making sure that I left room above it for some stamped and diecut treats. This sentiment is from the NEW Jolly Marshmallow Man stamp set in this release. I wanted to emboss only the Christmas part of the sentiment so I used some Thermoweb Purple tape to mask the first part of the sentiment. I will stamp that part later. I inked up the lower part with Nuvo Clear Mark embossing ink and removed the temporary purple tape masks and stamped it onto the panel. I heat embossed this part of the sentiment with Nuvo Cool Jade embossing powder.

As for the second part of the sentiment, I stamped the “wishing you the sweetest” with the same embossing ink only this time I masked the Christmas part of the sentiment and embossed it with Nuvo Glacier White embossing powder. I used my Fiskars wireguide paper trimmer to cut out the thin sentiment strip. This will later get popped up onto the card panel using foam tape.
I stamped my images using Nuvo Black Shadow Ink onto Arches Hot Pressed watercolor paper. After giving it a moment to dry I began to color my images using various colors in the Nuvo Aqua Flow collection. These markers, are basically watercolors in a pen. I find that too much product comes out at one time. I probably squeeze too hard, but to combat that, I use a blender pen to watercolor with instead of a brush and water. I enjoy water coloring much more now that I do it this way. I add a little bit of the watercolor to the darkest areas of the image then drawing the color out to the rest of the area using the blender pen. I will add a little darker color to make the contrast more intense in the shadows. I’ve made a list of the colors that I used to color these images for you to save for later. The images where cut out using my Brother Scan N Cut.

To put the card together I used Craft Perfect Foam Squares to pop up the white front panel on top of the snowflake panel. I then adhered all of the images using the same foam squares cut down to fit into smaller crevices. Various heights of foam squares where used to complete the fantastical arrangement of candies. I started with the larger images in the back and the smaller images toward the front.
I then stuck on the sentiment strip I created earlier with the same foam squares right above Christmas arranged just how the artist intended it, slightly off center to each other but filling the space nicely.
To complete this project I adhered my card panel to a Simon Says Stamp Fog card base cut to size A2 and scored in a top folding portrait orientation.
I hope I’ve inspired you to create something today. To check out the entire NEW Wonderful Wishes release by Tonic Studios (CLICK HERE!) and save 10% at checkout.
Thank you so much for visiting my blog today.
Koren

This card is a piece of art ! stunning!
ReplyDelete