Saturday, September 29, 2018

Gerda Steiner Owl Rather Be With You Card Video


Hello everyone.

Today I am sharing a project I made using Gerda Steiner Designs Stamps. To see more from Gerda Steiner Designs (CLICK HERE!) I'm using the Gerda Steiner Designs "Owl Rather Be With You" stamp set. These owls are absolutely adorable and the sentiments are a hoot! Hahahaha!


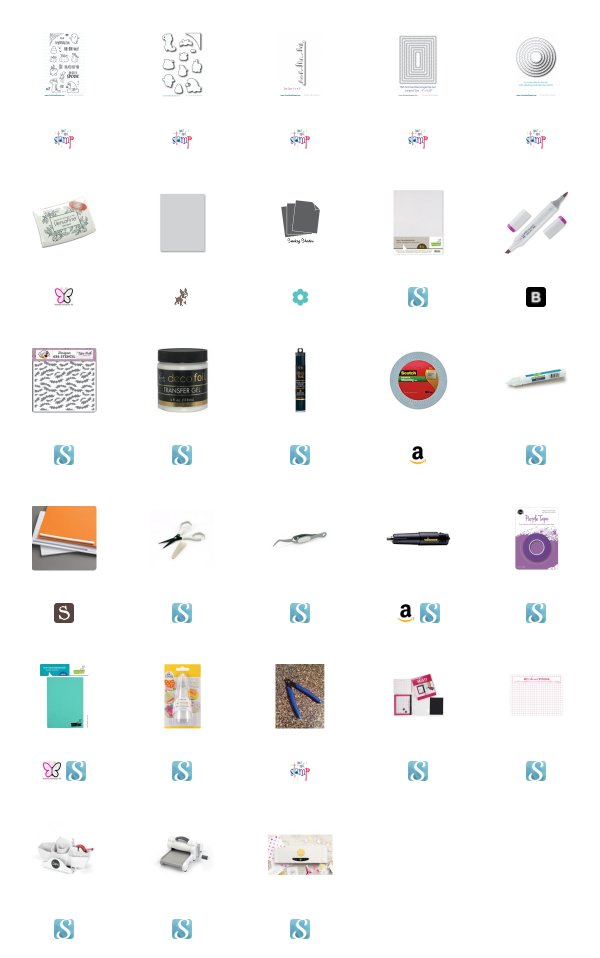
I have included some photos of my project. I also have a link to the YouTube video I made creating this cute project. And I also have made a Copic Color Map for you to pin on Pinterest if you feel so inclined. I like to store my color combinations that way.


I also have links to all the products I used to create this project. I have used affiliate links when available at no cost to you. I do recive a small percentage from the sales I generate from those products. It helps support my blog and my card making habit. Thank you for your continued support  : )

Thank you for visiting my blog today.

Koren


Tuesday, September 25, 2018

Your Next Stamp Trick or Treat Card Video


Hello everyone.

Today I am sharing my latest Your Next Stamp video with you all. In this video I use the NEW Ghoul-tastic Halloween stamp set and coordinating dies to create a simple Halloween card. This design would be a great project for kids to recreate for some simple glass halloween treats.

This Copic color map lists ALL of the markers I used to color my images. Very simple copic coloring.


Below I have linked the YouTube video I created while making this card. I have listed all of my supplies using affiliate links when possible, and please remember that these are available at no cost to you, but I do get a small percentage of any sales executed through the affiliate program, so, thank you for your continued support. Using the affiliate links helps card makers continue to run their blogs and YouTube channels. I always try to use someone's affiliate link to do my part in the community. <3

Thank you for visiting my blog today.

Koren


Saturday, September 22, 2018

Heffy Doodle Pooh's House Card Video

Hello everyone.

Today I am sharing with you a video for Heffy Doodle. I created another Winnie the Pooh inspired masterpiece using Heffy Doodle stamps and dies.

Below you will find links to all of the products used to create this project as well as some photos and a link to the YouTube video of me creating this card from start to finish.


If you are interested in using similar Copic Marker color combinations or want to save these for later. I have also created a pin-able graphic for you to save on Pinterest. I have a huge board of my own color combos as well as combos I've found from other talented carmakers and artists.


Thank you so much for visiting my blog today. 

Koren 


Friday, September 21, 2018

Heffy Doodle and Honey Bee Stamps Collaboration

Hello everyone.

Today I am sharing with you a really fun project and I am super excited about it. We on the Heffy Doodle Design Team, are creating projects in collaboration with Honey Bee Stamps. You will get to see a perfect mosh of Heffy Doodle images and/or dies and Honey Bee stamps images and/or dies. We all have such different projects to share with you, there is tons and tons of inspiration to go around.

For my project, I used the Heffy Doodle Unbearable Without You Stamp set and coordinating dies along with the Honey Bee Stamps Busy Bees, The birds and the Bees, and the Bee Hive stamps sets and all of their coordinating dies. I basically used all the bees I have in my stash.


I stamped and cut out all of the images with Memento Tuxedo Black Ink and colored them with my Copic markers. To cut them out I used the coordinating die sets for each stamp set.

I enhanced my bear from the Unbearable Without You stamp set by adding a little red shirt for him to wear. This is easily done with a Copic Multiliner pen. I made some pencil lines first, just to make sure it would actually look like a shirt before I made it permanent.

To create the background, I painted some sky onto Ranger watercolor paper with Gansi Tambi watercolors and cut it out with my stitched rectangle die. I then used another piece of that same watercolor paper and a pretty earthy shade from the same watercolor set to create something for my bear to stand on. I also cut it down with the stitched rectangle die, but I also used some basic edge dies by MFT to cut an arch into the landscape. I added the ground to the sky piece with Lawn Fawn Glue Tube liquid adhesive.


The background panel was popped up with craft foam and double sided adhesive and added to a Simon Says Stamp Fog card base cut to A2 size and scored in the landscape orientation. I then used various foam tape and liquid adhesive to add my images to create a scene on my card.

To me it appear as though the bear (who looks strangely familiar) is looking up longingly into the tree full of bees wondering how he might get some honey for his pot. I also used a Multiliner to add the word hunny. I must have misspelled it. Oh well, you get that it's supposed to be honey.


The "unbearable" sentiment was stamped directly onto the sky background with the help of my MISTI tool and Versafine Onyx black ink. I stamped the sub sentiment onto Lawn Fawn Black Licorice cardstock with Versamark ink. I then heat embossed it with Ranger White embossing powder. I used Heffy Doodle's Strips of ease to cut it out and popped it up with Scotch 3M foam adhesive.


Thank you for visiting my blog today. Make sure you check out all of the inspiration over on Instagram. I'm sure both Design Teams will have tons of fantastic cards to check out. You can find a link to my IG account under my picture in the about me section of this blog. You will also find my other social media links. Follow me everywhere for more crafty shenanigans.

Koren


Thursday, September 13, 2018

Simon Says Stamp Stamptember Exclusive Ornate Ornaments

Hello everyone.

Today I am sharing with you a card that I made using some NEW Simon Says Stamp Exclusive Products. This NEW set is called Ornate Ornaments and it's sold over at Simon Says Stamp. This set is so pretty. There are so many things that come to mind when you look at this set. So many different techniques or colors that are reminiscent of the holiday season.

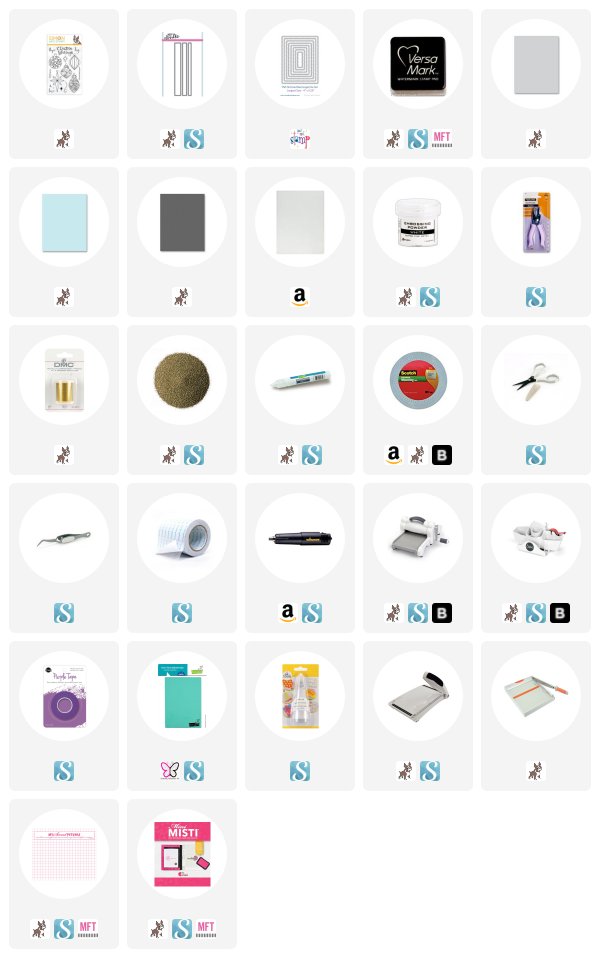
For my card, I used three of the Ornate Ornaments in the set and stamped them with Versamark ink on Simon Says Stamp Sea Glass cardstock that had been prepped with an EK Success powder tool. I then sprinkled on some WOW! White Puff Twinkle embossing powder and heated it with my heat tool. I then cut out each ornament by hand using my EK Success scissors. I then used a 1/16 hole punch to cut a hole in the top of each ornament. After each tiny hole was cut a set them aside for now.


 I chose a Simon Says Stamp Slate card base in standard A2 size, top folding. I then cut a piece of Simon Says Stamp Fog cardstock down with my Your Next Stamp Stitched Rectangle die (second from largest in the set).

I took the Fog cardstock panel and placed it in my MISTI where I proceeded to stamp the sentiment from the Simon Says Stamp Ornate Ornaments stamp set. I stamped it with Versamark ink onto the lower right corner of the panel. I then used Hero Arts Gold embossing powder and my heat tool to heat emboss the sentiment in gold.


I also installed an eyelet in the top left of the same card panel. I made it Gold, like the sentiment. I then began to string each ornament from the eyelet at the top of the card panel. I used Coats Metallic thread in Gold. I secured it to the back of the card panel with Scotch gift wrapping tape.
I then adhered a piece of craft foam to the back of the Fog cardstock panel using Scrapbook.com double sided adhesive. This panel was also secured to the Slate card base with the same double sided tape.

I took some Lawn Fawn Glue Tube liquid adhesive and adhered one of the ornaments to the card, flat to the panel. Then I used both a single shot and a double shot of Scotch 3M foam tape to pop up the additional two ornaments.


I then stamped the sub sentiment "wishing you", also from the Simon brand Ornate Ornaments stamp set. I stamped it with Versamark ink onto a small strip of that Slate cardstock from Simon. I used Ranger White embossing powder to heat emboss it. I then used Heffy Doodle's Strips of Ease die to cut it out. I popped the tiny sentiment up with a small piece of Scotch 3M foam adhesive and placed it just above the Gold embossed "Christmas Blessings".

I have to say, I like how the card turned out, the eyelet at the top really blends in with all of the Gold and clear sequins that I added using that same liquid adhesive. Lawn Fawn's Glue Tube. I think that is it. I hope you like my card.

Thank you for visiting my blog today,

Koren

Saturday, September 8, 2018

Heffy Doodle Stamptember 2018 Card Video

Hello Everyone.

Today I am sharing with you my latest video for Heffy Doodle. I am totally using the STAMPTEMBER Heffy Doodle and Simon Says Stamp Collab set. This set is fabulous. It's super cute and not to mention, I love s'mores, like a lot...


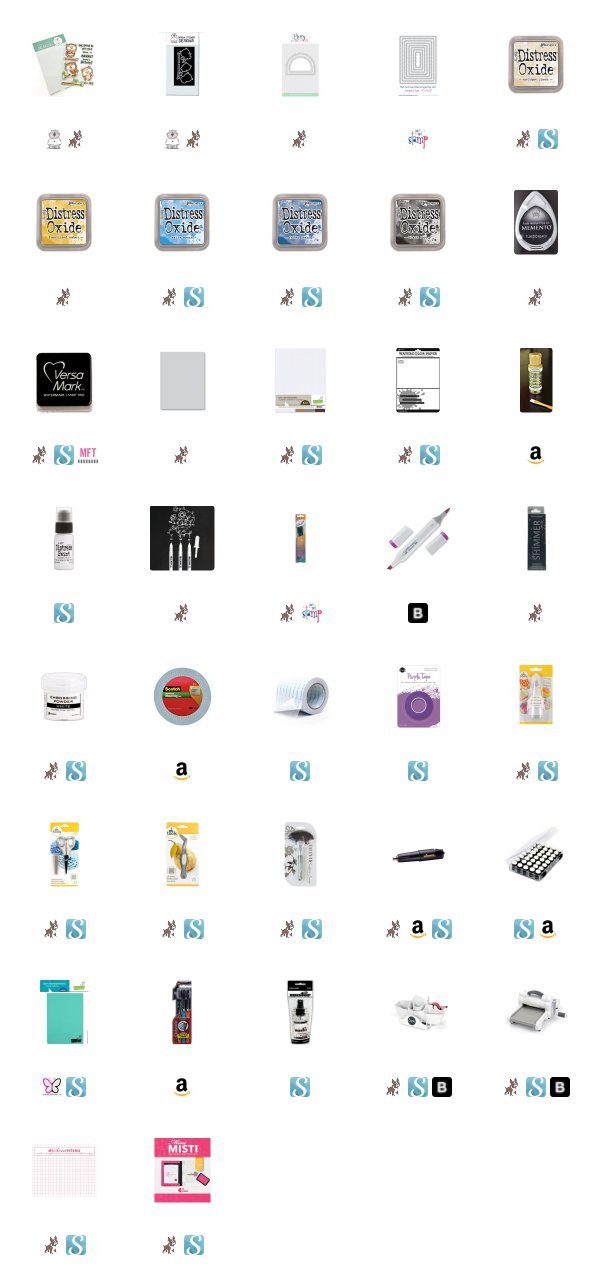
Anyway, I have linked my YouTube video I made while creating this card. I also have a Copic Marker Color Map and a few photos to share with you.

I have to say... do not hesitate when it comes to buying the Stamptember stamp sets. They go fast! I don't want anyone to miss out.


I also have a complete list of supples for you including affiliate links when possible. Thank you for supporting our industry and the makers who make in it.

Thank you for visiting my blog today,

Koren


Wednesday, September 5, 2018

Your Next Stamp is Frightfully Fun Card Video

Hello everyone.

Today I am sharing with you my latest video for Your Next Stamp. In this video I create a Frightfully Fun card using the Fab-boo-lous Halloween Stamp Set by Your Next Stamp.


I'm breaking out my Minc Machine to do some fancy foiling on my background. I also use my Copic Markers to color some super sweet bats. Below is a Color Map listing all of the colors I used on the project. Yup... All 6 of them.


I hope you all enjoy my video. A full list of supplies are linked below. Thank you for stopping by my blog today.

Koren