Friday, February 21, 2020

The One with the Neat & Tangled February Release Recap


Hello everyone.

It's been a fantastic week, and I really have enjoyed this release- the butterflies are so fun, and the geometric shapes are sure to feel great in any craftroom. I hope that you've been inspired to create something this week, and I would love to see what you made! The winners for this week's giveaway's have been announced over on the Neat & Tangled Blog, so be sure to (CLICK HERE!) to see if you are the winner!

The entire NEW release is linked below. 


Thursday, February 20, 2020

The One with the Neat & Tangled February Release Day Four

neat and tangled, stamp set, butterfly beauties, watercoloring, greeting card, stamping, heat embossing, Avery elle escoda brushes rainbow

Hello everyone.

Today is Neat & Tangled's February release Day Four. This is by far my favorite card that I created this week. I used the NEW Butterfly Beauties stamp set on this one and it was so fun to make.

Today is the last day for your chance to win a giveaway. All giveaways will be announced tomorrow over on the Neat & Tangled Blog. Comment here and there for your chance to win the entire NEW release. The more blogs you visit and comment the more your chances of winning increase.

(CLICK HERE!) to shop for the NEW release or to get more inspiration from the rest of the design team.

Don't forget that you can also save money by purchasing the entire release in a bundle, which is also linked below.

neat and tangled, stamp set, butterfly beauties, watercoloring, greeting card, stamping, heat embossing, Avery elle escoda brushes rainbow

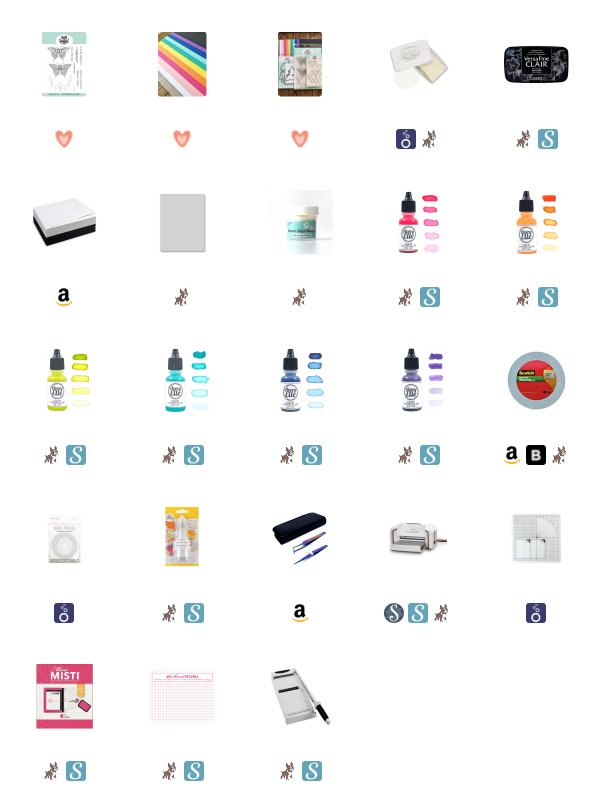
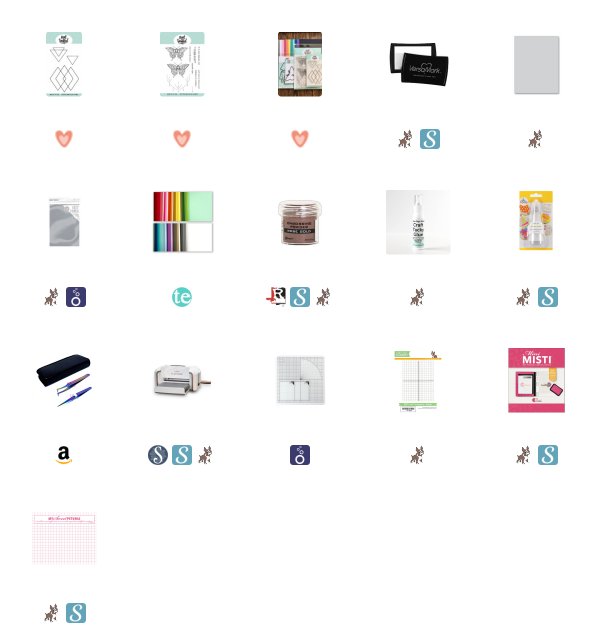
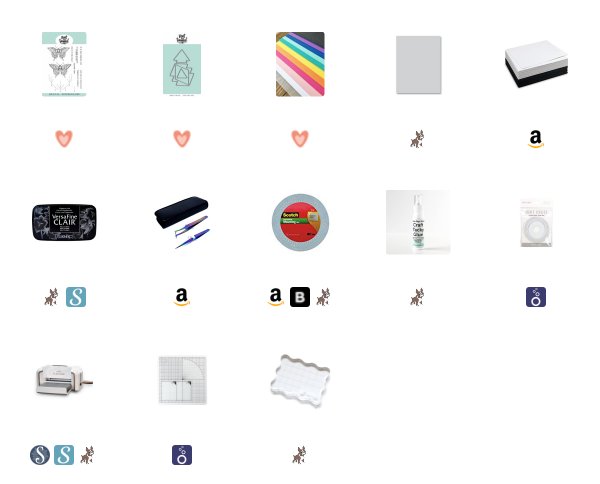
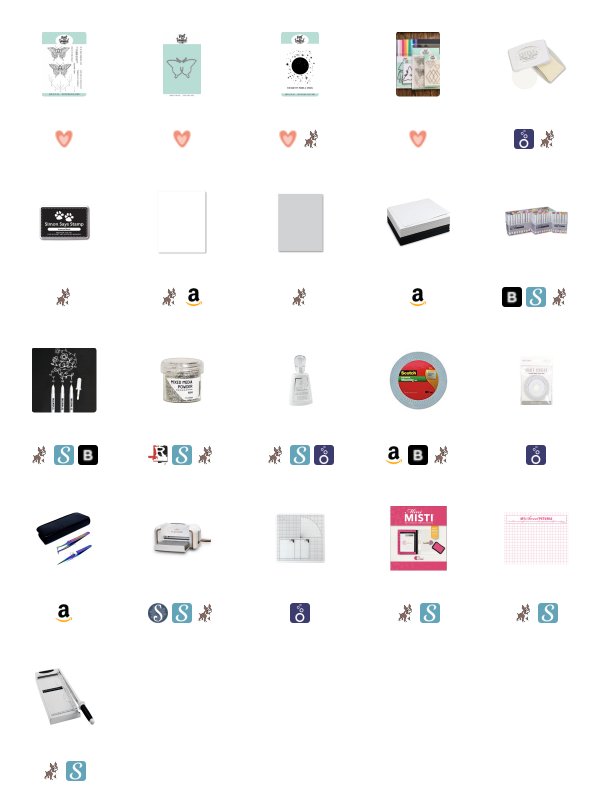
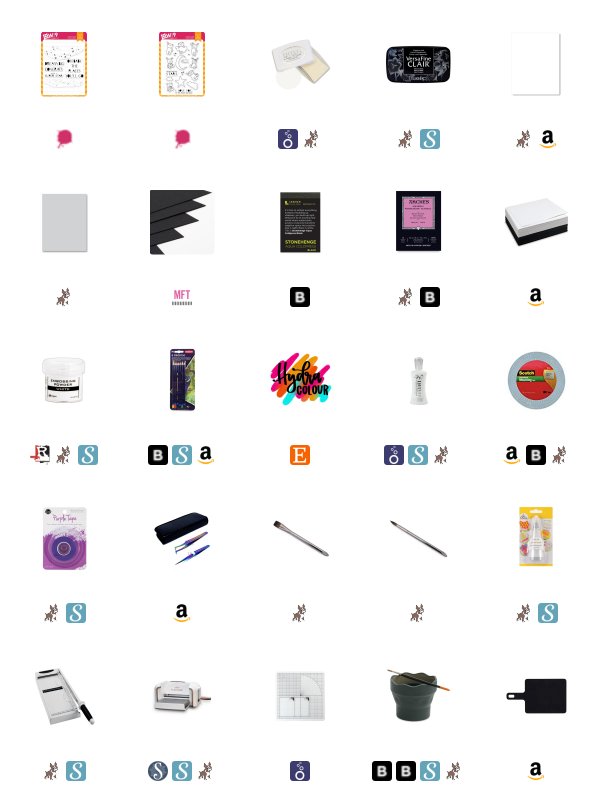
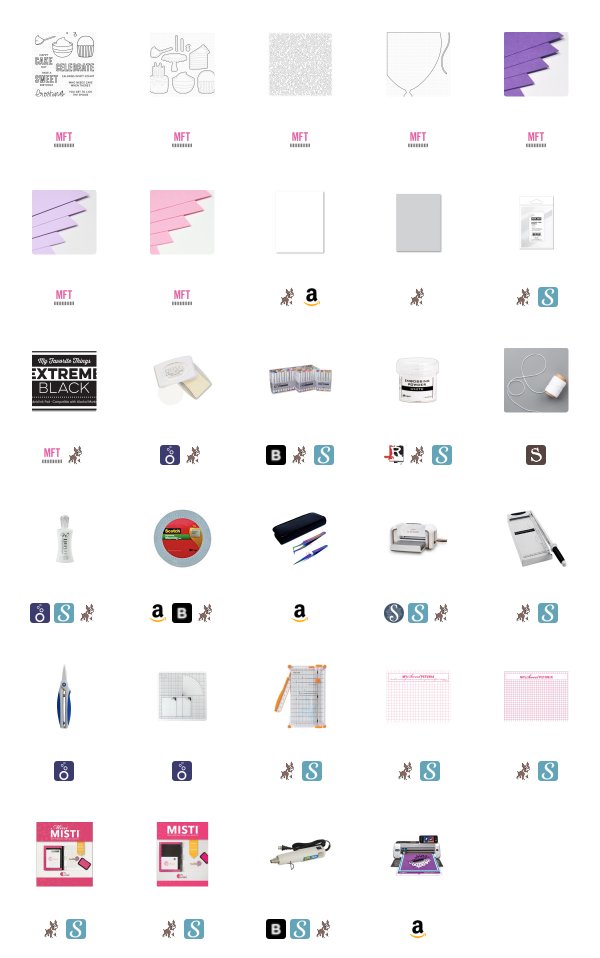
For this card, I started with a piece of Arches Hot Pressed watercolor paper. I stamped one of the butterflies from the NEW Butterfly Beauties stamp set with Versafine Nocturne Clair ink and heat embossed it with Simon Says Stamp clear embossing powder.

I love the look of very loose water coloring. Totally out of the lines water coloring. It truly makes me feel free and it's so much fun. I used my Avery Elle liquid watercolors to paint my butterfly in a rainbow. I just started with the color Cherry and painted my rainbow from left to right. Using Lemon Grass, Fizz, Sapphire, Aquamarine, and Sugar Plum. After I completely covered my butterfly in color I then splattered those same colors across my card. lastly, I trimmed the panel down to 3 by 4-3/4.

As for the sentiment, I took one of the black pieces of cardstock from the NEW Neat & Tangled cardstock assortment pack and cut it down to 3 1/2 by 4 3/4. I loaded it into my Mini MISTI and stamped the "a friend like you is rare" using Nuvo clear mark embossing ink. Then I heat embossed it using Simon Says Stamp white embossing powder.

neat and tangled, stamp set, butterfly beauties, watercoloring, greeting card, stamping, heat embossing, Avery elle escoda brushes rainbow


To finish off the card I added the watercolored panel to the black panel using black craft foam and tear tape adhesive. Then I added them both to a Simon Says Stamp Fog card base cut to size A2 and scored in side-folding landscape orientation.

Some may say it looks like a mess. I think it looks awesome and I can't wait to paint something else just like it.

I hope I've inspired you to create with the NEW Neat & Tangled release. Make sure you (CLICK HERE!) to visit the shop and check out the blog for more inspiration from the rest of the design team.

Thank you so much for visiting my blog today,

Koren


Wednesday, February 19, 2020

The One with the Neat & Tangled February Release Day Three

neat and tangled, geometric, stamp set, stamping, triangles, gray, grey, rose gold, embossing powder, heat embossing, Ranger, Simon Says Stamp

Hello everyone.

It's Day Three of Neat & Tangled's February release week and I'm playing with the NEW Geometric stamp set.

To check out the entire NEW release (CLICK HERE!) to shop or visit the blog for more inspiration from the rest of the design team. Don't forget to comment here and there for your chance to win today's giveaway, which includes the NEW Butterfly Beauties stamp set and coordinating dies. The winners will be announced on Friday over on the Neat & Tangled Blog.

I was inspired by some wrapping paper that I recently saw that was a beautiful medium gray with rose gold foil geometric shapes, and I started with a piece of medium gray cardstock cut to 3 1/2 by 4 3/4. I loaded it into my original MISTI and began to stamp the geometric shapes in a pattern. I used Versamark ink only because the technique I'm about to do is somewhat messy and will ruin your ink pad, so I keep this one just for this technique. Once the pattern was stamped I heat embossed it with Ranger Rose Gold embossing powder.

neat and tangled, geometric, stamp set, stamping, triangles, gray, grey, rose gold, embossing powder, heat embossing, Ranger, Simon Says Stamp

I wanted to add embossing powder around the edges of my card. To do this I add my card panel to a thick piece of gray board to give it more strength. The gray board I use is from Tonic Studios in their craft perfect line. It's basically chipboard that can be easily die-cut. To adhere my cardstock to the gray board I use liquid adhesive and make sure I get a good coat so that the edges don't lift up.

Once the cardstock is firmly attached to the gray board I dip the edges into my Versamark ink pad that I use specifically for this technique. I get a good amount of the sticky ink onto the side of the panel and then dip it into a pile of embossing powder. I used the same Rose Gold embossing powder for the entire card. I dip the edges several times each and melt the embossing powder each time with my heat tool. This gives the edges a rustic finished look.

For my sentiment, I did the same thing. I stamped the "I treasure our friendship" stamp with Versamark ink and heat embossed it with the same Rose Gold embossing powder. This time I used some tweezers to finish the edges as to not burn my fingers with the heat tool.

neat and tangled, geometric, stamp set, stamping, triangles, gray, grey, rose gold, embossing powder, heat embossing, Ranger, Simon Says Stamp


Once the sentiment had cooled completely I attached it to the panel using liquid adhesive. I used a Simon Says Stamp Fog card base cut to size A2 and scored in a top folding portrait orientation.

The photos truly don't do this card justice. The Rose gold looks great on the gray cardstock. I really like how it turned out but it did prove difficult to photograph.

I hope that I've inspired you to create with the NEW Neat & Tangled February release. Don't forget to comment for your chance to win today's giveaway. (CLICK HERE!) to visit the shop or to find more information over on the blog.

Thank you so much for visiting my blog today,

Koren


Tuesday, February 18, 2020

The One with the Neat & Tangled February Release Day Two

neat and tangled, geometric, die set, butterfly beauties stamp set, stamping, die-cutting, triangles, cardstock assortment pack, pink, blue, teal

Hello everyone.

It's Day Two of Neat & Tangled's February release week and today I'm playing with the NEW Geometric Dies and the NEW assorted cardstock pack. I love a good geometric set. They are staples that should be in every stampers collection.

To check out the entire NEW release (CLICK HERE!) to visit the shop or check out the blog for more inspiration. Don't forget to comment for your chance to win today's giveaway. Today's giveaway is the NEW Geometric stamp set and coordinating dies.

You can save money by purchasing the entire NEW release in a bundle also Linked below.

neat and tangled, geometric, die set, butterfly beauties stamp set, stamping, die-cutting, triangles, cardstock assortment pack, pink, blue, teal


I started with one of the white sheets from the NEW assorted cardstock pack. This pack is filled with Bazzil smooth cardstock in a variety of colors. I grabbed one of the white sheets and cut it to 3 1/2 by 4 3/4. I then grabbed the pinks a blues as well as the triangle from the NEW Geometric dies. I cut the triangle from each of the selected cardstocks and began arranging them on my panel.

After I decided on a pattern to use I then needed to stamp my sentiment. I used the "hello beautiful" stamp from the NEW Butterfly Beauties stamp set. I stamped it in the lower-left corner leaving room for my triangles. I stamped it with Versafine Nocturne Clair ink.

neat and tangled, geometric, die set, butterfly beauties stamp set, stamping, die-cutting, triangles, cardstock assortment pack, pink, blue, teal

Once my sentiment was dry I then started to adhere my triangles to the pattern. Some of them were stuck on using liquid adhesive flat to the panel while others were popped up with foam tape

The entire card panel was then added to a Simon Says Stamp fog card base using craft foam and tear tape adhesive.

I hope that I've inspired you to create today using the NEW Neat & Tangled February release. To check out the entire release (CLICK HERE!) to visit the blog for more inspiration from the design team or to shop the release.

Thank you so much for visiting my blog today,

Koren


Monday, February 17, 2020

The One with Neat & Tangled February Release Day One

Neat and Tangled, Butterfly Beauties, Stamp set, moon and stars, stamping, die-cutting, blue, mint, green, gem, greeting card, Ranger, Simon Says Stamp, Copic Markers, heat embossing, koren wiskman, N

Hello everyone.

Today is very exciting because it's release day for Neat & Tangled. The NEW release is now LIVE in the shop (CLICK HERE!) to check out the entire release or to visit the blog for more inspiration.

There are giveaways each day of the release week. Today you could win a Butterfly Beauties stamp set and coordinating die by commenting on the design team's blogs and the Neat & Tangled blog. The more you comment, the more your chances of winning increase.

Don't forget that you can save money by purchasing the complete February release bundle! 

I'm playing with the NEW Butterfly Beauties stamp set with coordinating die. This stamp set features two NEW butterfly designs that coordinate well with the Moon Magic stamp set previously released.

eat and Tangled, Butterfly Beauties, Stamp set, moon and stars, stamping, die-cutting, blue, mint, green, gem, greeting card, Ranger, Simon Says Stamp, Copic Markers, heat embossing, koren wiskman,

I started by stamping the Moon and Stars stamp in the background with Simon Says Stamp Fog ink. To bump it up a notch, I stamped just the center moon image with sticky embossing ink and heat embossed it with Ranger mixed media embossing powder in the color Bone. This embossing powder has flecks of white and black and even gold. It's perfect for a moon. I used a piece of Neenah 110 lb. cardstock cut to 3 1/2 by 4 3/4. I added this panel to a Simon Says Stamp Fog card base cut to size A2 and scored in a top folding, Portrait orientation. To do this I used a piece of white craft foam and tear tape adhesive. The craft foam gives the panel some dimension off of the card base.

I then stamped my butterfly image from the NEW Butterfly Beauties stamp set with Simon Says Stamp Intense Black Ink so that I could Copic color my image. I have a Copic color map with all of the markers used listed for your convenience. Even though I only used two colors. I enhanced my coloring with a Gelly Roll white gel pen and added some shading with a Goldfaber colored pencil.

eat and Tangled, Butterfly Beauties, Stamp set, moon and stars, stamping, die-cutting, blue, mint, green, gem, greeting card, Ranger, Simon Says Stamp, Copic Markers, heat embossing, koren wiskman,

Once my image was colored I used the coordinating die to cut it out. I attached my butterfly to the moon background using foam tape. After it was secured, I bent the wings slightly to give them a little more lift up off of the panel. I added crystal glaze to the gem on it's back to make it stand out just a bit more.

At this point, I needed a sentiment for my card and I desperately wanted to use the "your friendship lifts me up" somewhere on my card. As I stared at my card, I realized that I did not want to add anything else to the front. To solve this problem I simply stamped the sentiment in Versafine Nocturne Clair ink on the inside of the card. This is always an option when you don't want to cover up your work on the front of the card.

eat and Tangled, Butterfly Beauties, Stamp set, moon and stars, stamping, die-cutting, blue, mint, green, gem, greeting card, Ranger, Simon Says Stamp, Copic Markers, heat embossing, koren wiskman,

I hope that I've inspired you to create today using the NEW Neat & Tangled February release. To see more inspiration from the rest of the design team (CLICK HERE!) to visit the blog or shop the NEW release.

Don't forget to comment for your chance to win today's giveaway which is a Butterfly Beauties stamp set and coordinating die. Winners will be announced Friday over on the Neat & Tangled blog.

Thank you so much for visiting my blog today,

Koren


eat and Tangled, Butterfly Beauties, Stamp set, moon and stars, stamping, die-cutting, blue, mint, green, gem, greeting card, Ranger, Simon Says Stamp, Copic Markers, heat embossing, koren wiskman,

Wednesday, February 12, 2020

The One with the WPlus9 Baby Card Video

Koren Wiskman,Paper Crafting,card making,scrapbooking,how to,handmade cards,how to make,greeting cards,greeting cards latest design handmade,die cutting machine,card making tutorials,wplus9,paper crafting ideas,baby card,baby cards ideas,cardmaking (hobby),card making ideas,paper crafting videos,card making for beginners,card making techniques,greeting cards latest design handmade tutorial,wplus9 design,easy paper crafting ideas,paper crafting tools

Hello everyone.

I have a NEW video for you today. I'm using some products that I bought from WPlus9. I picked up the Little Dreamers stamp set and the Stardust stamp set. As soon as I saw these sets I knew that I wanted to create with them. To see more of WPlus9 products (CLICK HERE!) to visit the website where you can shop for products or find inspiration from the blog.

I'm also using some handmade watercolors that were given to me as a gift. As soon as I saw these in the pan, I knew they were something special. You can find these by (CLICKING HERE!) 

Koren Wiskman,Paper Crafting,card making,scrapbooking,how to,handmade cards,how to make,greeting cards,greeting cards latest design handmade,die cutting machine,card making tutorials,wplus9,paper crafting ideas,baby card,baby cards ideas,cardmaking (hobby),card making ideas,paper crafting videos,card making for beginners,card making techniques,greeting cards latest design handmade tutorial,wplus9 design,easy paper crafting ideas,paper crafting tools


Some of these watercolors have an iridescence to them but ALL of them are very pretty and sparkly. My favorite of the four I have I believe is called Nebula, but I don't know for sure. They were a gift and not all of them have labels. No matter, I plan to order more ASAP.


I absolutely love how this card turned out. I hope that I've inspired you to create something today. Thank you for visiting my blog.

Koren


Koren Wiskman,Paper Crafting,card making,scrapbooking,how to,handmade cards,how to make,greeting cards,greeting cards latest design handmade,die cutting machine,card making tutorials,wplus9,paper crafting ideas,baby card,baby cards ideas,cardmaking (hobby),card making ideas,paper crafting videos,card making for beginners,card making techniques,greeting cards latest design handmade tutorial,wplus9 design,easy paper crafting ideas,paper crafting tools

Tuesday, February 4, 2020

The One with the MFT February Release


Hello everyone.

Today is a great day! It's MFT February release day. You can check out the entire release by (CLICKING HERE!).


I have a fun video showing some of the NEW release as well as a card project. If you wait until the very end of the video you will also get a special card video from my son Dexter. He loves to make cards and desperately wanted to film his very own video.

I will leave a link to the video in this post as well as some photos of my card project. Of course, we didn't get any photos of Dexter's project as he typically runs off with it and it's usually never seen again.  He absolutely loves to give cards to his teacher at school, so I'm pretty sure that's where it went.


I hope you enjoy the video, here is a Copic color map as well as a list of products used on this project. To see the entire new release (CLICK HERE!) to visit mftstamps.com to shop or visit the blog for more inspiration.

Thank you so much for visiting my blog today and I hope I've inspired you to create something today.

Koren