Showing posts with label MFT Stamps. Show all posts

Tuesday, January 19, 2021

The One with the MFT Stamps January Vault Release Card Projects


Hello everyone. Today is the latest release from the My Favorite Things Vault and I have a few cards that I used as samples in the vault release videos which were posted on the My Favorite Things YouTube channel and blog. I used the Balloon Stax die-namics and the Big Birthday Wishes stamp set to create the first project. You can find links to the products I used to create these cards below. 

To check out the entire Vault release (CLICK HERE!) to visit MFTStamps.com and shop. 


For the second project, I used the Twice the Hugs die-namics as well as an adorable Birdie Brown stamp set called Somebunny. The sentiment was stamped using the Lots of Hugs sentiment set, which is also in the vault release. 

Thank you so much for visiting my blog today. I hope I inspired you to create something today. 

Koren


Tuesday, January 12, 2021

The One with the MFT Stamps January Release Card Projects.

my favorite things, mftstamps, koren wiskman, card making, greeting card, yellow, purple, green, blue, stamping, die-cutting, wave pattern, black and white sentiment


Hello everyone. Today is the launch of the MFT Stamps January release and I have two basic cards to share with you. I made these quickly as I was putting together this month's reveal videos, but I actually like them so just in case anyone else does, here is what I used (for the most part). I really should get rid of the cardstock that is no longer available but it’s just too pretty to let go of. So I did have to supplement a few colors but that’s no big deal. 


My Favorite Things, MFTStamps, koren wiskman, heart lines, die-namics, heart, red, navy, blue, stamping, card maker, cardmaking,


I used the NEW Color Wave Cover-up for the first card along with the NEW My Galentine stamp set. For the second card, I took some liberties with the NEW Heart Lines die-namics and rearranged the lines to make it look like it’s dripping or broken. The same My Galentine stamp set was used for the sentiment.


If you would like to check out the entire MFT Stamps January Release (CLICK HERE!) to visit the shop. For more inspiration using the new release (CLICK HERE!) to visit the blog. There you will find tons of projects from design team members and guests. 


Thank you so much for stopping by my blog today. 


Tuesday, March 10, 2020

The One with the My Favorite Things March Release Video


Hello everyone.

Today is an exciting day! It's the My Favorite Things March Release Day! I made a video sharing what I have of the release as well as a fun card for your squad!

You can check out more from the New Release over in the MFT Online Store as well as visit their blog for more inspiration. (CLICK HERE!) to go to MFTStamps.com and SHOP!

My card today uses the NEW Double the Fun stamp set and coordinating dies to create this soft child-like card. I colored my images using colored pencils to keep the child-like effect that the images portray. I've made a Color Map giving you all of the pencils I used on each animal.


Here is the video I made making this card. You can find it over on my YouTube channel.


I hope that I've inspired you to create something today. Thank you so much for visiting my blog.

Koren

Tuesday, February 4, 2020

The One with the MFT February Release


Hello everyone.

Today is a great day! It's MFT February release day. You can check out the entire release by (CLICKING HERE!).


I have a fun video showing some of the NEW release as well as a card project. If you wait until the very end of the video you will also get a special card video from my son Dexter. He loves to make cards and desperately wanted to film his very own video.

I will leave a link to the video in this post as well as some photos of my card project. Of course, we didn't get any photos of Dexter's project as he typically runs off with it and it's usually never seen again.  He absolutely loves to give cards to his teacher at school, so I'm pretty sure that's where it went.


I hope you enjoy the video, here is a Copic color map as well as a list of products used on this project. To see the entire new release (CLICK HERE!) to visit mftstamps.com to shop or visit the blog for more inspiration.

Thank you so much for visiting my blog today and I hope I've inspired you to create something today.

Koren


Tuesday, June 4, 2019

MFT & Friends June Release


Hello everyone. 

I am always excited to be participating in the MFT & Friends' posts. I am a huge fan of Birdie Brown, I’m sure you have heard this before. And this month, I am simply in love with these adorable sea creatures and their punny coordinating sentiments. 

The MFT June Release is LIVE in the shop right now. (CLICK HERE!) to check out the entire release. You can also (CLICK HERE!) to see the MFT & Friends post with tons of inspiration for this release. 


Today I have two projects for you both using the NEW Friends with Fins stamp set and coordinating dies from My Favorite Things and Birdie Brown. This set has whales and dolphins and an absolutely adorable shark that I just had to color. I actually cut him out and stuck him onto a collage I’ve been creating behind the scenes here in my craft room. The other images found their way onto this adorable oversized card. 

This card actually measures around 4 1/4 by 7. I never actually measured it. I just assumed I would have to us a big old envelope to send it in.  I was inspired to create it with the MFT Pop Up Wiper Card Components that are also being released today. I used the long wave border die in that set to create the seamless waves on the top of my card. This was so easy because of the length of this die. 

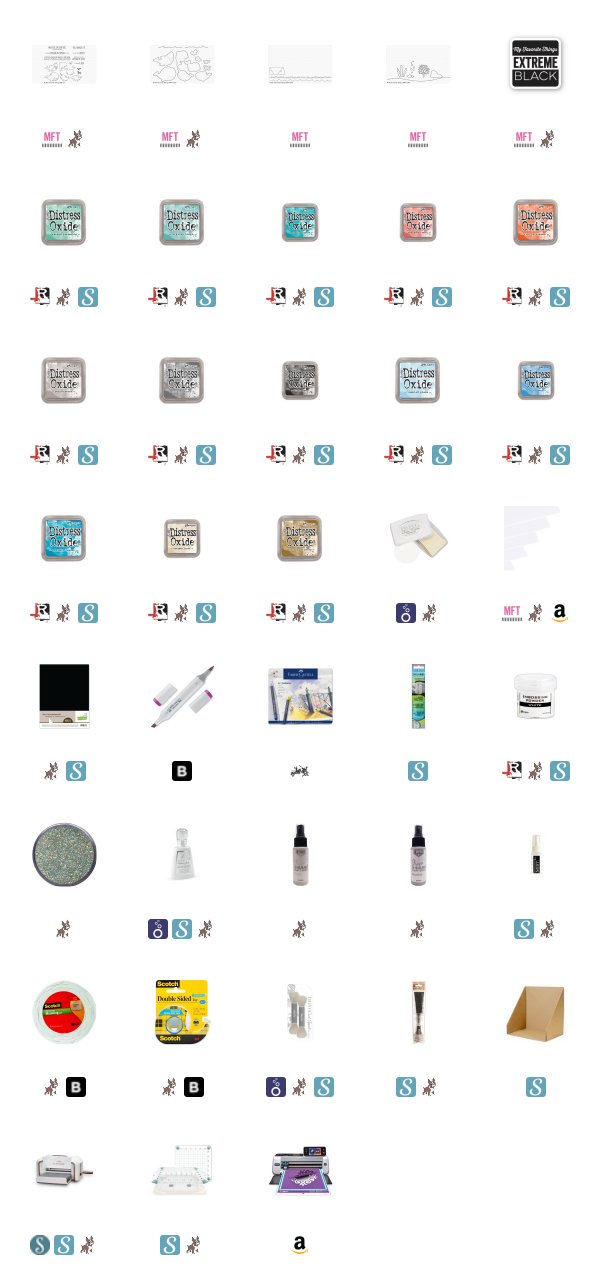
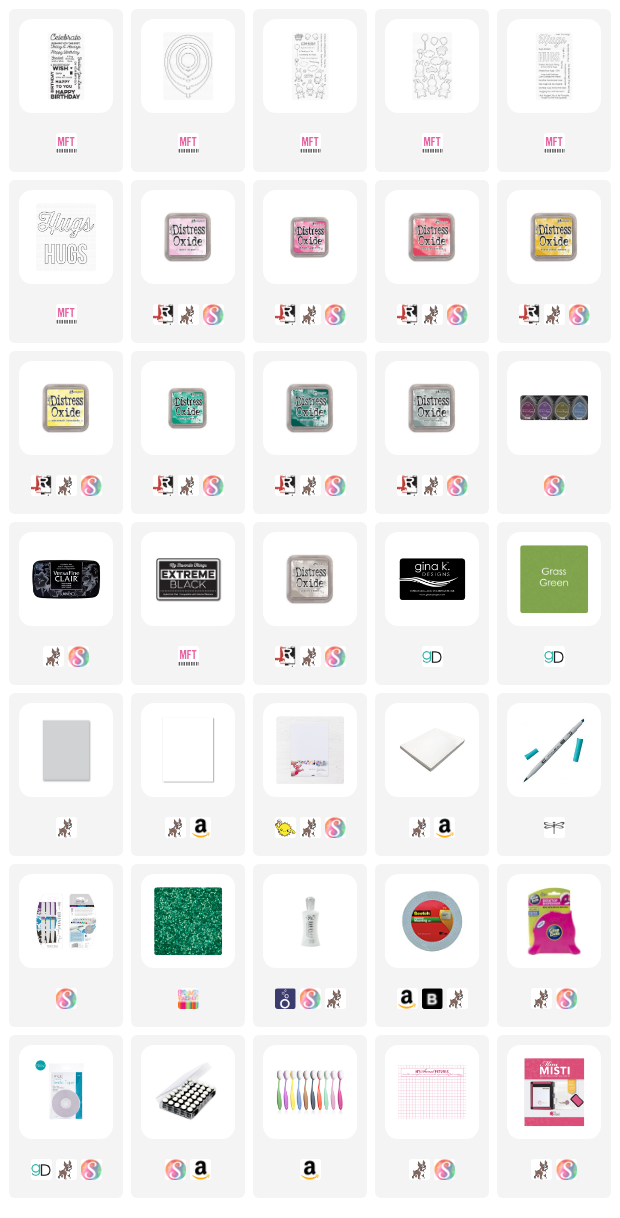
Before cutting the waves into the top of that panel, I did use my Nuvo Blender brushes to ink blend some Distress Oxide Inks for the water and the sandy ocean bottom. I used  Mermaid Lagoon, Salty Ocean, and Tumbled Glass for the water, and the sandy ocean bottom was created with Antique Linen and Brushed Corduroy. 


Once I saw how good the background looked, I needed to do more ink blending so I ink blended four additional smaller panels to use as well. I  used the NEW MFT Under the Sea dies with them to add to the underwater environment.  For those panels I used...

  • Teal - Cracked Pistachio, Evergreen Bough, and Peacock Feathers
  • Purple - Wilted Violet and Shaded Lilac
  • Coral - Abandoned Coral and Ripe Persimmon
  • Gray - Pumice Stone, Hickory Smoke, and Black Soot

Once the panels were all inked. I used one of the colors from each blend to add a little bit of splatter with the Ranger Splatter Brush and an acrylic block. I just simply add some ink to the acrylic block and dip my brush in. Re-inkers are fabulous for this technique. It gives you a lot of ink to play with.  I rub the bristles over against the block over my project and try to direct the splatter onto the backgrounds the best I can. The Ranger Splat Box helps me contain my mess, but I have used an old diaper box for this in the past as well.  

Since I already had my splat box out, I decided to cover them with shimmer as well. I used Imagine Crafts Frost and Sparkle shimmer spritz as well as Hero Arts White Iridescent spray to make all of the panels shine before die cutting them. 

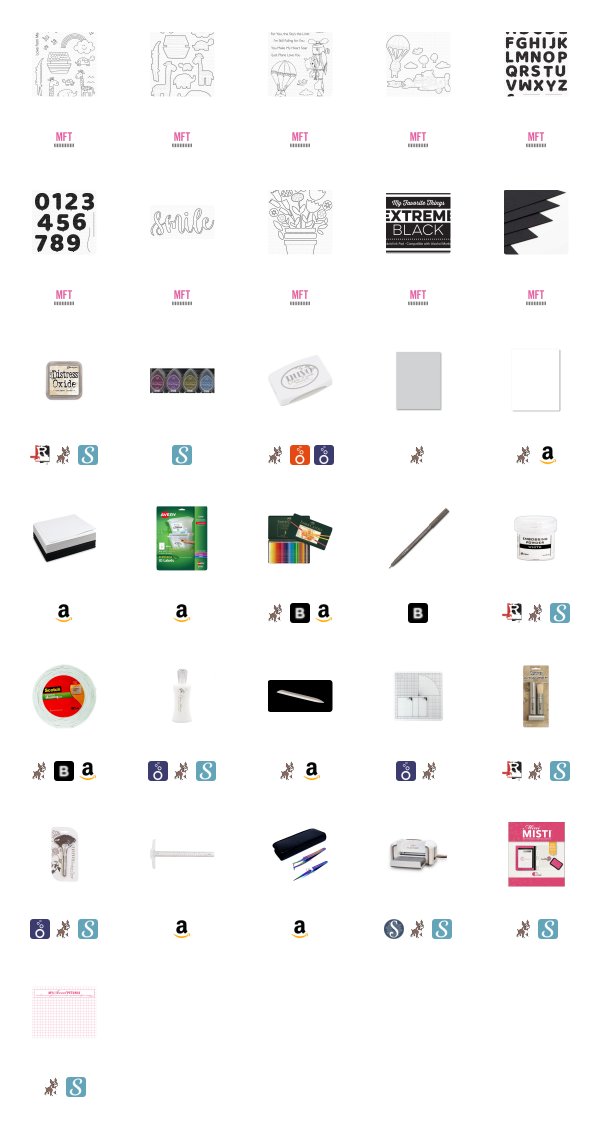
I then used MFT’s Extreme Black Ink to stamp the images from the Friends with Fins stamp set onto Neenah 110 lb Solar White Cardstock. I used my Copic Markers to color them. I also added a bit of shading with my Faber Castell Gold Faber Colored pencils. 


I added the images and the die cuts onto the background with either Nuvo Deluxe Liquid adhesive or Scotch 3M Foam Tape.  I almost forgot the bubbles!  The bubbles are also from the Friends with Fins coordinating dies. I cut them from the lightest parts of the blue ink blended background that I used for the water. We are just going to pretend these fish are talking amongst themselves for this scene. 

I stamped the “ I would cross and ocean for you” sentiment  with Nuvo Clear Mark embossing ink and heat embossed it with Ranger White embossing powder.  I quickly trimmed it down with my Fiskars wire guide paper trimmer. 

I also added some Gelly Roll Stardust pen to the hearts and I coated them with a layer of Nuvo Crystal Glaze. 


My second card is super simple, but really fun. Does anyone remember the fish from finding Nemo that could work together to transform themselves into just about anything? Well, that was my inspiration for this card.  

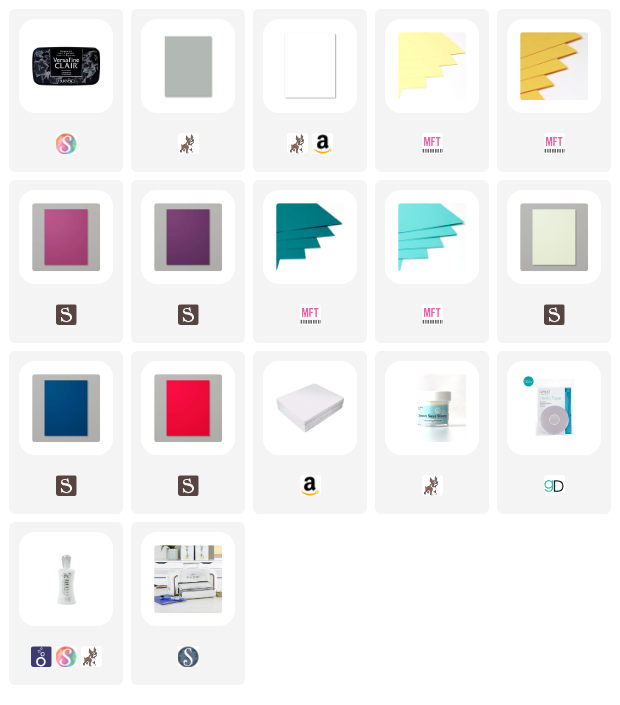
I used my Brother Scan N Cut to cut out the shape of a heart out of Avery repositionable label material. I placed it onto a piece of Neenah 110 lb Cardstock. I loaded an acrylic block with the two solid cluster of fish images  from the Friends with Fins stamp set and stamped them repeatedly with Nuvo Clear Mark embossing ink.  After every couple of stamps, I coated them with Wow Under the Sea embossing glitter. Once the heart was completely filled in, I heated up the fish with my Wagner heat tool to finish the embossing. 


I removed the heart shaped mask and added a sentiment strip made from Papertry Ink’s Tranquil Tide cardstock.  I stamped the “sending you an ocean of love”  with the same embossing ink and Ranger White embossing powder.  This sentiment was also trimmed with my paper trimmer. 

I hope you enjoyed my projects for today. If you would like to see more from this release or see more inspiration (CLICK HERE!)  to visit My Favorite Things online store and blog. 

Thank you so much for visiting my blog today, 

Koren 

Wednesday, April 19, 2017

A Beauty and the Beast Card Featuring Sweet Stamp Shop with Video

Hello fellow card makers. Today I am sharing a card that I made with Sweet Stamp Shop products . I used stamps from both the Prince Charming stamp set and the Wear a Crown stamp set. Using these stamps I created a card that reminds me of the Disney classic Beauty and the Beast. The main image on the card is reminiscent of the flower from the story. The background was created using similar images of an empty flower stem and some roses and falling petals. I recently saw a card made by one of MFT's design team members, Joy (Simple by Design), that created a custom background by white heat embossing images in this same way. I was inspired by her card to create this one. Below are photos of my project, a link to my YouTube Video, and a complete list of supplies.

The first card I created I used Glossy Accents all over the image to make it appear like glass. I didn't like how it turned out and re-colored the image, this time forgoing the use of the Glossy Accents. I'm not sure if it was a great move. I would be interested in hearing your opinions. Leave a comment below or on my YouTube Video letting me know which one you prefer, the with or without Glossy Accents.

with Glossy Accents


without Glossy Accents 


without Glossy Accents 


Supplies:

Stamps:
Sweet Stamp Shop, Wear A Crown and Prince Charming

Dies:
MFT, Blueprints 1 Die-namics 

Ink:
Memento, Tuxedo Black 
Versamark 
Versfine, Onyx Black 
Distress Ink, Dried Marigold and Scattered Straw 

Cardstock:
Papertrey Ink, Soft Stone
Tim Holtz, Distress Watercolor 
Neenah, 110 lb Solar White http://amzn.to/2mZft7l
Neenah, 80 lb Solar White http://amzn.to/2ldAiaH

Embossing Powder:
Simon Says Stamp, Detail White 

Other:
Copic Markers 
Ranger, Glossy Accents 
Zig, Wink of Stella, Clear 
Tim Holtz Tonic Trimmer  http://amzn.to/2ldCgb8
Black Craft Mat by Dahle   http://amzn.to/2mbSzJE
Scotch 3M Foam Tape http://amzn.to/2lzZauc
Sizzix Big Shot (white) http://amzn.to/2mc5ICD
Sizzix Big Shot Caddy (white) http://amzn.to/2lvv7FR
Quilled Creations Precision Tip http://amzn.to/2mceXlY

Thank you for visiting my blog today, 

Kori 


Sunday, April 16, 2017

Happy Easter with Jane's Doodles Images

Hello fellow card makers. Happy Easter! This is such a special day for us here in our home. I wanted to make something special for all of you. Today I am sharing with you not only a card I made, but two cards that my kids made. We used images my friend Kaja sent to me. They are by Jane's Doodles, a set called Suzi's Easter. Here is a link to Kaja's Blog were you can find all things Kaja. Thanks again Kaja and I hope you loved the cards the kids made for you. Below are photos of the kids, a link to my YouTube Video, and a full list of supplies for my card.


Hayden coloring his images with Prismacolor Colored Pencils. 

Cailin coloring some of the images with Prismacolor Colored Pencils. She is a true artist, far better than myself. She is 15 and I am constantly amazed at what she creates. 

This is Hayden he is 13, he is putting together his card. 

Dexter painting with Derwent Inktense pencils with his big sister. 


Hayden's finished card. 

Cailin and Dexter's finished card.


Supplies: (for my card)

Stamps:
images from Janes Doodles Suzi's Easter
Clearly Bessotted, Many Mini Messages (sentiment)

Dies:
MFT, Scalloped Basic Edge Die-namics, Accent It Flags and Tags Die-namics

Ink:
Versafine, Onyx Black
Memento, Tuxedo Black

Cardstock:
Taylored Expressions, Earl Grey
Neenah 110 lb and 80 lb Solar White http://amzn.to/2ldAiaH  http://amzn.to/2mZft7l

Embossing Powder:
Stampin' Up! Clear

Other:
Copic Markers
Nuvo Crystal Drops, Oyster Grey
Black Craft Mat by Dahle  http://amzn.to/2mbSzJE
Scotch 3M Foam Tape (huge roll) http://amzn.to/2lzZauc
White Craft Foam http://amzn.to/2mceqAu
Ranger Multi Medium Matte tp://amzn.to/2ldDfs1
Quilled Creations Precision Tip http://amzn.to/2mceXlY
Scor Tape 1/4" http://amzn.to/2ldSqkI

Thank you for visiting my blog today,

Kori

Friday, April 14, 2017

Hang In There Card Video Featuring MFT for MFT Sketch Challenge 328

Hello fellow card makers. Today I am playing along with MFT's sketch Challenge #328. I used the new Cuddly Koalas set. Below are some photos of my project, a link to my YouTube video for this card, and a complete list of supplies.


Supplies:

Stamps:
MFT, Cuddly Koalas and Crosshatch Background stamp

Dies:
MFT, Stitched Basic Edge Die-namics and Stitched Rectangle Word Window Die-namics
Mama Elephant, Femme Frames

Ink:
Distress Ink, Salty Ocean and Mowed Lawn
Hero Arts, Unicorn White
Versafine, Onyx Black

Cardstock:
Simon Says Stamp, Fog
Taylored Expressions, Earl Grey
Strathmore Bristol Smooth White

Embossing Powder
Simon Says Stamp, Detail White

Other:
Zig Clean Color Real Brush http://amzn.to/2pgdD2F
Nuvo Crystal Drops, Oyster Grey
Black Craft Mat by Dahle http://amzn.to/2mbSzJE
Scotch 3M Foam Tape (huge roll) http://amzn.to/2lzZauc
Ranger Multi Medium Matte http://amzn.to/2ldDfs1
Quilled Creations Precision Tip http://amzn.to/2mceXlY

Thank you for visiting my blog today,

Kori

Sunday, April 9, 2017

Harvest Mouse Sending Hugs Card with Video

Hello fellow card makers. Today I am sharing a card that I made using My Favorite Things, Harvest Mouse Stamp Set and Papertrey Ink's, Sending Hugs Mini Stamp Set and Big Hugs Die Set. I ink- blended my background using some Distress Inks and made my "hugs" sentiment into a shaker window using some craft foam and Mini Prills as my shaker bits. They look like the Nerds candy to me, do you agree? I use to love me some Nerds candy, lol. Below are some photos of my project, a link to my YouTube video, and a complete list of supplies.


Supplies:

Stamps:
Papertrey Ink, Sending Hugs Mini Stamp Set
My Favorite Things, Harvest Mouse

Dies:
Papertrey Ink, Big Hugs

Ink:
Versafine, Onyx Black
Hero Arts, Black
Distress Ink, Salty Ocean and Mowed Lawn

Cardstock:
Neenah 110 lb Solar White (card base)http://amzn.to/2mZft7l
Tim Holtz Distress Watercolor Paper

Patterned Paper:
Lawn Fawn, Perfectly Plaid
My Minds Eye, Dolled Up

Embossing Powder:
Stampin' Up! Clear

Other:
Derwent, Inktense Pencils
Nuvo, Crystal Drops, Bottle Green and Duck Egg Blue
Mini Prills, Rabbit
Gelly Roll Black Glaze Pen
Tim Holtz Tonic Trimmer http://amzn.to/2ldCgb8
Black Craft Mat by Dahle  http://amzn.to/2mbSzJE
Scotch 3M Foam Tape (huge roll) http://amzn.to/2lzZauc
Sizzix Big Shot (white) http://amzn.to/2mc5ICD
Sizzix Big Shot Caddy (white) http://amzn.to/2lvv7FR
White craft foam sheets http://amzn.to/2mceqAu
Ranger Multi Medium Matte http://amzn.to/2ldDfs1
Quilled Creations Precision Tip http://amzn.to/2mceXlY
Scor Tape 1/4" http://amzn.to/2ldSqkI


Thank you for visiting my blog  today,

Kori


Tuesday, March 28, 2017

Happy Birthday Card Featuring MFT and Lawn Fawn for The Color Throwdown #435

Hello fellow card makers. Today I am sharing with you a card I made using both MFT and Lawn Fawn products for The Color Throwdown Challenge #435. Below are photos of my card, a link to my YouTube video, and a complete list of supplies.


Supplies:

Stamps:
MFT, Hog Heaven and Adorable Elephants (sentiment)

Dies:
MFT, Scalloped Edge Border Die-namics

Ink:
Memento, Tuxedo Black
Distress Ink, Squeezed Lemonade and Scattered Straw

Cardstock:
Lawn Fawn, Peacock
Distress, Watercolor
Neenah, 80lb Solar White http://amzn.to/2ldAiaH

Patterned Paper:
Lawn Fawn, Perfectly Plaid

Other:
Copic Markers
Tim Holtz Tonic Trimmer http://amzn.to/2ldCgb8
Black Craft Mat by Dahle   http://amzn.to/2mbSzJE
Scotch 3M Foam Tape  http://amzn.to/2lzZauc
Sizzix Big Shot (white) http://amzn.to/2mc5ICD
Sizzix Big Shot Caddy (white) http://amzn.to/2lvv7FR
Inkadinkado Masking Paper  http://amzn.to/2ldS2mg


Thank you for visiting my blog today,

Kori

Wednesday, March 22, 2017

80's Birthday Card Video for Stamp, Ink, Paper Challenge #91

Hello fellow card makers. Today I am sharing with you a card I made for The Stamp, Ink, Paper Challenge #91. This week's theme for the challenge is Birthday! I used Sweet Stamp Shop's Totally Rad and Musical stamp sets to create my card, along with MFT's Gift Box Cover Up Die-namic. Below are photos of my project, a link to my YouTube video, and a complete list of supplies.


Supplies:

Stamps:
Sweet Stamp Shop, Totally Rad and Musical

Dies:
MFT, Gift Box Cover Up Die-namic

Ink:
Memento, Tuxedo Black
Versafine, Onyx Black
Distrees Ink, Iced Spruce, Twisted Citron, Peacock Feathers, and Picked Raspberry

Cardstock:
Neenah 110 lbs Solar White http://amzn.to/2mZft7l
Strathmore, Bristol Smooth White

Embossing Powder:
Stampin' Up!, Clear

Other:
Copic Markers
Nuvo Crystal Drops, Oyster Grey
Black Craft Mat by Dahle  http://amzn.to/2mbSzJE
3M Foam Tape (huge roll) http://amzn.to/2lzZauc
Sizzix Big Shot (white) http://amzn.to/2mc5ICD
Sizzix Big Shot Caddy (white) http://amzn.to/2lvv7FR
Fiskars Wire Guide Paper Trimmer
Fiskars Titanium Replacement Blades 

Ranger Multi Medium Matte 
Quilled Creations Precision Tip 


Thanks for visiting my blog today,

Kori

Friday, March 17, 2017

MFT Good Luck Shaker Card with Video For Stamp Ink Paper Challenge #90

Hello fellow card makers. Today I am sharing with you a shaker card I made for the Stamp Ink Paper Challenge #90 - Shaker Cards! I used MFT's Lucky Stamp set and coordinating die-namics to create this simple shaker card. Below is a photo of my card, a link to my YouTube video, and a complete list of supplies.


Supplies:

Stamps:
MFT, Lucky 

Dies:
MFT, Lucky die-namics 

Ink:
Taylored Expressions, Poppy Seed 

Cardstock:
Neenah, 80 http://amzn.to/2ldAiaH 110 http://amzn.to/2mZft7l Solar White
*in photo Simon Says Stamp, Fog (card base)

Other:
Pretty Pink Posh, 4 mm Marshmallow, Shamrock, and Charcoal Sequins 
Tim Holtz Tonic Trimmer http://amzn.to/2ldCgb8
Black Craft Mat by Dahle http://amzn.to/2mbSzJE
Sizzix Big Shot (white) http://amzn.to/2mc5ICD
Sizzix Big Shot (caddy, white) http://amzn.to/2lvv7FR
Fiskars Wire Guide Trimmer http://amzn.to/2lvAMM4
Fiskars Titanium Replacement Blades http://amzn.to/2lKjkUj
Scor Tape 1/4"http://amzn.to/2ldSqkI
Scor Tape 1/8 "http://amzn.to/2mcb7tm

Thank you for visiting my blog today,

Kori 

Saturday, January 14, 2017

Ink Cube Storage

Hello fellow cardmakers and crafters. Today I am sharing with you my new ink cube storage.


I buy ink cubes for a few reasons. First, I like to have ALL the colors and I don't have a room completely dedicated to ink storage. I like to have other supplies in my craft room. Second, I like to take my ink pad to my stamp for inking. I can do this easier with a small cube instead of the larger full size ink pad. Some inking techniques lend itself to the smaller ink cube, but that is for another blog post. Lastly, they are so stinking cute, come on, look at those little cubes, aren't they adorable? It all started with Stampin' Up! and their Stampin' Spots- they were my first ink purchase about 13 years ago. They have since been replaced with newer brands.

I know what you're thinking, more ink is better, and the cube doesn't have enough ink. Well, thats why I buy the re-inker.

re-inker storage
So, my craftroom is made up of many pieces from Ikea, Target, and office furniture stores. My ink, is stored in an Ikea Alex drawer unit (the short gray one). I searched high and low for the best way to organize them, so that they can stay in this unit which lives under my work surface, in close range, and easy to grab.

First, I found a plastic bead storage container. I got the idea from kwcarddesign. You can click on that link to find her blog. I originally stored my ink cubes this way. But I found it irritating to have to get out the container, open the container, grab the color I want... It just got in my way. So, I started looking for another option.

original method
 I found these foam inserts at Close to my Heart. They are made for their plastic storage container systems, but I didn't want another plastic container, so I ordered them to just sit in my drawer. So far, so good. I can open the drawer, grab what I want and not have anything else in my way.

new foam insert


The insert measures 10 3/8 x 14 3/8 and it holds up to 40 ink cubes. It is rigid enough to pull out on its own. I plan to stack 3 in a drawer. One on either side and one to stack on top of whichever one isn't being accessed at the moment. That is 120 ink cubes per drawer!!! Ya'll better start making more ink cubes!!!

thick foam rigidity


blending foam storage


The bad part is that my Distress Inks, that I use to ink- blend, well, I store the Ranger foam pads under those ink cubes. When this occurs, the ink cube does not sit down into the little square as good as without it. I haven't decided how big of a deal this is to me or not at all. I just thought I would mention it. If I come up with a solution for this, I will let you know.

If you have any questions or need additional photos, just let me know, I would be happy to share.


Thanks for visiting my blog today,

Kori

PS. I ordered directly from Close to My Heart online. I do not have a CTMH Consultant.