Showing posts with label moon and stars. Show all posts

Monday, February 17, 2020

The One with Neat & Tangled February Release Day One

Neat and Tangled, Butterfly Beauties, Stamp set, moon and stars, stamping, die-cutting, blue, mint, green, gem, greeting card, Ranger, Simon Says Stamp, Copic Markers, heat embossing, koren wiskman, N

Hello everyone.

Today is very exciting because it's release day for Neat & Tangled. The NEW release is now LIVE in the shop (CLICK HERE!) to check out the entire release or to visit the blog for more inspiration.

There are giveaways each day of the release week. Today you could win a Butterfly Beauties stamp set and coordinating die by commenting on the design team's blogs and the Neat & Tangled blog. The more you comment, the more your chances of winning increase.

Don't forget that you can save money by purchasing the complete February release bundle! 

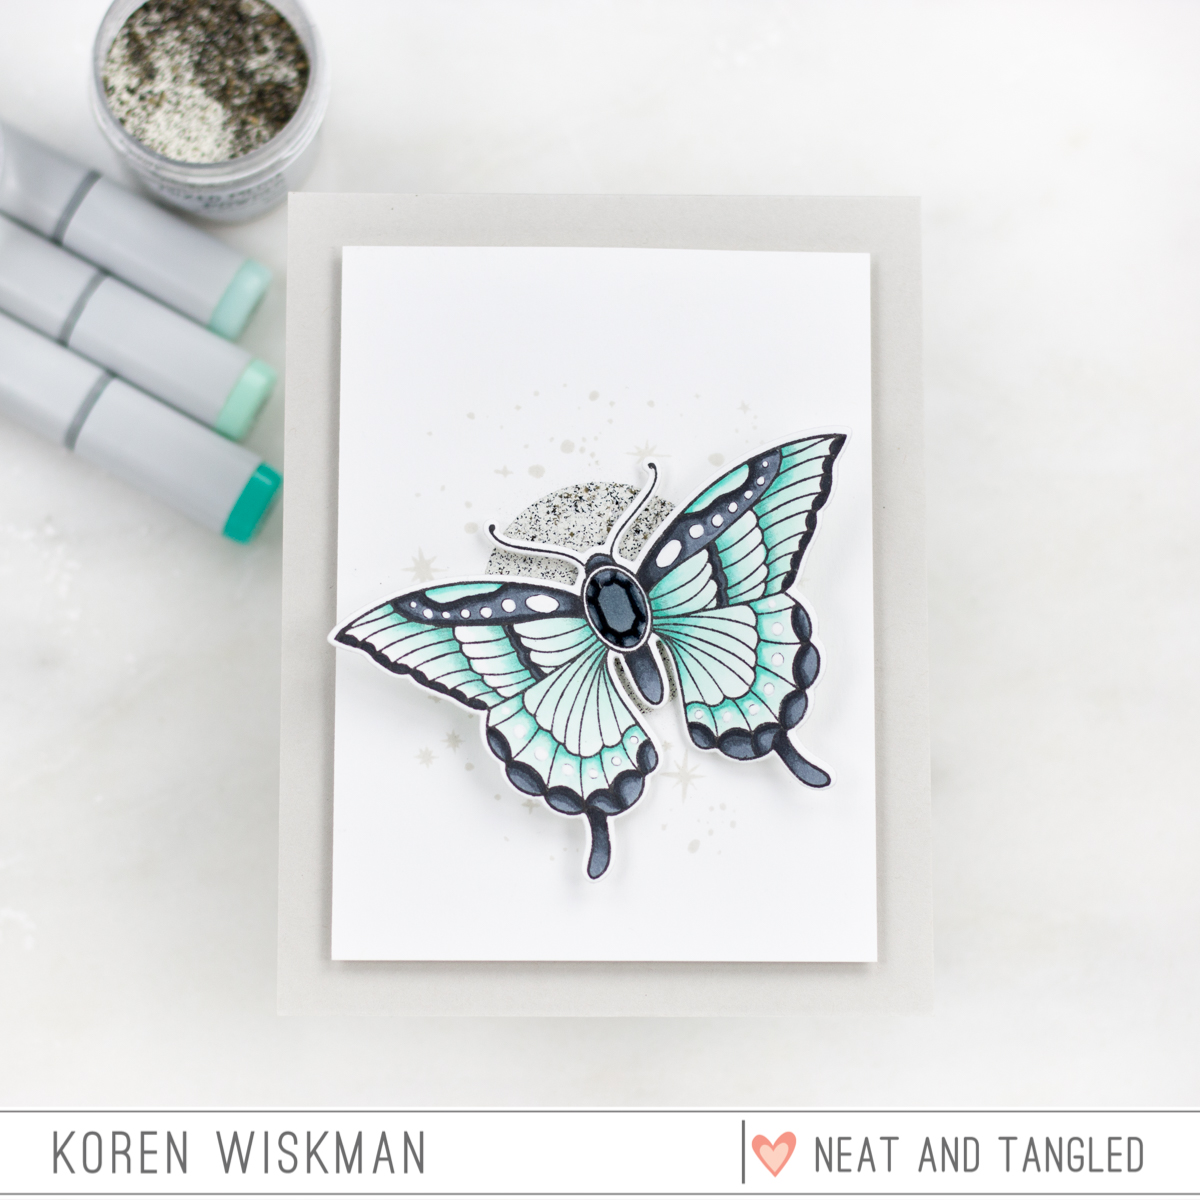
I'm playing with the NEW Butterfly Beauties stamp set with coordinating die. This stamp set features two NEW butterfly designs that coordinate well with the Moon Magic stamp set previously released.

eat and Tangled, Butterfly Beauties, Stamp set, moon and stars, stamping, die-cutting, blue, mint, green, gem, greeting card, Ranger, Simon Says Stamp, Copic Markers, heat embossing, koren wiskman,

I started by stamping the Moon and Stars stamp in the background with Simon Says Stamp Fog ink. To bump it up a notch, I stamped just the center moon image with sticky embossing ink and heat embossed it with Ranger mixed media embossing powder in the color Bone. This embossing powder has flecks of white and black and even gold. It's perfect for a moon. I used a piece of Neenah 110 lb. cardstock cut to 3 1/2 by 4 3/4. I added this panel to a Simon Says Stamp Fog card base cut to size A2 and scored in a top folding, Portrait orientation. To do this I used a piece of white craft foam and tear tape adhesive. The craft foam gives the panel some dimension off of the card base.

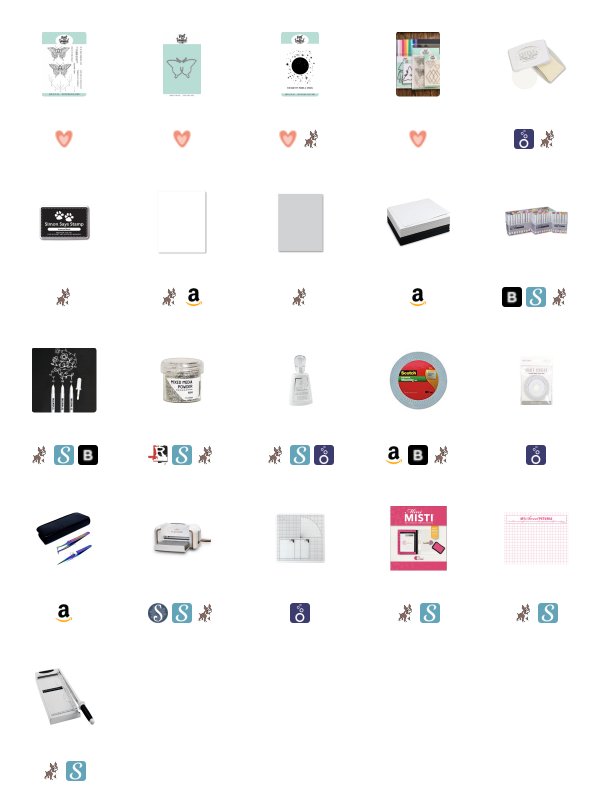
I then stamped my butterfly image from the NEW Butterfly Beauties stamp set with Simon Says Stamp Intense Black Ink so that I could Copic color my image. I have a Copic color map with all of the markers used listed for your convenience. Even though I only used two colors. I enhanced my coloring with a Gelly Roll white gel pen and added some shading with a Goldfaber colored pencil.

eat and Tangled, Butterfly Beauties, Stamp set, moon and stars, stamping, die-cutting, blue, mint, green, gem, greeting card, Ranger, Simon Says Stamp, Copic Markers, heat embossing, koren wiskman,

Once my image was colored I used the coordinating die to cut it out. I attached my butterfly to the moon background using foam tape. After it was secured, I bent the wings slightly to give them a little more lift up off of the panel. I added crystal glaze to the gem on it's back to make it stand out just a bit more.

At this point, I needed a sentiment for my card and I desperately wanted to use the "your friendship lifts me up" somewhere on my card. As I stared at my card, I realized that I did not want to add anything else to the front. To solve this problem I simply stamped the sentiment in Versafine Nocturne Clair ink on the inside of the card. This is always an option when you don't want to cover up your work on the front of the card.

eat and Tangled, Butterfly Beauties, Stamp set, moon and stars, stamping, die-cutting, blue, mint, green, gem, greeting card, Ranger, Simon Says Stamp, Copic Markers, heat embossing, koren wiskman,

I hope that I've inspired you to create today using the NEW Neat & Tangled February release. To see more inspiration from the rest of the design team (CLICK HERE!) to visit the blog or shop the NEW release.

Don't forget to comment for your chance to win today's giveaway which is a Butterfly Beauties stamp set and coordinating die. Winners will be announced Friday over on the Neat & Tangled blog.

Thank you so much for visiting my blog today,

Koren


eat and Tangled, Butterfly Beauties, Stamp set, moon and stars, stamping, die-cutting, blue, mint, green, gem, greeting card, Ranger, Simon Says Stamp, Copic Markers, heat embossing, koren wiskman,

Friday, September 27, 2019

Neat & Tangled September Release Week: Recap


Hello everyone. I’m sad that it’s over but it was a great week. The NEW Neat & Tangled September release is available in the online store. (CLICK HERE!) to shop. There is also a ton of inspiration using the new release on the blog with cards from the design team. Here are direct links to each of the September Release products. As well as some photos of my projects from this past week.


The winners of each day have been announced this morning over on the Neat & Tangled Blog.

I hope that you’ve had a good time this week, I know I have.

Thank you for visiting my blog today,

Koren

Wednesday, September 25, 2019

Neat & Tangled September Release Week: Day Three


Hello everyone. Today is day three of the Neat & Tangled September release. Which is available NOW over on the website. (CLICK HERE!) to visit the Neat & Tangled online store and blog.  There you will find more inspiration using this months release.

Also, don’t forget to comment for your chance to win today’s Giveaway. Winners will be announced this Friday 9/27 on the Neat & Tangled blog at 7:30 AM EST.

Today, I am using the NEW Moon and Stars stamp set which features a mostly solid image moon surrounded by adorable dots and stars.


I started with a piece of Neenah 110 lb. cardstock cut to 3 1/2 by 4 3/4 inches. I loaded this panel into my Original MISTI as well as the main stamp from this newly release 3 x4 stamp set Moon and Stars. To create the subtle light gray dots and stars I inked up the stamp trying to avoid the moon in the center of the stamp. I used Simon Says Stamp Fog cardstock for this purpose. I made several cards this way and I usually stamped this image twice using the same ink. I did this just to make sure I got good ink coverage on my stamp.

I avoided the moon in the center of the stamp because I had something more interesting planned for the main focal point of this card. If I accidentally got any ink onto the moon, i would take my microfiber cloth and wipe away any ink that may have contaminated the area before stamping down the background.


I also stamped the sentiment “you are my moon & stars” with Versafine Clair Nocturne Ink and heat embossed it with Hero Arts Clear embossing powder. I arranged it below the stamped background justified to the center the best I could.

For the main focal  image, I cut several  pieces of Arches Hot Pressed watercolor paper to have some fun with. I loaded my first piece into the MISTI. To add color to the moon image I used my Jane Davenport Colorsticks from Spellbinders. To do this I would pick a few colors that I thought looked great together and took my colorstick directly to my stamp. Warning ⚠️  This will most likely stain your stamps. A little staining is normal and doesn’t affect the stamped image at all. It just makes the stamp look dirty (but that doesn’t bother me). I would add a few swipes of each color on the stamped image and then use my Nuvo Light Mist spray bottle to wet the stamp. I then took one of the smaller brushes from the Nuvo Brush Set to move some of the color around to blend the colors together on the stamp before I stamped it down onto my paper.


After I felt like the color was well represented on the stamp, I closed the door of my MISTI and let it set down on the paper for a few minutes. Then, when lifting the door of the MISTI off of your paper, you will see a circle of vibrant color. I had a paper towel or microfiber cloth handy to clean up any puddles of color that may look too muddy for the color set into place.

Once your watercolor circles are dry you can use any circle die from your collection that fits this size to cut it out. You may even have an old punch of similar size that might work. I cut out all of my circles and popped them up onto the backgrounds I created earlier. I used Tonic Studios Craft Perfect foam squares to give it dimension.


I adhered my panels to white craft foam using Craft Perfect tear tape adhesive. I attached them to a Simon Says Stamp Fog card base cut to size A2 and scored in top folding portrait orientation.

I hope I’ve inspired you to create something today. Make sure you (CLICK HERE!) to visit the Neat & Tangled online store to shop the NEW Setember release or check out the blog for more inspiration using these products from the design team. Don’t forget to comment for your chance to win today’s Giveaway.

Thank you for visiting my blog today.

Koren