Showing posts with label Neat & Tangled. Show all posts

Friday, February 21, 2020

The One with the Neat & Tangled February Release Recap


Hello everyone.

It's been a fantastic week, and I really have enjoyed this release- the butterflies are so fun, and the geometric shapes are sure to feel great in any craftroom. I hope that you've been inspired to create something this week, and I would love to see what you made! The winners for this week's giveaway's have been announced over on the Neat & Tangled Blog, so be sure to (CLICK HERE!) to see if you are the winner!

The entire NEW release is linked below. 


Thursday, February 20, 2020

The One with the Neat & Tangled February Release Day Four

neat and tangled, stamp set, butterfly beauties, watercoloring, greeting card, stamping, heat embossing, Avery elle escoda brushes rainbow

Hello everyone.

Today is Neat & Tangled's February release Day Four. This is by far my favorite card that I created this week. I used the NEW Butterfly Beauties stamp set on this one and it was so fun to make.

Today is the last day for your chance to win a giveaway. All giveaways will be announced tomorrow over on the Neat & Tangled Blog. Comment here and there for your chance to win the entire NEW release. The more blogs you visit and comment the more your chances of winning increase.

(CLICK HERE!) to shop for the NEW release or to get more inspiration from the rest of the design team.

Don't forget that you can also save money by purchasing the entire release in a bundle, which is also linked below.

neat and tangled, stamp set, butterfly beauties, watercoloring, greeting card, stamping, heat embossing, Avery elle escoda brushes rainbow

For this card, I started with a piece of Arches Hot Pressed watercolor paper. I stamped one of the butterflies from the NEW Butterfly Beauties stamp set with Versafine Nocturne Clair ink and heat embossed it with Simon Says Stamp clear embossing powder.

I love the look of very loose water coloring. Totally out of the lines water coloring. It truly makes me feel free and it's so much fun. I used my Avery Elle liquid watercolors to paint my butterfly in a rainbow. I just started with the color Cherry and painted my rainbow from left to right. Using Lemon Grass, Fizz, Sapphire, Aquamarine, and Sugar Plum. After I completely covered my butterfly in color I then splattered those same colors across my card. lastly, I trimmed the panel down to 3 by 4-3/4.

As for the sentiment, I took one of the black pieces of cardstock from the NEW Neat & Tangled cardstock assortment pack and cut it down to 3 1/2 by 4 3/4. I loaded it into my Mini MISTI and stamped the "a friend like you is rare" using Nuvo clear mark embossing ink. Then I heat embossed it using Simon Says Stamp white embossing powder.

neat and tangled, stamp set, butterfly beauties, watercoloring, greeting card, stamping, heat embossing, Avery elle escoda brushes rainbow


To finish off the card I added the watercolored panel to the black panel using black craft foam and tear tape adhesive. Then I added them both to a Simon Says Stamp Fog card base cut to size A2 and scored in side-folding landscape orientation.

Some may say it looks like a mess. I think it looks awesome and I can't wait to paint something else just like it.

I hope I've inspired you to create with the NEW Neat & Tangled release. Make sure you (CLICK HERE!) to visit the shop and check out the blog for more inspiration from the rest of the design team.

Thank you so much for visiting my blog today,

Koren


Wednesday, February 19, 2020

The One with the Neat & Tangled February Release Day Three

neat and tangled, geometric, stamp set, stamping, triangles, gray, grey, rose gold, embossing powder, heat embossing, Ranger, Simon Says Stamp

Hello everyone.

It's Day Three of Neat & Tangled's February release week and I'm playing with the NEW Geometric stamp set.

To check out the entire NEW release (CLICK HERE!) to shop or visit the blog for more inspiration from the rest of the design team. Don't forget to comment here and there for your chance to win today's giveaway, which includes the NEW Butterfly Beauties stamp set and coordinating dies. The winners will be announced on Friday over on the Neat & Tangled Blog.

I was inspired by some wrapping paper that I recently saw that was a beautiful medium gray with rose gold foil geometric shapes, and I started with a piece of medium gray cardstock cut to 3 1/2 by 4 3/4. I loaded it into my original MISTI and began to stamp the geometric shapes in a pattern. I used Versamark ink only because the technique I'm about to do is somewhat messy and will ruin your ink pad, so I keep this one just for this technique. Once the pattern was stamped I heat embossed it with Ranger Rose Gold embossing powder.

neat and tangled, geometric, stamp set, stamping, triangles, gray, grey, rose gold, embossing powder, heat embossing, Ranger, Simon Says Stamp

I wanted to add embossing powder around the edges of my card. To do this I add my card panel to a thick piece of gray board to give it more strength. The gray board I use is from Tonic Studios in their craft perfect line. It's basically chipboard that can be easily die-cut. To adhere my cardstock to the gray board I use liquid adhesive and make sure I get a good coat so that the edges don't lift up.

Once the cardstock is firmly attached to the gray board I dip the edges into my Versamark ink pad that I use specifically for this technique. I get a good amount of the sticky ink onto the side of the panel and then dip it into a pile of embossing powder. I used the same Rose Gold embossing powder for the entire card. I dip the edges several times each and melt the embossing powder each time with my heat tool. This gives the edges a rustic finished look.

For my sentiment, I did the same thing. I stamped the "I treasure our friendship" stamp with Versamark ink and heat embossed it with the same Rose Gold embossing powder. This time I used some tweezers to finish the edges as to not burn my fingers with the heat tool.

neat and tangled, geometric, stamp set, stamping, triangles, gray, grey, rose gold, embossing powder, heat embossing, Ranger, Simon Says Stamp


Once the sentiment had cooled completely I attached it to the panel using liquid adhesive. I used a Simon Says Stamp Fog card base cut to size A2 and scored in a top folding portrait orientation.

The photos truly don't do this card justice. The Rose gold looks great on the gray cardstock. I really like how it turned out but it did prove difficult to photograph.

I hope that I've inspired you to create with the NEW Neat & Tangled February release. Don't forget to comment for your chance to win today's giveaway. (CLICK HERE!) to visit the shop or to find more information over on the blog.

Thank you so much for visiting my blog today,

Koren


Tuesday, February 18, 2020

The One with the Neat & Tangled February Release Day Two

neat and tangled, geometric, die set, butterfly beauties stamp set, stamping, die-cutting, triangles, cardstock assortment pack, pink, blue, teal

Hello everyone.

It's Day Two of Neat & Tangled's February release week and today I'm playing with the NEW Geometric Dies and the NEW assorted cardstock pack. I love a good geometric set. They are staples that should be in every stampers collection.

To check out the entire NEW release (CLICK HERE!) to visit the shop or check out the blog for more inspiration. Don't forget to comment for your chance to win today's giveaway. Today's giveaway is the NEW Geometric stamp set and coordinating dies.

You can save money by purchasing the entire NEW release in a bundle also Linked below.

neat and tangled, geometric, die set, butterfly beauties stamp set, stamping, die-cutting, triangles, cardstock assortment pack, pink, blue, teal


I started with one of the white sheets from the NEW assorted cardstock pack. This pack is filled with Bazzil smooth cardstock in a variety of colors. I grabbed one of the white sheets and cut it to 3 1/2 by 4 3/4. I then grabbed the pinks a blues as well as the triangle from the NEW Geometric dies. I cut the triangle from each of the selected cardstocks and began arranging them on my panel.

After I decided on a pattern to use I then needed to stamp my sentiment. I used the "hello beautiful" stamp from the NEW Butterfly Beauties stamp set. I stamped it in the lower-left corner leaving room for my triangles. I stamped it with Versafine Nocturne Clair ink.

neat and tangled, geometric, die set, butterfly beauties stamp set, stamping, die-cutting, triangles, cardstock assortment pack, pink, blue, teal

Once my sentiment was dry I then started to adhere my triangles to the pattern. Some of them were stuck on using liquid adhesive flat to the panel while others were popped up with foam tape

The entire card panel was then added to a Simon Says Stamp fog card base using craft foam and tear tape adhesive.

I hope that I've inspired you to create today using the NEW Neat & Tangled February release. To check out the entire release (CLICK HERE!) to visit the blog for more inspiration from the design team or to shop the release.

Thank you so much for visiting my blog today,

Koren


Monday, February 17, 2020

The One with Neat & Tangled February Release Day One

Neat and Tangled, Butterfly Beauties, Stamp set, moon and stars, stamping, die-cutting, blue, mint, green, gem, greeting card, Ranger, Simon Says Stamp, Copic Markers, heat embossing, koren wiskman, N

Hello everyone.

Today is very exciting because it's release day for Neat & Tangled. The NEW release is now LIVE in the shop (CLICK HERE!) to check out the entire release or to visit the blog for more inspiration.

There are giveaways each day of the release week. Today you could win a Butterfly Beauties stamp set and coordinating die by commenting on the design team's blogs and the Neat & Tangled blog. The more you comment, the more your chances of winning increase.

Don't forget that you can save money by purchasing the complete February release bundle! 

I'm playing with the NEW Butterfly Beauties stamp set with coordinating die. This stamp set features two NEW butterfly designs that coordinate well with the Moon Magic stamp set previously released.

eat and Tangled, Butterfly Beauties, Stamp set, moon and stars, stamping, die-cutting, blue, mint, green, gem, greeting card, Ranger, Simon Says Stamp, Copic Markers, heat embossing, koren wiskman,

I started by stamping the Moon and Stars stamp in the background with Simon Says Stamp Fog ink. To bump it up a notch, I stamped just the center moon image with sticky embossing ink and heat embossed it with Ranger mixed media embossing powder in the color Bone. This embossing powder has flecks of white and black and even gold. It's perfect for a moon. I used a piece of Neenah 110 lb. cardstock cut to 3 1/2 by 4 3/4. I added this panel to a Simon Says Stamp Fog card base cut to size A2 and scored in a top folding, Portrait orientation. To do this I used a piece of white craft foam and tear tape adhesive. The craft foam gives the panel some dimension off of the card base.

I then stamped my butterfly image from the NEW Butterfly Beauties stamp set with Simon Says Stamp Intense Black Ink so that I could Copic color my image. I have a Copic color map with all of the markers used listed for your convenience. Even though I only used two colors. I enhanced my coloring with a Gelly Roll white gel pen and added some shading with a Goldfaber colored pencil.

eat and Tangled, Butterfly Beauties, Stamp set, moon and stars, stamping, die-cutting, blue, mint, green, gem, greeting card, Ranger, Simon Says Stamp, Copic Markers, heat embossing, koren wiskman,

Once my image was colored I used the coordinating die to cut it out. I attached my butterfly to the moon background using foam tape. After it was secured, I bent the wings slightly to give them a little more lift up off of the panel. I added crystal glaze to the gem on it's back to make it stand out just a bit more.

At this point, I needed a sentiment for my card and I desperately wanted to use the "your friendship lifts me up" somewhere on my card. As I stared at my card, I realized that I did not want to add anything else to the front. To solve this problem I simply stamped the sentiment in Versafine Nocturne Clair ink on the inside of the card. This is always an option when you don't want to cover up your work on the front of the card.

eat and Tangled, Butterfly Beauties, Stamp set, moon and stars, stamping, die-cutting, blue, mint, green, gem, greeting card, Ranger, Simon Says Stamp, Copic Markers, heat embossing, koren wiskman,

I hope that I've inspired you to create today using the NEW Neat & Tangled February release. To see more inspiration from the rest of the design team (CLICK HERE!) to visit the blog or shop the NEW release.

Don't forget to comment for your chance to win today's giveaway which is a Butterfly Beauties stamp set and coordinating die. Winners will be announced Friday over on the Neat & Tangled blog.

Thank you so much for visiting my blog today,

Koren


eat and Tangled, Butterfly Beauties, Stamp set, moon and stars, stamping, die-cutting, blue, mint, green, gem, greeting card, Ranger, Simon Says Stamp, Copic Markers, heat embossing, koren wiskman,

Friday, November 22, 2019

Neat & Tangled November Release Week: Recap


Hello everyone.

I hope you had a good time this week checking out the NEW Neat & Tangled November release. I know I had a great time playing with these NEW products. I hope I've inspired you to create some handmade Christmas cards this holiday season.

To check out the entire November Release (CLICK HERE!) The winners for this week's giveaways will be announced today over on the Neat & Tangled blog.

The best way to shop the NEW release is to buy the bundle and save money. You will find links to all the NEW products below.

Thank you so much for visiting my blog today.

Koren


Thursday, November 21, 2019

Neat & Tangled November Release Week: Day Four and 25 Tags of Christmas


Hello everyone.

Today is Day Four of Neat & Tangled's November release week and we have a special treat today. The Design Team is also participating in the 25 Tags of Christmas event, more information can be found on the Neat & Tangled Blog. (CLICK HERE!).

To check out the entire NEW November Release from Neat & Tangled (CLICK HERE!) to visit the online store to shop or the blog for more inspiration from the design team. Also, don't forget to comment here and over on the N&T blog for your chance to win today's giveaway. Giveaway winners will be announced on Friday over on the N&T blog.


To create my tag today I started with a piece of Neenah 110 lb. Solar White Classic Crest cardstock. I used an older tag die from Neat & Tangled but honestly, it's my favorite tag die. It's the Classic Tag 1 die and I will cherish it forever. To make this work, I first stamped the Holiday Wishes Background stamp onto a piece of Neenah that was cut to 4 1/4 by 5 1/2 inches. I used Simon Says Stamp Fog gray ink like I have a million times before, because I like it. I absolutely love this background stamp. The font is perfect and I personally love text backgrounds. The tag was then cut out trying to align the text as straight as possible with the die.


The image of the little kid in the snowman costume is from last year's Christmas Pageant stamp set also by Neat & Tangled. I stamped him with Simon Says Stamp Intense black ink and colored him with my Copic Markers. I made a Copic color map for you guys (below), although it was rather simple coloring. 

For the sentiment, I stamped the "happy holidays" from the Classic Christmas stamp set from this November's NEW release with Nuvo Clear Mark embossing ink and heat embossed it with Ranger White embossing powder. I cut it down into a strip and to change it up a little, I trimmed off one end in a diagonal and had it slightly off the tag. It was popped up onto the tag using Scotch 3M foam tape. 

I added some of the Neat & Tangled Clear Mix sequins coming from behind my image. I feel like this makes it feel a little frozen, lol. I used micro Glue Dots to adhere the sequins in place. 


For the trimmings at the top, I cut a few lengths of red twine, as well as black and white twine. I also cut some black sequined twine. I first added the black and white twin and kept it rather long in length then I added the black sequined twine and cut it much shorter. Then I finished it off by tying the red twine around it all into a pretty bow.

I hope that I've inspired to to create some homemade Christmas tags. If you want to check out more inspiration from the rest of the design team (CLICK HERE!) to both shop and read the blog.

Thank you so much for visiting my blog today.

Koren

Wednesday, November 20, 2019

Neat & Tangled November Release Week: Day Three


Hello everyone.

Today is Day Three of Neat & Tangled's November release week. Today I made a card inspired by my husband Tim. He doesn't often chime in and give me direction on how to make a card, but today he decided to speak up, so I listened. As soon as he saw the Classic Christmas stamp set by Neat & Tangled he said that I should "do a green background" with "gold heat embossing", so I did.

To check out the enitre November release from Neat & Tangled (CLICK HERE!) to visit the shop and blog for more inspiration. Don't forget to comment here and over on the N&T blog for your chance to win today's giveaway. Giveaway winners will be announced on Friday on the N&T blog.

For my card today I started with a Stampin' Up! Garden Green piece of cardstock and cut it to 3 1/2 by 4 3/4 inches. I grabbed my Distress Oxide ink in Pine Needles and my Nuvo Blending brushes and blended on a little bit of darker green on the outside edges of the background, and looking back on it, I wish I had done another layer of even darker color to make it more dramatic. But I do like the way it preserves the true green of the cardstock in the center behind the images and sentiment.

I stamped two poinsettia images from the Classic Christmas stamp set with Simon Says Stamp Intense Black ink and colored them with my Copic Markers. I did this because I have been warned that coloring with your alcohol markers onto a heat embossed image can ruin your nib. So I avoid doing that. After the images were colored however I put it back into my MISTI where I left the stamp in it's original position and re-stamped the image again using Nuvo Clear Mark embossing ink. This time I also heat embossed it using Nuvo Gold Enchantment embossing powder. I also added some sticky ink to the centers of the flower and added a ton of the glitter embossing powder in that area to make it super shiny and glittery in the center.

The two flowers were adhered with Nuvo Deluxe Liquid adhesive flat to the ink blended background panel. Some of the leaves were hanging off of the edge of the cardstock but still within the confines of the card itself. The entire panel was then added to a Simon Says Stamp Fog card base cut to size A2 and scored in a top folding portrait orientation. The panel was adhered using large strips of foam tape to give it dimension.


I still needed a sentiment for the card so I cut a strip from the Neat & Tangled Skinny Strips dies that fit perfectly across my card panel. I put it into my MISTI along with the " sending you cheer" sentiment from the Classic Christmas stamp set in this months release. I stamped it using the same sticky ink and heat embossed it to match the rest of the gold on the card. The strip was then popped up using very thin strips of Scotch 3M foam tape.

Tim loved how the card turned out and I am going to give it to him to give to someone special in his life, besides me of course : )

To check out more inspiration using the Neat & Tangled November release (CLICK HERE!) to visit the online store and blog.

Thank you for visiting my blog today.

Koren


Tuesday, November 19, 2019

Neat & Tangled November Release Week: Day Two


Hello everyone.

It's Day Two of Neat & Tangled's November Release week. Today I created a Christmas card using the products from the NEW November release as well as the shiny black enamel dots from a previous release.

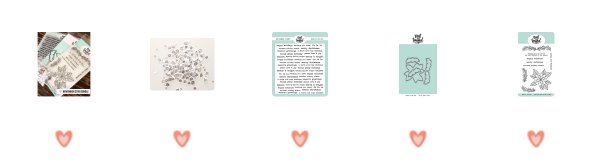
The Neat & Tangled November Release features a poinsettia in the Classic Christmas stamp set as well as beautiful accent foliage to coordinate with it. To check out this set as well as the entire November release (CLICK HERE!) to visit the online store and blog. Make sure you comment here and over there for your chance to win today's giveaway. Giveaway winners will be announced this Friday on the Neat & Tangled Blog.

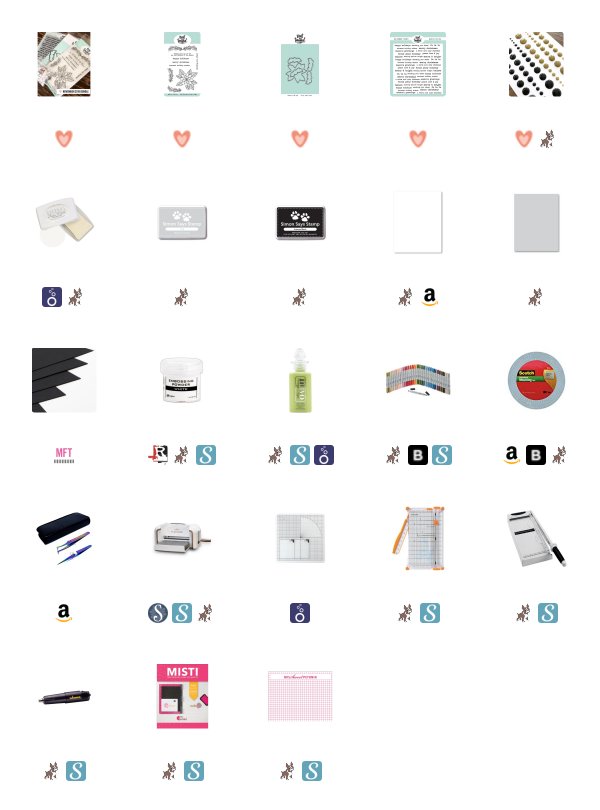
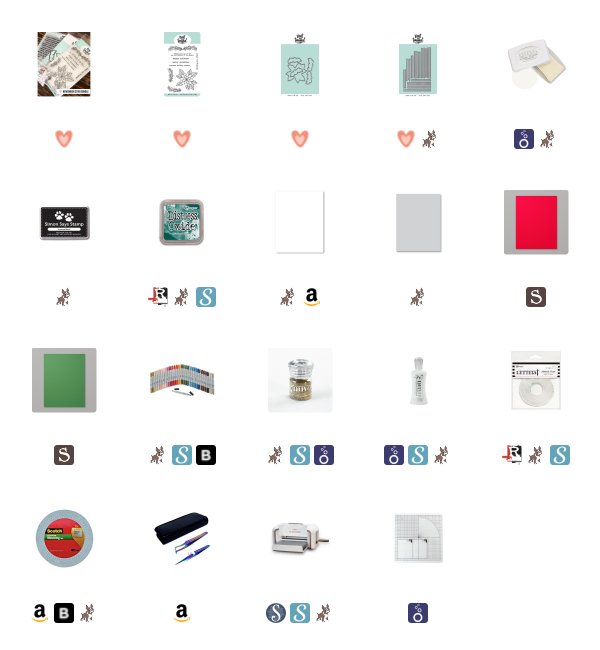
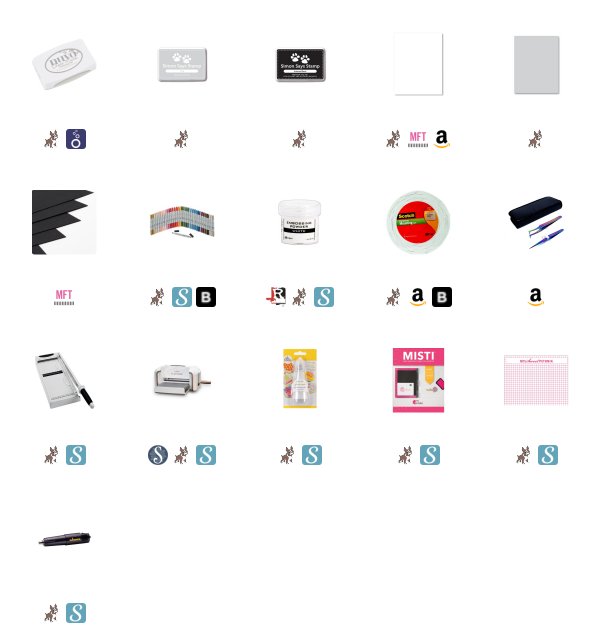
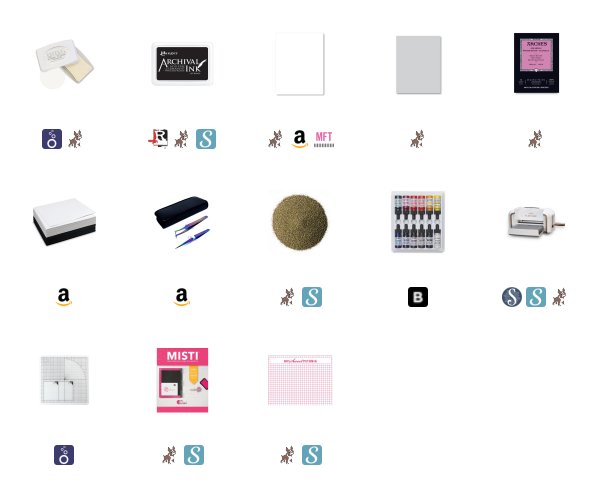
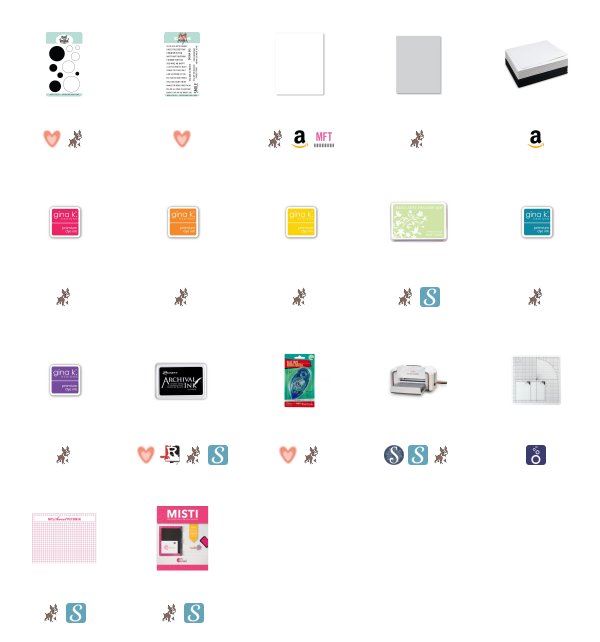
I started my card with a piece of Neenah 110 lb. cardstock cut to 4 1/4 by 5 1/2. I loaded it as well as the Holiday Wishes Background stamp also from the NEW November release, into my original MISTI making sure to remove the foam insert. When using a red rubber background stamp such as this you need to remove the foam insert from your MISTI. That is put there to ensure a better stamped image when using photopolymer stamps. It actually gets in the way if you use it with red rubber or any cling mounted stamps.

I stamped the Holiday Wishes Background stamp with Simon Says Stamp Fog ink leaving a very light text background for my card. I then cut this panel down to 3 1/2 by 4 3/4. I mounted it to a Simon Says Stamp Fog card base using Scotch 3M foam adhesive to give it a bit of dimension.


I stamped the image of the poinsettia onto the same white cardstock using Simon Says Stamp Intense Black ink and colored it using my Copic markers. I used only two color families to color my image. I used Red R59, R29, and R27. I am always exploring with my red color combinations to get the best one. I also used Green G46, G43, and G40. I used the coordinating dies that are also available in this month's bundle, which is the best way to shop and save money. 

Before sticking it in place on the card I wanted to experiment with Nuvo drops. I had originally wanted to have a green drop with a red drop on top to mimic the center of some of the photos I had been researching, but after mocking one up I didn't think it would work out. So, I switched gears and used Nuvo Vintage drops in Pioneer Green alone. I wanted the center of the flower to appear bumpy and textured so I made super small drops and waited for each one to dry matte before adding the next drop. I was trying to make them individual drops. I must not have waited long enough because they ended up attaching to one another over night even after I attached the flower to the card. Although they didn't separate, I still saw texture and I liked it. I attached the flower with foam tape to pop it up on the card panel. 

For the sentiment, I stamped the "warmest holiday wishes" stamp onto My Favorite Things Black Licorice cardstock and heat embossed it with Ranger White embossing powder. To cut it down into a strip I used my Fiskars Wire Guide paper trimmer. This helps me line it up and cut (kinda) straight. I used the same foam tape to pop up the sentiment and tuck it in under the flower on the left hand side. 


To add a little something shiny I added the Sophisticated Enamel Dots also by Neat & Tangled, scattered throughout the background.

For more inspiration using products from Neat & Tangled NEW November release (CLICK HERE!) and see cards from the rest of the design team. 

Thank you so much for visiting my blog today.

Koren 


Monday, November 18, 2019

Neat & Tangled November Release: Day One


Hello everyone. It's Day One of Neat & Tangled's November release, and I absolutely loved playing with it. My favorite in the release is the Holiday Wishes Background stamp. I fell in love with it and you will see me use it a bunch throughout the week. Today I used it to create a very clean and simple card.

The new release is AVAILABLE NOW! You can (CLICK HERE!) to shop. Make sure you comment here and over on the Neat & Tangled blog for your chance to win today's Giveaway. Winners will be announced this Friday over on the N&T blog.

Today, I used the NEW Holiday Wishes Background stamp to create a tone on tone background. I stamped the red rubber background stamp using my original MISTI. It was stamped with Simon Says Stamp Fog ink onto a piece of coordinating cardstock. I stamped it directly onto the card base, so I had to make sure to line up the stamp just right in the MISTI to avoid stamping on the back of my card.


I then stamped the "laurel" type images in the NEW Classic Christmas stamp set also in the NEW Neat & Tangled release. I stamped them with Simon Says Stamp's Intense Black ink onto Neenah 110 lb. Classic Crest Solar White cardstock. I used my Copic markers to color them and their coordinating dies to cut them out. I popped them up into the lower right hand corner of the card front using Scotch 3M foam tape.

For my sentiment, I stamped the "Merry Christmas" from the same Classic Christmas stamp set with Nuvo Clear Mark embossing ink onto My Favorite Things Black Licorice cardstock and heat embossed it with Ranger White embossing powder. I used my Fiskars Wire Guide paper trimmer to cut it down to a small strip. I used the same foam tape to pop this up as well.

That is my super simple card using the NEW Neat & Tangled November Release. Make sure you (CLICK HERE!) to visit the Neat & Tangled blog to find tons more inspiration from the rest of the design team as well as as shop the new release.

I hope that you will join me again tomorrow for day two. Thank you so much for visiting my blog today.

Koren


Friday, November 1, 2019

Neat & Tangled October Release Week: Recap


Hello everyone. It ’s the end of Neat & Tangled’s October Release Week. I hope you all have seen some inspiring ideas to create with the new release. I truly loved creating with this release and I hope you enjoyed it too.

You can purchase the entire release as a bundle (CLICK HERE!).

I created a few cards to create a simple note card set using the NEW Circular stamp set from Neat & Tangled’s October release.  These cards are super simple but fun to create. You can find tons of inspiration over on Pinterest, using all kinds of circle patterns.

These cards do not use sentiments so they can be sent with a personalized written note inside. I like keeping these types of cards on hand to communicate with my kids teachers or personnel in my doctor’s office.

The winners of the giveaway for each day this week should be announced today over on the Neat & Tangled blog.

Thank you so much for visiting my blog today,

Koren

Thursday, October 31, 2019

Neat & Tangled October Release Week: Day Four


Hello everyone. It’s Day Four of Neat & Tangled’s October Release Week. Today I’m using the NEW Circular Stamp Set to create a fun universal card that can be used all year round with tons of different color combinations.

(CLICK HERE!) to check out the Neat & Tangled Website to shop the NEW October release and visit the blog for lots of inspiration. Comment here and over on the N&T Blog for your chance to win today’s GIVEAWAY. Winners will be announced tomorrow Friday on the Neat & Tangled Blog.


I started with Neenah 110 lb. Classic Crest Solar White cardstock cut to 3 1/2 by 4 3/4. I loaded it into my Original MISTI and stamped all of the circles in the NEW Neat & Tangled Circular Stamp Set in a random pattern filling the available space on the panel. I used Gina K  dye inks in Passionate Pink, Sweet Mango, Blue Lagoon, Wild Lilac, and Wild Dandelion. I also used Hero Arts Green Hills. I stamped them several times each to make sure I got great coverage using the solid stamps.

I then stamped the outline circle for each coordinating circle off center with Ranger Archival Ink in Jet Black. The outline image as well as the solid color circle are both available in the NEW Circular stamp set.


I took the “smile” stamp from Neat & Tangled’s So Many Sentiments. I aligned the sentiment in the open space on the panel and stamped it with the same Jet Black ink.

I then added the entire panel to a Simon Says Stamp Fog card base cut to size A2 and scored in a top folding portrait orientation. I added the panel with a piece of craft foam and Tombow Mono tape runner adhesive.

Make sure you (CLICK HERE!)  to visit the Neat & Tangled website to shop and visit the blog to see tons of inspiration from the design team.

Thank you for visiting my blog today,

Koren

Wednesday, October 30, 2019

Neat & Tangled October Release Week: Day Three


Hello everyone. It’s Neat & Tangled’s October Release Week- Day Three and I have another card that features the NEW Circular Stamp Set from the October Release. I also used a sentiment from the NEW Heartfelt Thanks Stamp Set. I really went for a vintage and more muted color scheme for this one, and definitely feel like the colors nailed that feeling.

Make sure you (CLICK HERE!) to visit the Neat & Tangled website to shop the new release and to check out the blog for tons of inspiration from the design team using the new release.

Comment here on this post, and on the N&T blog for your chance to win today’s GIVEAWAY. The winners will be announced Friday over on the Neat & Tangled blog.


I started with a piece of Neenah 110 lb. Solar White Classic Crest cardstock cut to 3 1/2 by 4 3/4. I loaded it into my Original MISTI along with the largest of the circles from the NEW Neat & Tangled Circular Stamp Set from the October Release. I placed it in the upper right hand corner of the panel stamping it each time and moving the stamp along the pattern. Trying desperately to keep them in line.

I used Gina K dye ink in Blue Lagoon, Honey Mustard, Peach Bellini, and Faded Brick. I also used Altenew Emerald. I stamped them each multiple times to ensure good solid coverage.

For the sentiment “a heartfelt thanks for all the love and joy you bring to my life” is from the NEW Neat & Tangled Heartfelt Thanks Stamp Set. I stamped it on Papertrey Ink Saffron Spice cardstock with Nuvo Clear Mark embossing ink and heat embossed with Hero Arts Gold embossing powder.


I cut down the sentiment strip using my Fiskars Wire Guide Paper Trimmer and popped it up onto my stamped background using Scrapbook Adhesives Foam Squares.

The entire panel was added to a Simon Says Stamp Fog card base cut to size A2 and scored at in a top folding portrait orientation. I used craft foam and Tombow Mono tape runner adhesive to pop it up.

Make sure you (CLICK HERE!) to visit the Neat & Tangled website to shop and check out all of the inspiration being shared on the blog by the design team.

Thank you so much for visiting my blog,

Koren