Showing posts with label Holiday Wishes Background. Show all posts

Friday, November 22, 2019

Neat & Tangled November Release Week: Recap


Hello everyone.

I hope you had a good time this week checking out the NEW Neat & Tangled November release. I know I had a great time playing with these NEW products. I hope I've inspired you to create some handmade Christmas cards this holiday season.

To check out the entire November Release (CLICK HERE!) The winners for this week's giveaways will be announced today over on the Neat & Tangled blog.

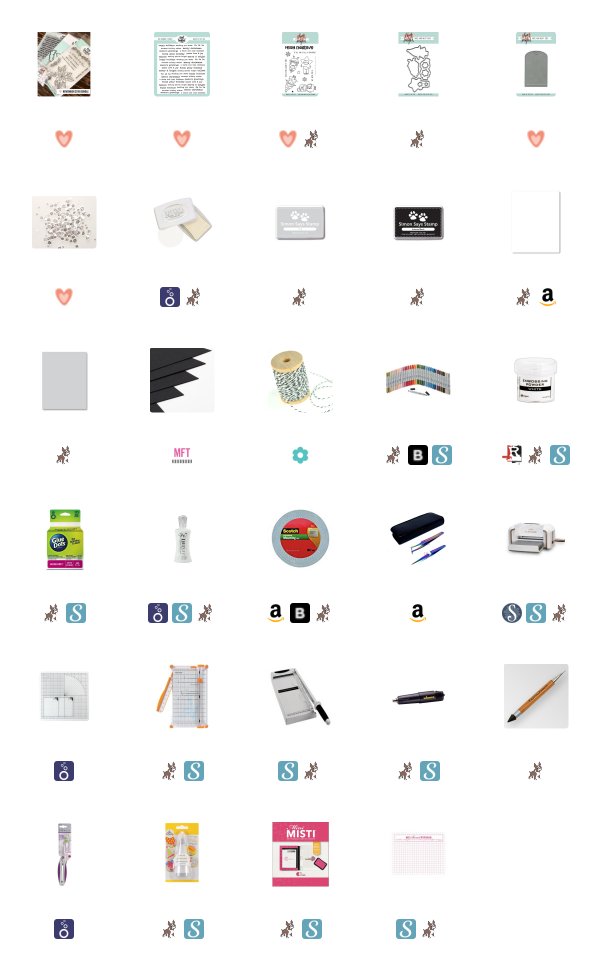
The best way to shop the NEW release is to buy the bundle and save money. You will find links to all the NEW products below.

Thank you so much for visiting my blog today.

Koren


Thursday, November 21, 2019

Neat & Tangled November Release Week: Day Four and 25 Tags of Christmas


Hello everyone.

Today is Day Four of Neat & Tangled's November release week and we have a special treat today. The Design Team is also participating in the 25 Tags of Christmas event, more information can be found on the Neat & Tangled Blog. (CLICK HERE!).

To check out the entire NEW November Release from Neat & Tangled (CLICK HERE!) to visit the online store to shop or the blog for more inspiration from the design team. Also, don't forget to comment here and over on the N&T blog for your chance to win today's giveaway. Giveaway winners will be announced on Friday over on the N&T blog.


To create my tag today I started with a piece of Neenah 110 lb. Solar White Classic Crest cardstock. I used an older tag die from Neat & Tangled but honestly, it's my favorite tag die. It's the Classic Tag 1 die and I will cherish it forever. To make this work, I first stamped the Holiday Wishes Background stamp onto a piece of Neenah that was cut to 4 1/4 by 5 1/2 inches. I used Simon Says Stamp Fog gray ink like I have a million times before, because I like it. I absolutely love this background stamp. The font is perfect and I personally love text backgrounds. The tag was then cut out trying to align the text as straight as possible with the die.


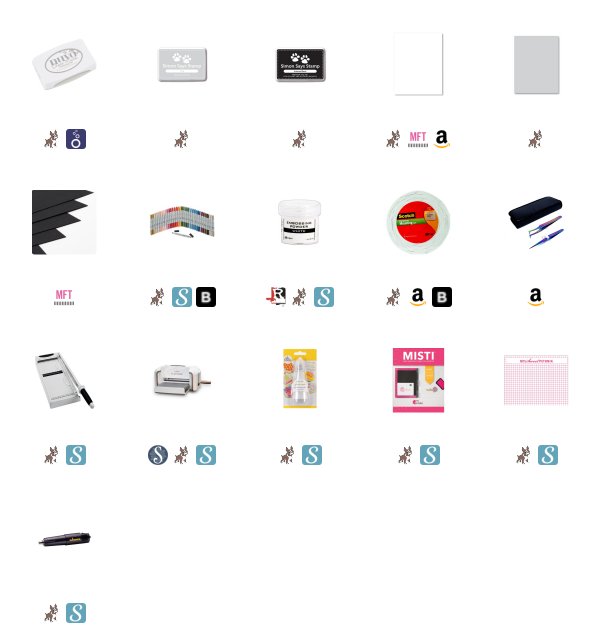
The image of the little kid in the snowman costume is from last year's Christmas Pageant stamp set also by Neat & Tangled. I stamped him with Simon Says Stamp Intense black ink and colored him with my Copic Markers. I made a Copic color map for you guys (below), although it was rather simple coloring. 

For the sentiment, I stamped the "happy holidays" from the Classic Christmas stamp set from this November's NEW release with Nuvo Clear Mark embossing ink and heat embossed it with Ranger White embossing powder. I cut it down into a strip and to change it up a little, I trimmed off one end in a diagonal and had it slightly off the tag. It was popped up onto the tag using Scotch 3M foam tape. 

I added some of the Neat & Tangled Clear Mix sequins coming from behind my image. I feel like this makes it feel a little frozen, lol. I used micro Glue Dots to adhere the sequins in place. 


For the trimmings at the top, I cut a few lengths of red twine, as well as black and white twine. I also cut some black sequined twine. I first added the black and white twin and kept it rather long in length then I added the black sequined twine and cut it much shorter. Then I finished it off by tying the red twine around it all into a pretty bow.

I hope that I've inspired to to create some homemade Christmas tags. If you want to check out more inspiration from the rest of the design team (CLICK HERE!) to both shop and read the blog.

Thank you so much for visiting my blog today.

Koren

Tuesday, November 19, 2019

Neat & Tangled November Release Week: Day Two


Hello everyone.

It's Day Two of Neat & Tangled's November Release week. Today I created a Christmas card using the products from the NEW November release as well as the shiny black enamel dots from a previous release.

The Neat & Tangled November Release features a poinsettia in the Classic Christmas stamp set as well as beautiful accent foliage to coordinate with it. To check out this set as well as the entire November release (CLICK HERE!) to visit the online store and blog. Make sure you comment here and over there for your chance to win today's giveaway. Giveaway winners will be announced this Friday on the Neat & Tangled Blog.

I started my card with a piece of Neenah 110 lb. cardstock cut to 4 1/4 by 5 1/2. I loaded it as well as the Holiday Wishes Background stamp also from the NEW November release, into my original MISTI making sure to remove the foam insert. When using a red rubber background stamp such as this you need to remove the foam insert from your MISTI. That is put there to ensure a better stamped image when using photopolymer stamps. It actually gets in the way if you use it with red rubber or any cling mounted stamps.

I stamped the Holiday Wishes Background stamp with Simon Says Stamp Fog ink leaving a very light text background for my card. I then cut this panel down to 3 1/2 by 4 3/4. I mounted it to a Simon Says Stamp Fog card base using Scotch 3M foam adhesive to give it a bit of dimension.


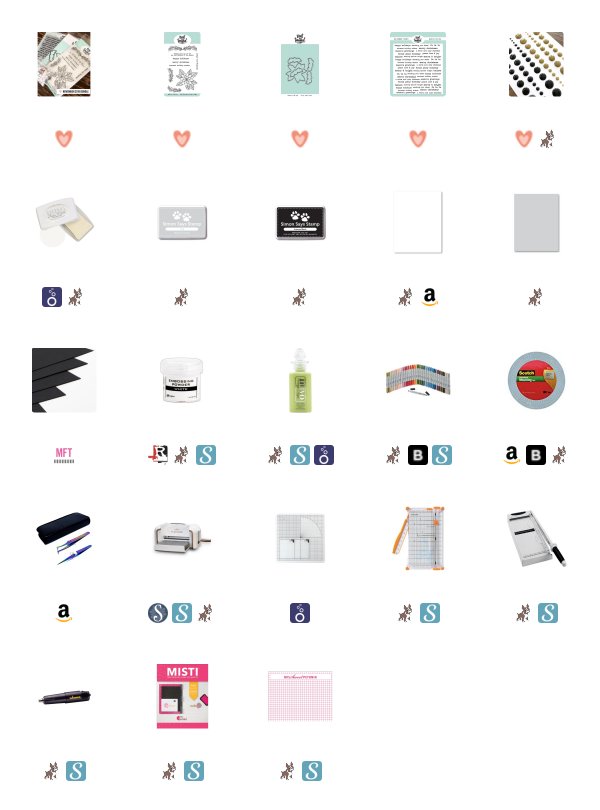
I stamped the image of the poinsettia onto the same white cardstock using Simon Says Stamp Intense Black ink and colored it using my Copic markers. I used only two color families to color my image. I used Red R59, R29, and R27. I am always exploring with my red color combinations to get the best one. I also used Green G46, G43, and G40. I used the coordinating dies that are also available in this month's bundle, which is the best way to shop and save money. 

Before sticking it in place on the card I wanted to experiment with Nuvo drops. I had originally wanted to have a green drop with a red drop on top to mimic the center of some of the photos I had been researching, but after mocking one up I didn't think it would work out. So, I switched gears and used Nuvo Vintage drops in Pioneer Green alone. I wanted the center of the flower to appear bumpy and textured so I made super small drops and waited for each one to dry matte before adding the next drop. I was trying to make them individual drops. I must not have waited long enough because they ended up attaching to one another over night even after I attached the flower to the card. Although they didn't separate, I still saw texture and I liked it. I attached the flower with foam tape to pop it up on the card panel. 

For the sentiment, I stamped the "warmest holiday wishes" stamp onto My Favorite Things Black Licorice cardstock and heat embossed it with Ranger White embossing powder. To cut it down into a strip I used my Fiskars Wire Guide paper trimmer. This helps me line it up and cut (kinda) straight. I used the same foam tape to pop up the sentiment and tuck it in under the flower on the left hand side. 


To add a little something shiny I added the Sophisticated Enamel Dots also by Neat & Tangled, scattered throughout the background.

For more inspiration using products from Neat & Tangled NEW November release (CLICK HERE!) and see cards from the rest of the design team. 

Thank you so much for visiting my blog today.

Koren 


Monday, November 18, 2019

Neat & Tangled November Release: Day One


Hello everyone. It's Day One of Neat & Tangled's November release, and I absolutely loved playing with it. My favorite in the release is the Holiday Wishes Background stamp. I fell in love with it and you will see me use it a bunch throughout the week. Today I used it to create a very clean and simple card.

The new release is AVAILABLE NOW! You can (CLICK HERE!) to shop. Make sure you comment here and over on the Neat & Tangled blog for your chance to win today's Giveaway. Winners will be announced this Friday over on the N&T blog.

Today, I used the NEW Holiday Wishes Background stamp to create a tone on tone background. I stamped the red rubber background stamp using my original MISTI. It was stamped with Simon Says Stamp Fog ink onto a piece of coordinating cardstock. I stamped it directly onto the card base, so I had to make sure to line up the stamp just right in the MISTI to avoid stamping on the back of my card.


I then stamped the "laurel" type images in the NEW Classic Christmas stamp set also in the NEW Neat & Tangled release. I stamped them with Simon Says Stamp's Intense Black ink onto Neenah 110 lb. Classic Crest Solar White cardstock. I used my Copic markers to color them and their coordinating dies to cut them out. I popped them up into the lower right hand corner of the card front using Scotch 3M foam tape.

For my sentiment, I stamped the "Merry Christmas" from the same Classic Christmas stamp set with Nuvo Clear Mark embossing ink onto My Favorite Things Black Licorice cardstock and heat embossed it with Ranger White embossing powder. I used my Fiskars Wire Guide paper trimmer to cut it down to a small strip. I used the same foam tape to pop this up as well.

That is my super simple card using the NEW Neat & Tangled November Release. Make sure you (CLICK HERE!) to visit the Neat & Tangled blog to find tons more inspiration from the rest of the design team as well as as shop the new release.

I hope that you will join me again tomorrow for day two. Thank you so much for visiting my blog today.

Koren