Hello everyone.
Today I get to play with another NEW stamp set from the Your Next Stamp September release. I have the Circle Burst stamp set, and although it's small in size, it is so versatile. These small sets with geometric shapes can be all sorts of things... fireworks like my project today, or simple geometric background images to livin' up a clean and simple card- I can simply find a ton of uses for these.
To check out the rest of the inspiration using this month's Your Next Stamp release (CLICK HERE!) to visit the YNS Blog and online shop. There you can comment for your chance to win the daily giveaway and shop the NEW release, which is available today!
For my project, I made my Circle Bursts into fireworks. I started with a piece of Stampin' Up!'s Seaside Spray cardstock cut down to 3 1/2 by 4 3/4 inches. I loaded the three-circle burst images onto the door of my Original MISTI, and arranged them to stamp on the blue panel in a way that made them appear to be fireworks with the largest in the foremost front and the subsequent sizes behind it. I was trying for a little forced prospective. I stamped the largest of the images and the smallest image first with Nuvo Clear Mark embossing ink and using Nuvo Clear embossing powder to heat emboss them in place. This will help to retain the light blue color of the cardstock as I ink blend the background.
The third and final image was stamped with the same clear sticky ink, but this time I used Nuvo Classic Silver embossing powder to heat emboss it. Once I had all of the embossing done for the background I could then begin adding some ink to the edges.
I used my Nuvo Blender Brushes and Distress Oxide ink in Chipped Sapphire and Black Soot to darken up the night sky background. I added a considerable amount of ink, leaving the center relatively untouched so that pretty shade of light blue cardstock would remain visible.
Once all the ink was added I could then spray the sparkle on the background. I love doing this. The spray melts all the ink in the background together and makes the entire background shine. I used my Splat Box to protect my work surface and added my three favorite shimmer sprays to the background. I used Hero Arts White Iridescent Shimmer Spray and Imagine Crafts Frost and Sparkle shimmer spritz.
After giving the panel a short time to dry completely, I wiped the embossing on the front panel with a damp cloth. I wanted the embossing to really stand out so I wiped away the excess ink from on top of the embossing, which really helps do that.
I then stamped the sentiment "birthday wishes" from the same Your Next Stamp Circle Burst stamp set onto more of that Stampin' Up! Seaside Spray cardstock with Nuvo Clear Mark Embossing Ink. I again used the Classic Silver embossing powder. To spruce up the sentiment a little, I added the same three shimmer sprays that I added to the background. After they dried completely I cut them down into small strips using my Fiskars Wire Guide Paper Trimmer.
I popped up the fireworks panel onto a Simon Says Stamp fog card base cut to size A2 and scored in a top folding portrait orientation. I did this using gray craft foam and Craft Perfect 1/2 inch tear tape adhesive. As for the sentiment strips, they are adhered using Craft Perfect Foam Squares.
To finish off the fireworks, I added a series of gray enamel dots to the center of each one. I used Your Next Stamp Gumdrops in "summer chill".
I hope you enjoyed my card project today using the NEW Your Next Stamp Circle Burst Stamp Set. To see the entire NEW release and to see more inspiration (CLICK HERE!) to visit the Your Next Stamp Blog and Online Shop.
Don't forget to comment to enter in your chance to win today's giveaway. For more information you can visit the YNS website.
Thank you for visiting my blog today,
Koren
Showing posts with label your next stamp. Show all posts
Thursday, September 12, 2019
Tuesday, September 10, 2019
Your Next Stamp Coffee and Donuts
Hello everyone.
I am so excited to be creating with some NEW Your Next Stamp products today. Your Next Stamp is Celebrating 10 Years, and I am thrilled to be celebrating with them! Happy 10th Birthday Your Next Stamp!
If there’s one thing Your Next Stamp does really well during celebration times, it’s GIVEAWAYS! Comment on the YNS Blog and IG post for a chance to win everyday during this celebration week. So make sure you comment for your chance to win! For more information visit the YNS blog (CLICK HERE!)
Today we are previewing the NEW Latte Happy Vibes Stamp set and coordinating dies. I’ve made a vibrant coffee and donuts scene and I wanna tell you about it. The entire release will be available in the shop on Thursday September 12.
I started with a piece of Neenah 110 lb. cardstock cut to 3 1/2 by 4 3/4. Then I taped it down to my Tonic 12 x 12 glass mat with some ThermoWeb Purple Tape. I made sure to secure the tape on the back of my piece of paper so that I could place a stencil on the front. I don’t want any tape lines on the front of my project.
I used Distress Oxide Ink in Picked Raspberry and Wilted Violet on the front panel. I used The Picket Fence Studios Blending Brushes to blend on the pink color towards the left side of the panel and the purple color on the right side while blending them somewhat in the center.
After I had some color applied to the panel, I used Heffy Doodle’s Brick by Brick Stencil. After securing the stencil to the front of the panel, I used the same Distress Oxide Inks to blend more of those same colors in the same general areas. This leaves behind an awesome pink and purple brick background that I think is so fun. To enhance this effect a little bit, I did run my front panel with the stencil in place through my die cutting machine in it’s embossing sandwich. This process adds additional dimension and I love the way it looks.
I also added some paint splatter on my brick wall. I put a small amount of the same Distress Oxide Inks onto an acrylic block and used a small round paint brush to take it from the block and onto the wall. I gently tap the end of my paint brush onto the edge of the acrylic block several times. I usually put my panel into a splat box during this process. It helps contain the mess.
I sat my background panel to dry while I stamped one of the images from the NEW Latte Happy Vibes stamp set. I stamped them using Your Next Stamp Black Olive Ink onto Neenah 110 lb cardstock. I cut them out using the coordinating die set (which is also available for purchase this Friday), and I used my Copic markers to color them. I have made a color map if you are interested in the colors I used from my stash.
I also used some embellishments to enhance my images. Instead of coloring the Jimmies (sprinkles for those of you not from the Mid-Atlantic) I used Brutus Monroe’s Faux Sprinkles to give my donut some toppings. I glued them on with Nuvo Deluxe Liquid Adhesive. I picked out only coordinating colors for my project. I wanted to use the pink, white, and purple jimmies only. If that doesn’t tell you how crazy I am about card making, I don’t know what will.
I also added a bit of glitter to the splash of hearts I used on this project. I coated the hearts with the same liquid adhesive and used Nuvo Sparkle Dust in Cosmo Berry on top. After it’s dry the glitter stays put and it adds a ton of shine.
For the sentiment, I loaded the “coffee and donuts make the impossible possible” stamp into my MISTI along with a piece of Neenah 110 cut to 1 3/4 x 3 1/2. I positioned my sentiment towards the center of this piece on the MISTI door. I inked up the “coffee” word in the sentiment with the Wilted Violet and stamped only that word. I also did this with the “donuts” word and the Picked Raspberry ink. The rest of the sentiment was stamped with Versafine Clair Nocturne Ink. I love this type of selective stamping for sentiments especially when they have distinct font differences. I think it really enhances the design of the sentiment.
The entire brick back panel was popped up onto a Simon Says Stamp Fog card base cut to size A2 in Portrait (top folding) orientation. I used Craft Perfect 1/2 inch tear tape adhesive and a piece of gray craft foam cut slightly smaller than the back panel so that it remains hidden in between but gives the card a ton of dimension.
I popped up the sentiment panel with Craft Perfect Foam Squares in various sizes and placed it at the bottom of the brick panel. The images were also popped up with various sizes of foam squares in double width as needed to clear the height already given to the sentiment panel. I even cut some down to make them even smaller to use in tight spaces. I also popped up the sparkle dusted splash hearts, but this time with only one layer of foam tape.
That is my card for today. I hope you all will take the time to visit the Your Next Stamp blog and leave a celebratory birthday message and also enter yourself into a giveaway. (CLICK HERE)
Thank you for visiting my blog today.
Koren
List of supplies used on this project with affiliate links used when available. Thank you for supporting me and my creativity.
Wednesday, August 9, 2017
Your Next Stamp Color Me Happy Card Video
Hello fellow card makers.
It's another Design Team Dare over at the Your Next Stamp blog. Make sure you comment on the blog post (CLICK HERE) for your chance to win a stamp set of your choice.
We were challenged to create a project with the theme "Color Me Happy" and this is my project. I was inspired by a card made by Francine Vuilleme created. She is one of my favorite card makers and she always has the most inspiring and inventive card designs. This design is based off of one of her cards, you can find it (CLICK HERE) on her blog. I used a slightly different technique.
I started by creating my background with my Gansi Tambi watercolor 36 set. You can find a color map of the colors I used below, if you want to know exactly what colors I used to make my background. I did a wet on wet watercolor technique to make brush strokes in a rainbow, on a piece of Tim Holtz watercolor paper. I then cut it down with the second to largest stitched rectangles by Your Next Stamp.
I cut out the largest Happy from the brand new Happy Birthday Word Die Set, four times, from a piece of Papertrey Inks Smokey Shadow cardstock. I adhered all four layers together with Ranger Multi Medium Matte. I then used a template of the word die to make sure I lined all my letters up correctly before adhering them to my background, somewhere in the middle. I then stamped "birthday" from the Happy Everything stamp set with versamark ink and heat embossed it with Zing embossing powder in the color Charcoal.
To finish it off, I collected all of the matte Your Next Stamp Gumdrops and Doodlebug Sprinkles I had in my collection. I matched up the rainbow colors to the best of my ability based on what I had in my stash and placed them somewhere in their coordinating colored area. The panel was popped up with craft foam onto a Smokey Shadow panel the size of an A2 card front. I'm running out of this color cardstock, which is a travesty, and I must reorder ASAP. So, I was forced to mount it onto a Neenah 110 lb solar white card base.
I love how imperfect it is. Unlike Francine's card, which is awesomely perfect. You can find photos of my card, the color map of the colors I used on the background, a link the the YouTube video making this card, and links to the supplies used to create it down below.
Thank you for visiting my blog today, make sure you leave a comment on the Your Next Stamp blog post (CLICK HERE) for your chance to win a stamp set of your choice from the Your Next Stamp Online Store.
Koren
It's another Design Team Dare over at the Your Next Stamp blog. Make sure you comment on the blog post (CLICK HERE) for your chance to win a stamp set of your choice.
We were challenged to create a project with the theme "Color Me Happy" and this is my project. I was inspired by a card made by Francine Vuilleme created. She is one of my favorite card makers and she always has the most inspiring and inventive card designs. This design is based off of one of her cards, you can find it (CLICK HERE) on her blog. I used a slightly different technique.
I started by creating my background with my Gansi Tambi watercolor 36 set. You can find a color map of the colors I used below, if you want to know exactly what colors I used to make my background. I did a wet on wet watercolor technique to make brush strokes in a rainbow, on a piece of Tim Holtz watercolor paper. I then cut it down with the second to largest stitched rectangles by Your Next Stamp.
I cut out the largest Happy from the brand new Happy Birthday Word Die Set, four times, from a piece of Papertrey Inks Smokey Shadow cardstock. I adhered all four layers together with Ranger Multi Medium Matte. I then used a template of the word die to make sure I lined all my letters up correctly before adhering them to my background, somewhere in the middle. I then stamped "birthday" from the Happy Everything stamp set with versamark ink and heat embossed it with Zing embossing powder in the color Charcoal.
To finish it off, I collected all of the matte Your Next Stamp Gumdrops and Doodlebug Sprinkles I had in my collection. I matched up the rainbow colors to the best of my ability based on what I had in my stash and placed them somewhere in their coordinating colored area. The panel was popped up with craft foam onto a Smokey Shadow panel the size of an A2 card front. I'm running out of this color cardstock, which is a travesty, and I must reorder ASAP. So, I was forced to mount it onto a Neenah 110 lb solar white card base.
I love how imperfect it is. Unlike Francine's card, which is awesomely perfect. You can find photos of my card, the color map of the colors I used on the background, a link the the YouTube video making this card, and links to the supplies used to create it down below.
Thank you for visiting my blog today, make sure you leave a comment on the Your Next Stamp blog post (CLICK HERE) for your chance to win a stamp set of your choice from the Your Next Stamp Online Store.
Koren
Saturday, August 5, 2017
Your Next Stamp August Blog Hop Card Video
Hello fellow card makers.
Today is the August Blog Hop for Your Next Stamp! Your Next Stamp is turning 8 this month, and that makes this hop very special. There are bigger prizes and more games increase your chances to win! The August release is HUGE! And I love it all! If I had to pick a favorite, it would have to be the new Silly Birthday Monsters Stamp Set with coordinating dies. To check out all of this month's release (CLICK HERE!) to go to the Your Next Stamp Online Store.
First comment for your chance to win an $80 gift certificate to the Your Next Stamp Online Store. The more you comment along the hop, the greater your chances of winning. You do not have to comment on every blog to win, but it increases your chances.
Blog Hop Starts: August 5th at 10 pm (EST)
Blog Hop Ends: August 8th at 12 midnight (EST)
The winners will be announced on the YNS blog on 8/10.
The Design Team has a ton of projects to share with you along the hop. I hope you take the chance to see everyone's creations.
An InLinkz Link-up
Your Next Stamp is running a special for this months birthday celebration, stop by the your next stamp store and use the code below for your 20% discount!
I have two projects for you today. My first card uses Silly Birthday Monsters and Happy Birthday Word Die Set. I started with a background I created a few weeks ago using Ken Oliver Color Burst. It is a watercolor powder that activates when exposed to water. I placed some on a dry piece of Canson XL watercolor paper and sprayed it from above with a Ranger Mister. I cut it down using a Stitched Rectangle die from Your Next Stamp. I cut out the smaller Happy Birthday from the word die set, directly from the background. I used and inlaid die cutting technique to pop up the word using black craft foam.
My image from Silly Birthday Monsters was stamped with Memento Tuxedo Black ink and colored using Copic Markers. A color map of the colors I used is posted below. I cut out the image using its coordinating die and popped up on the background panel with 3M foam tape. I white heat embossed
the "little monsters" sentiment on black cardstock and popped it up with foam tape as well.
As a final touch, I used the brand new Pretty Peacock Gumdrops to add a bit more purple into the project. I'm really happy with the way it turned out. The background is so fun and these images from the Silly Birthday Monsters Stamp Set are to die for.
For info on my second project, photos of both cards, a link to my YouTube video, and links to all of the products used, (except brand new releases), continue reading!
Your Next Stamp is running a special for this months birthday celebration, stop by the your next stamp store and use the code below for your 20% discount!
I have two projects for you today. My first card uses Silly Birthday Monsters and Happy Birthday Word Die Set. I started with a background I created a few weeks ago using Ken Oliver Color Burst. It is a watercolor powder that activates when exposed to water. I placed some on a dry piece of Canson XL watercolor paper and sprayed it from above with a Ranger Mister. I cut it down using a Stitched Rectangle die from Your Next Stamp. I cut out the smaller Happy Birthday from the word die set, directly from the background. I used and inlaid die cutting technique to pop up the word using black craft foam.
My image from Silly Birthday Monsters was stamped with Memento Tuxedo Black ink and colored using Copic Markers. A color map of the colors I used is posted below. I cut out the image using its coordinating die and popped up on the background panel with 3M foam tape. I white heat embossed
the "little monsters" sentiment on black cardstock and popped it up with foam tape as well.
As a final touch, I used the brand new Pretty Peacock Gumdrops to add a bit more purple into the project. I'm really happy with the way it turned out. The background is so fun and these images from the Silly Birthday Monsters Stamp Set are to die for.
For info on my second project, photos of both cards, a link to my YouTube video, and links to all of the products used, (except brand new releases), continue reading!
Supply list card one:

My second card today uses the new Birdie Banners stamp set and the Party Dress Die Set, along with the fabulous new scalloped rectangle die set.
I started with a Simon Says Stamp Fog card base. I used the largest of the scalloped rectangle dies to cut out my front panel in a light pink cardstock. This is Pixie by Avery Elle, which is discontinued.
I stamped my images in Memento Tuxedo Black ink on Neenah 80 lb. Solar White cardstock and I did very simple Copic coloring. The Party Dress was cut from Bazill White cardstock that is textured. The dress and the bow from the set was popped up with foam tape.
I finished it off with some Duck Egg Blue Nuvo Crystal drops.
Thank you so much for visiting my blog today, please make sure you hop along with us and comment along the way for your chance to win!
Koren
Supply list card two:
Your Next Stamp August Preview Day Card Video
Hello fellow card makers.
Today I am sharing with you my project for Your Next Stamp August Preview Day. This is a very special release for Your Next Stamp. Your Next Stamp is celebrating it's 8th Birthday this month. This release is full of birthday stamp sets that will be sure to catch your eye. Once the new release goes live on the Your Next Stamp online store... (CLICK HERE)... to find all the new products. Until then, visit the Your Next Stamp Blog to see all of the new release preview designs the team has to showcase... (CLICK HERE).
Today I am using Party Pets, one of my favorites of the whole release. I started by creating my background with the mini cloud stencil by My Favorite Things. I sponged the clouds using Versamagic chalk ink in Sea Breeze on Strathmore Bristol Smooth White cardstock. I then used the same type of ink in key lime and tea leaves to create my ground. I cut out my background panel using the second largest die in the Your Next Stamp stitched rectangles die set. The sentiment was stamped in the bottom center using Versafine Onyx Black ink.
My image was stamped in Memento Tuxedo Black ink on Neenah 80lb cardstock. I used my Copic markers to color in my image. A Copic color map of the markers I used is added below in this blog post so that you can have a list of all the colors I used. After my image was colored, I used the brand new Bold Alpha numbers die set to personalize my card, using an inlaid die technique. I cut the number six into the balloon and popped it up using the same die cut out of black craft foam. The image was then placed on the background with foam tape to give it even more dimension. The entire front panel was placed on a Simon Says Stamp Fog top folding A2 card base.
For photos of my card, a link to my YouTube Video creating this card, a Copic color map of this image, and a supplies list complete with link to the products I used to make this card, look below.
Thank you for visiting my blog today,
Koren
Today I am sharing with you my project for Your Next Stamp August Preview Day. This is a very special release for Your Next Stamp. Your Next Stamp is celebrating it's 8th Birthday this month. This release is full of birthday stamp sets that will be sure to catch your eye. Once the new release goes live on the Your Next Stamp online store... (CLICK HERE)... to find all the new products. Until then, visit the Your Next Stamp Blog to see all of the new release preview designs the team has to showcase... (CLICK HERE).
Today I am using Party Pets, one of my favorites of the whole release. I started by creating my background with the mini cloud stencil by My Favorite Things. I sponged the clouds using Versamagic chalk ink in Sea Breeze on Strathmore Bristol Smooth White cardstock. I then used the same type of ink in key lime and tea leaves to create my ground. I cut out my background panel using the second largest die in the Your Next Stamp stitched rectangles die set. The sentiment was stamped in the bottom center using Versafine Onyx Black ink.
My image was stamped in Memento Tuxedo Black ink on Neenah 80lb cardstock. I used my Copic markers to color in my image. A Copic color map of the markers I used is added below in this blog post so that you can have a list of all the colors I used. After my image was colored, I used the brand new Bold Alpha numbers die set to personalize my card, using an inlaid die technique. I cut the number six into the balloon and popped it up using the same die cut out of black craft foam. The image was then placed on the background with foam tape to give it even more dimension. The entire front panel was placed on a Simon Says Stamp Fog top folding A2 card base.
For photos of my card, a link to my YouTube Video creating this card, a Copic color map of this image, and a supplies list complete with link to the products I used to make this card, look below.
Thank you for visiting my blog today,
Koren
Friday, July 28, 2017
Your Next Stamp ⎜Challenge #69 ⎜Card Video
Hello fellow card makers. Today I am sharing with you my card for the Your Next Stamp Challenge #69... CLICK HERE!... to play along! This is a sketch and color biweekly challenge. Here is a look at the sketch and color combo for this challenge.
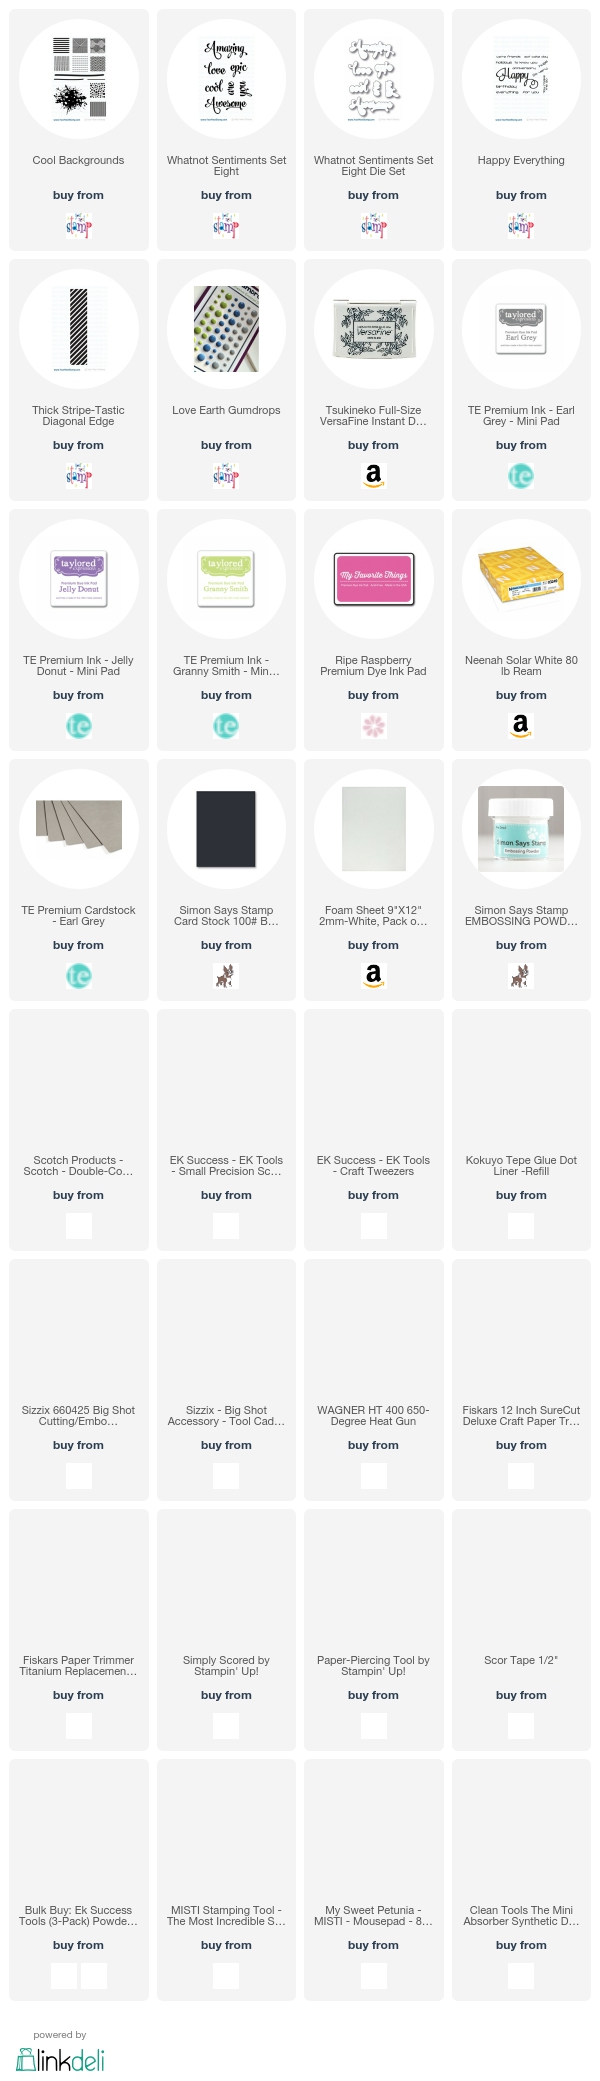
I used Your Next Stamp's Cool Backgrounds to create ink splatter on my card in several of the challenges colors. I stamped it on Neenah 80 lb cardstock. I also accented the side of my card with the Thick Diagonal Edge stamp from Your Next Stamp. To top it all off, I used the Epic sentiment from the What Not Sentiments Eights Stamp set with coordinating die to create my Epic Birthday sentiment. It was stamped on Simon Says Stamp Black cardstock and heat embossed with Simon Says Stamp detail white embossing powder.
Below are photos of my project, a link to my YouTube video creating this card, and links to the products used to make it.
Thank you for visiting my blog today,
Koren
I used Your Next Stamp's Cool Backgrounds to create ink splatter on my card in several of the challenges colors. I stamped it on Neenah 80 lb cardstock. I also accented the side of my card with the Thick Diagonal Edge stamp from Your Next Stamp. To top it all off, I used the Epic sentiment from the What Not Sentiments Eights Stamp set with coordinating die to create my Epic Birthday sentiment. It was stamped on Simon Says Stamp Black cardstock and heat embossed with Simon Says Stamp detail white embossing powder.
Below are photos of my project, a link to my YouTube video creating this card, and links to the products used to make it.
Thank you for visiting my blog today,
Koren
Saturday, July 22, 2017
Your Next Stamp ⎜July Feature Day ⎜Card Video
Hello fellow card makers. Today is Feature Day and we were challenged to create our own background paper. My oldest daughter who has all A's and B's on her report card, except for Algebra, has to take summer school this year. It's a big "welcome to responsibility" for her. She is a good kid, who is just legitimately having trouble with math. So, I was inspired to create this card for her. I wanted to let her know that despite her having to go to summer school, that she is amazing.
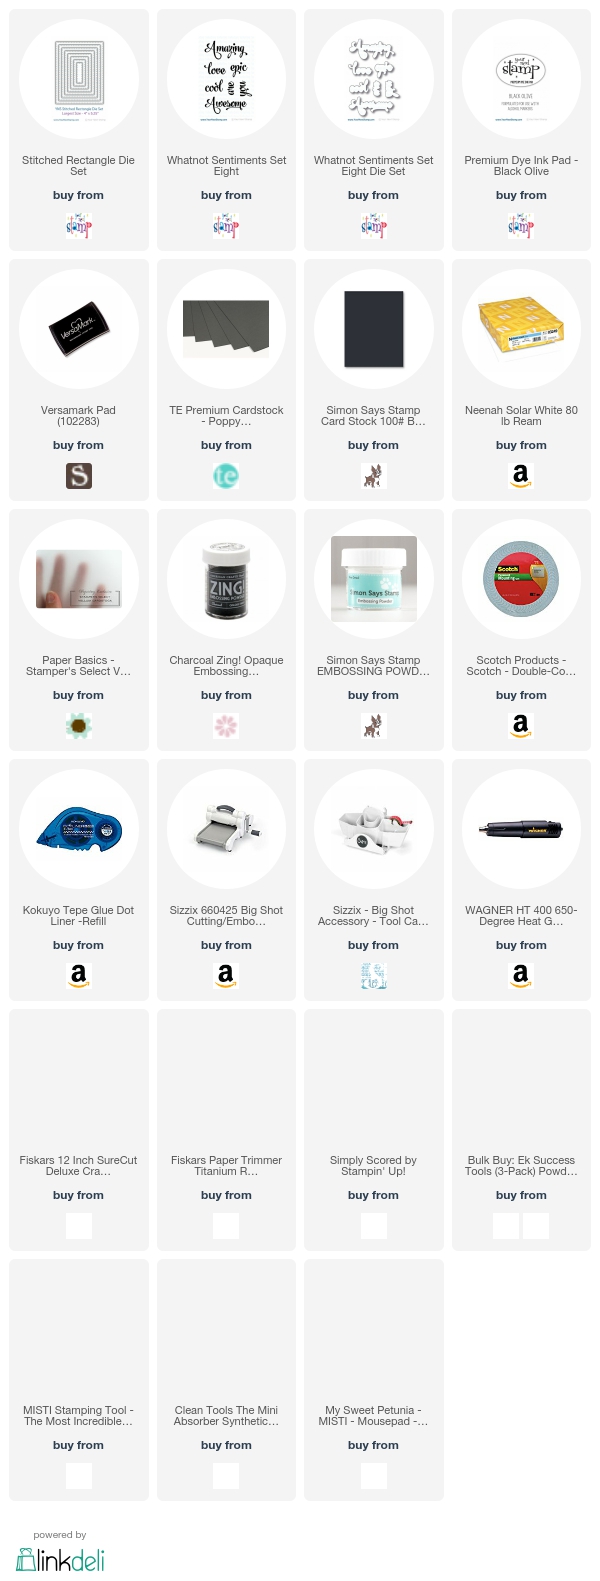
I used the Your Next Stamp School Notes stamp set to create my background paper. Using the Misti for this really makes it easy. I stamped several of the images from the set onto a piece of Neenah Solar White 80 lb cardstock with Your Next Stamp Black Olive Ink. I cut out that panel with the Your Next Stamp Stitched Rectangle Dies. I then stamped a portion of the You Are Amazing sentiment from School Notes in versamark ink and heat embossed it with Zing's Charcoal embossing powder. I also cut this panel out with the stitched rectangles die set. My intention was to coloring the images on the background paper, but I really liked them back and white, so I didn't color them. Finally I white heat embossed the Amazing sentiment from What Not Sentiments eight and used the coordinating dies to cut it out. After some creative adhesive, my card is done.
Photos of my card, a link to my YouTube video creating this card, and links to the products used to make it are below.
Thank you for visiting my blog today,
Koren
I used the Your Next Stamp School Notes stamp set to create my background paper. Using the Misti for this really makes it easy. I stamped several of the images from the set onto a piece of Neenah Solar White 80 lb cardstock with Your Next Stamp Black Olive Ink. I cut out that panel with the Your Next Stamp Stitched Rectangle Dies. I then stamped a portion of the You Are Amazing sentiment from School Notes in versamark ink and heat embossed it with Zing's Charcoal embossing powder. I also cut this panel out with the stitched rectangles die set. My intention was to coloring the images on the background paper, but I really liked them back and white, so I didn't color them. Finally I white heat embossed the Amazing sentiment from What Not Sentiments eight and used the coordinating dies to cut it out. After some creative adhesive, my card is done.
Photos of my card, a link to my YouTube video creating this card, and links to the products used to make it are below.
Thank you for visiting my blog today,
Koren
Friday, July 14, 2017
Your Next Stamp ⎜Challenge #68 ⎜Card Video
Hello fellow cardmakers. Today I am sharing my card that I created for the Your Next Stamp Challenge #68. To play along with the biweekly sketch and/or color challenge...CLICK HERE!... Here is a look at the sketch and color combination for challenge #68.
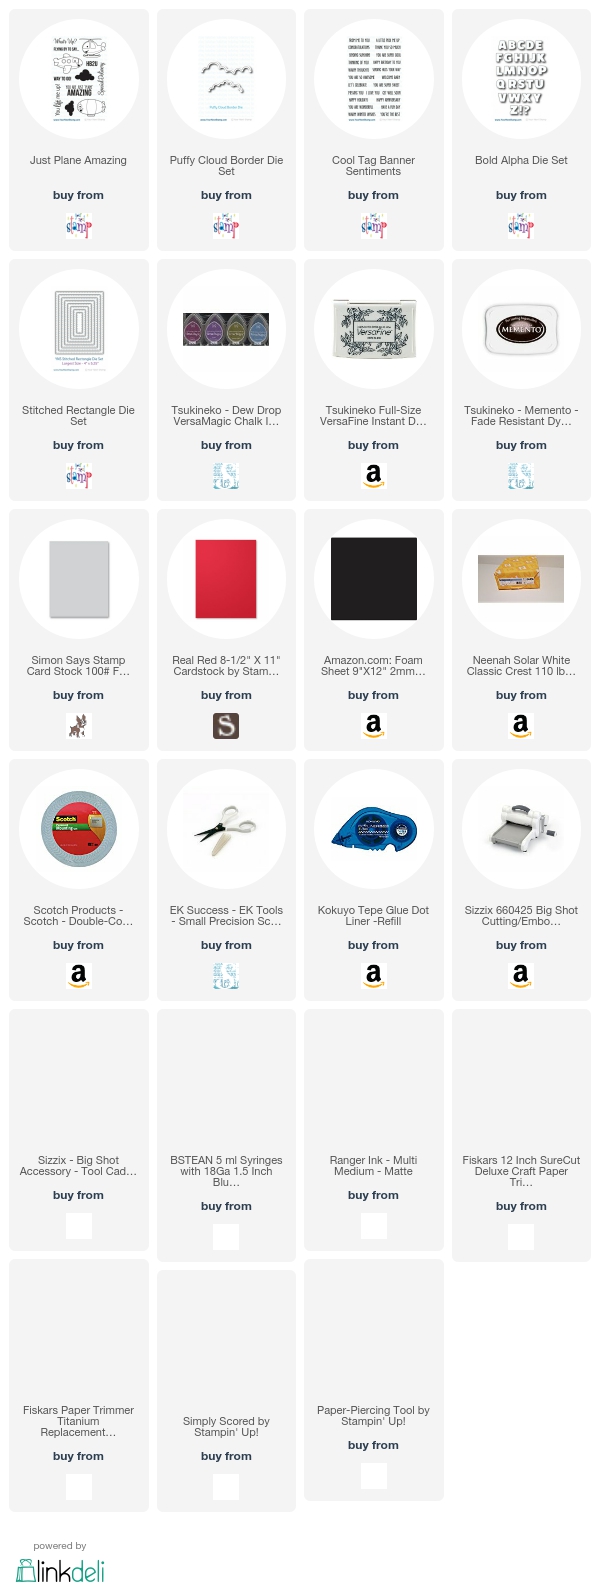
As you can probably tell, I was inspired by the sketch this time around. I didn't use any of the colors for the challenge. I also made my card a landscape vs portrait orientation. I used the puffy clouds border die to create my own stencil. I cut the larger of the two cloud dies out of vellum. I have used this same homemade stencil on several projects, and it's a great way to stretch your dies. I ink- blended my cloudy background with Versamagic Aspen Mist Chalk Ink. This is a very pretty blue- gray shade of ink. I love using it for clouds. I then cut my background panel down with the largest of the stitched rectangle dies. I lined up some bold alphabet letter dies to personalize my project with my brothers name. I cut these letters right into my background panel. I will use them to create a camouflaged technique as if my brothers name was written in the clouds. I popped up the letters with some black craft foam. This adds dimension and also creates some shadow behind the letters to make them a bit more legible. I then cut out some layers of clouds to pop up on my card to add even more dimension and interest. I stamped my sentiments on them with Versafine Onyx black ink. The image is from the Just Plane Amazing stamp set. I stamped the plane using Memento Tuxedo black and colored it in with my Copic Markers. I used the Neutral grays to add a bit of shading. lastly I added a little red heart at the end of the bottom sentiment to finish off my card. Photos of my card, a link to my YouTube video making this card, and links to the products I used to create this card are all listed below.
Thank you for visiting my blog today and I hope you will come play along with the Your Next Stamp Challenge #68!
Koren
As you can probably tell, I was inspired by the sketch this time around. I didn't use any of the colors for the challenge. I also made my card a landscape vs portrait orientation. I used the puffy clouds border die to create my own stencil. I cut the larger of the two cloud dies out of vellum. I have used this same homemade stencil on several projects, and it's a great way to stretch your dies. I ink- blended my cloudy background with Versamagic Aspen Mist Chalk Ink. This is a very pretty blue- gray shade of ink. I love using it for clouds. I then cut my background panel down with the largest of the stitched rectangle dies. I lined up some bold alphabet letter dies to personalize my project with my brothers name. I cut these letters right into my background panel. I will use them to create a camouflaged technique as if my brothers name was written in the clouds. I popped up the letters with some black craft foam. This adds dimension and also creates some shadow behind the letters to make them a bit more legible. I then cut out some layers of clouds to pop up on my card to add even more dimension and interest. I stamped my sentiments on them with Versafine Onyx black ink. The image is from the Just Plane Amazing stamp set. I stamped the plane using Memento Tuxedo black and colored it in with my Copic Markers. I used the Neutral grays to add a bit of shading. lastly I added a little red heart at the end of the bottom sentiment to finish off my card. Photos of my card, a link to my YouTube video making this card, and links to the products I used to create this card are all listed below.
Thank you for visiting my blog today and I hope you will come play along with the Your Next Stamp Challenge #68!
Koren
Wednesday, July 12, 2017
Your Next Stamp ⎜ July DT Dare ⎜It's a Guy Thing ⎜Card Video
Hello fellow card makers...
Today I am sharing with you my project for the Your Next Stamp July DT Dare. This month, we were challenged to create with the theme "It's a Guy thing". I am using Your Next Stamp's, Krash the Horse stamp set. As soon as I saw this set, I knew that I wanted to create a race horse card. Maryland is big on horse racing, my mother actually grew up riding and only stopped a few years ago because her knees no longer allowed her to do it. You can find this set as well as the rest of the July re-release by Your Next Stamp... CLICK HERE!... at the Your Next Stamp Store. Don't forget to visit the Your Next Stamp Blog... CLICK HERE!... and be sure to leave a comment on the DT Dare Post for your chance to win a stamp set of your choice.
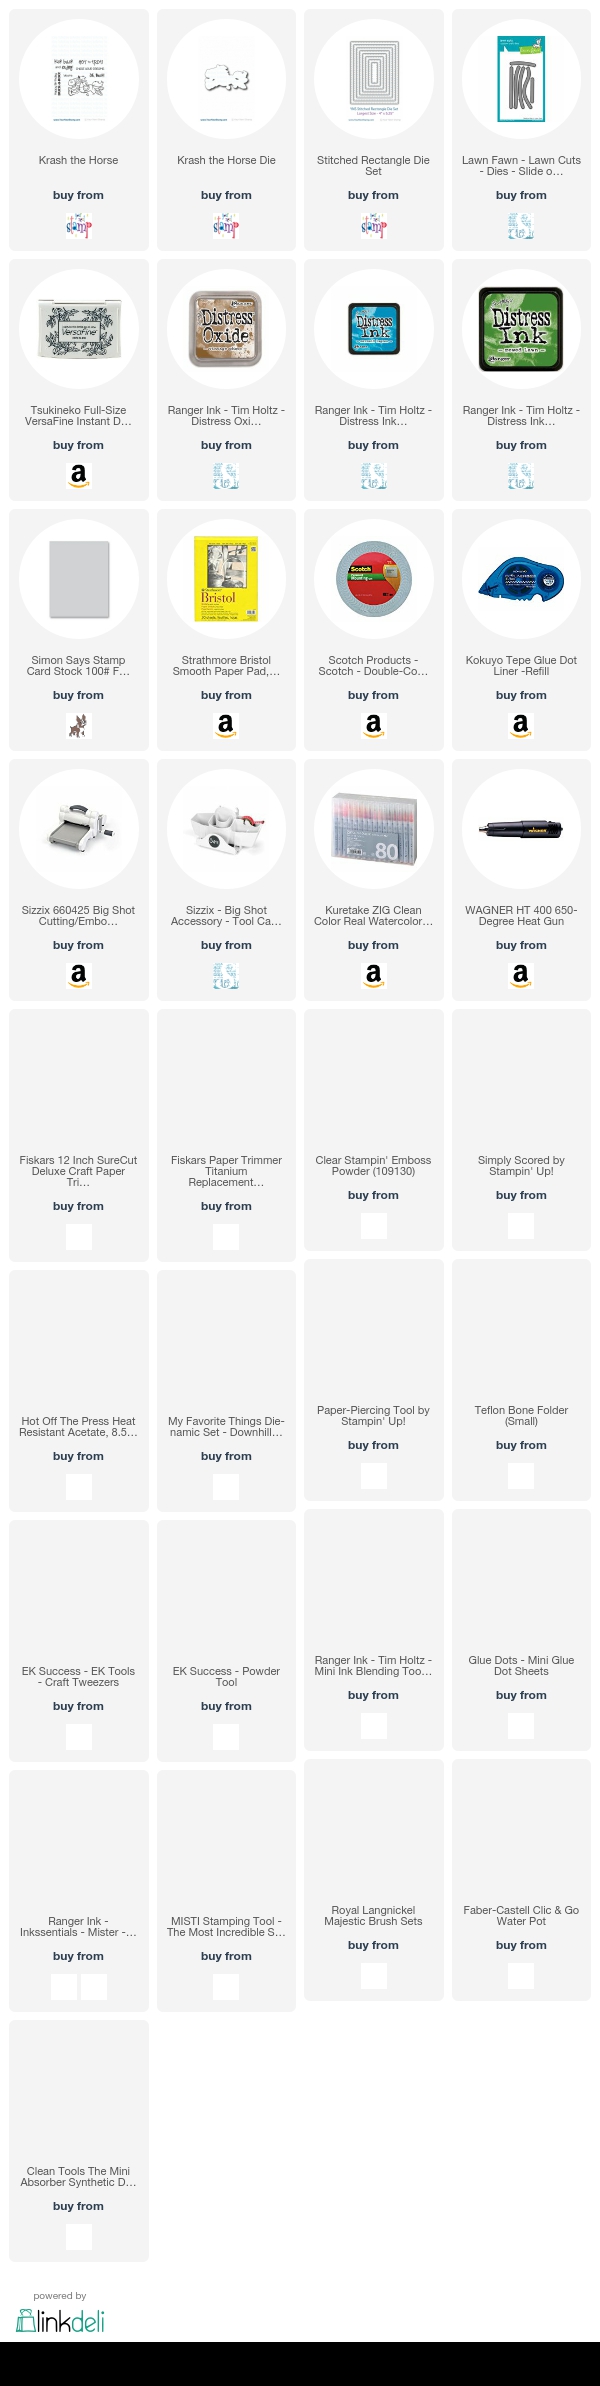
I created a slider card today. A horse racing slider card... Wooo whoo! I used some Distress Inks in both the original and oxide variations to ink blend my background. I then cut out the front panel of my card using the Your Next Stamp Stitched rectangle die set. I stamped three horses and clear heat embossed them to color with my Zig Clean Color Real Brush Markers. After I cut them out with the coordinating die, I attached one to a slider element by MFT and the others where adhered via foam tape or tape runner in their perspective race positions. The sentiment, also from Krash the Horse stamp set, was stamped with Versafine Onyx Black to finish it off. For Photos of my card, a link to the YouTube Video creating this project, and links to the supplies used, look below.
Thank you for visiting my blog today, and don't forget to visit the Your Next Stamp Blog and leave a comment for your chance to win a stamp set of your choice.
Kori
Today I am sharing with you my project for the Your Next Stamp July DT Dare. This month, we were challenged to create with the theme "It's a Guy thing". I am using Your Next Stamp's, Krash the Horse stamp set. As soon as I saw this set, I knew that I wanted to create a race horse card. Maryland is big on horse racing, my mother actually grew up riding and only stopped a few years ago because her knees no longer allowed her to do it. You can find this set as well as the rest of the July re-release by Your Next Stamp... CLICK HERE!... at the Your Next Stamp Store. Don't forget to visit the Your Next Stamp Blog... CLICK HERE!... and be sure to leave a comment on the DT Dare Post for your chance to win a stamp set of your choice.
I created a slider card today. A horse racing slider card... Wooo whoo! I used some Distress Inks in both the original and oxide variations to ink blend my background. I then cut out the front panel of my card using the Your Next Stamp Stitched rectangle die set. I stamped three horses and clear heat embossed them to color with my Zig Clean Color Real Brush Markers. After I cut them out with the coordinating die, I attached one to a slider element by MFT and the others where adhered via foam tape or tape runner in their perspective race positions. The sentiment, also from Krash the Horse stamp set, was stamped with Versafine Onyx Black to finish it off. For Photos of my card, a link to the YouTube Video creating this project, and links to the supplies used, look below.
Thank you for visiting my blog today, and don't forget to visit the Your Next Stamp Blog and leave a comment for your chance to win a stamp set of your choice.
Kori
Saturday, July 8, 2017
Your Next Stamp ⎜July Blog Hop⎜ Card Video
Hello fellow card makers. Welcome to the July blog hop for Your Next Stamp. The sets that are being re-released are absolutely adorable. To find them all ...CLICK HERE! <---- this will take you to the Your Next Stamp store. Your Next Stamp is giving away a $25 gift certificate to one lucky commenter along the hop. You do not have to comment on every blog for a chance to win, but the more you comment, the greater your chances. You have until July 11th at Midnight to comment. The winner will be announced on the Your Next Stamp Blog... CLICK HERE!... Today I have two projects for you, and a video.
Your Next Stamp is also having an awesome sale for the re-realease. Between July 8th and July 11th enjoy 15% off your entire purchase! Use the online code JULY2017.
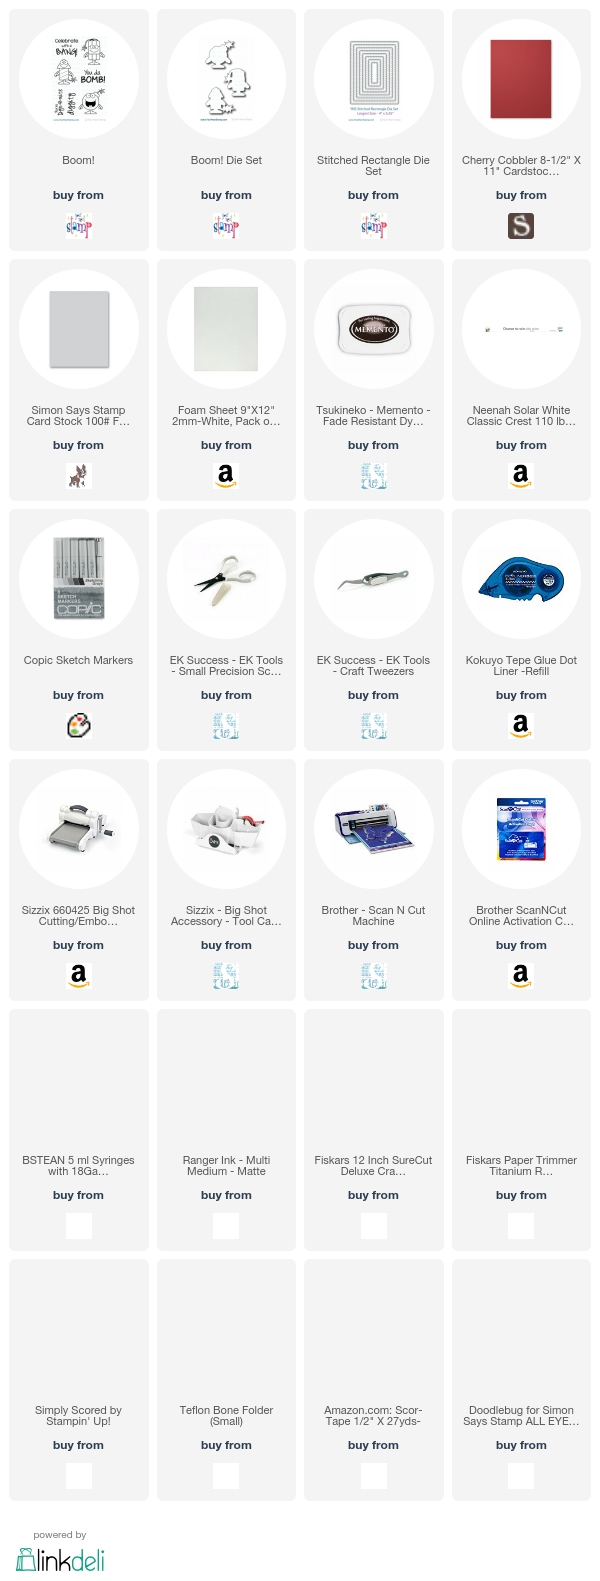
My first project was made using Your Next Stamp Boom! stamp set and coordinating dies. I cut some letters (L, V, and E) out of Stampin' Up! Cherry Cobbler cardstock using my Brother Scan and Cut and adhered several layers together to add dimension. I then stamped the bomb image using Memento Tuxedo black and colored him with my Copic markers. My intention was to create the word love with the bomb image as the "O". I used the second-largest rectangle from the Stitched rectangle die set from Your Next Stamp as my front panel and placed it on some craft foam using 1/2 inch Scor Tape. I popped it all onto a standard top folding A2 sized card base made from Simon Says Stamp Fog cardstock. On the inside I stamped a coordinating greeting.
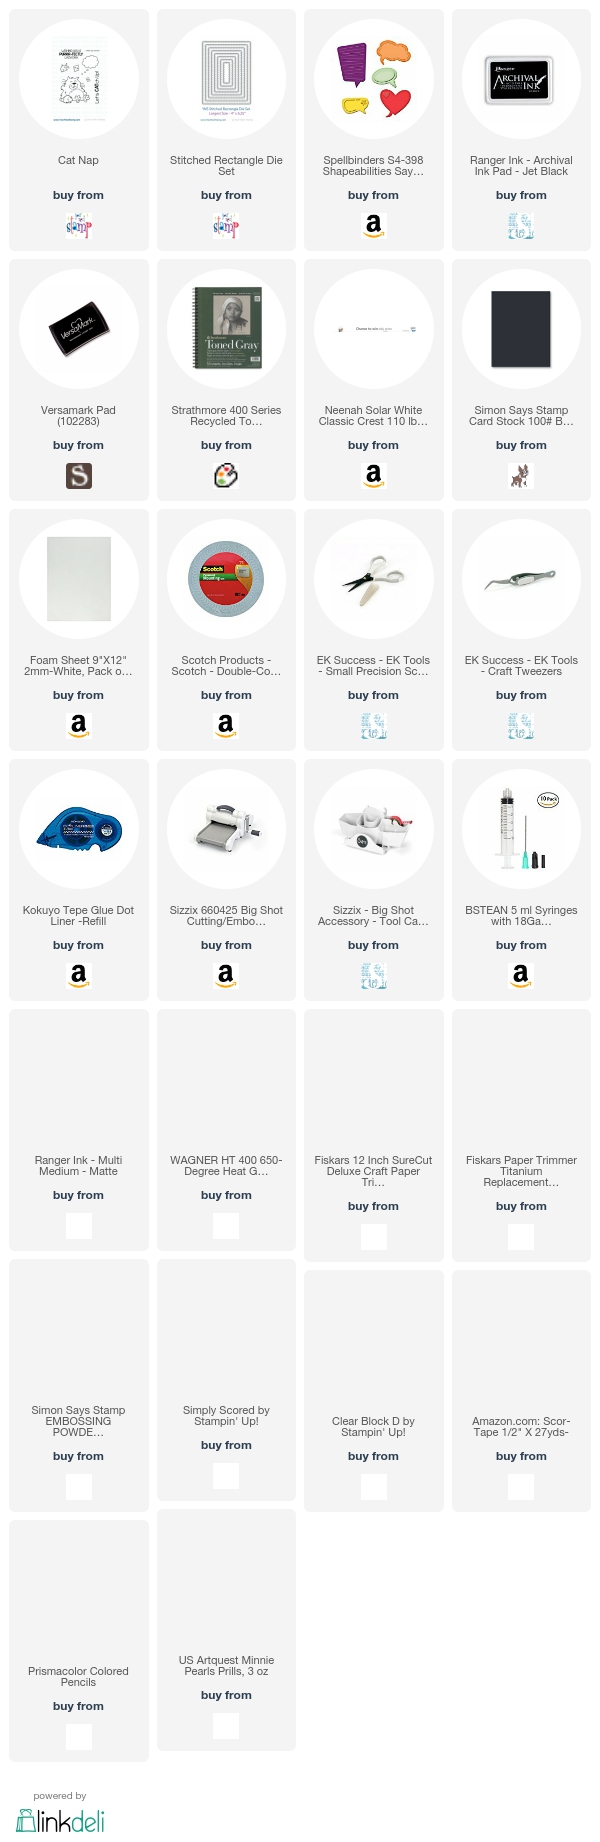
My second project for the hop is made from Your Next Stamp's Cat Nap stamp set. It too is being re-released along with many others. I wanted to play with my Prismacolor colored pencils a bit, so I sharpened them up and put them to work. I stamped the cat image on a Toned Grey paper by Strathmore with Ranger Archival black ink. This is my go-to ink when I use my colored pencils. I used a thought bubble from Spellbinders Page Maps, Say What? die set to create a shaker thought bubble for my cat's dream. I stamped and colored the fish image from the same stamp set. I used craft foam to create the shaker well and filled it with Mini Prills like I have on many projects before this. To finish it off, I white heat embossed my sentiment and cut it out using the Your Next Stamp Stitched Rectangles die set.
Thanks for visiting my blog today,
Koren
Thank you for visiting my blog today, Don't forget to check out the rest of the Design Team listed below!!
Kori
An InLinkz Link-up