Showing posts with label Simon Says Stamp. Show all posts

Wednesday, September 2, 2020

The One with the Simon Says Stamp Blog Party


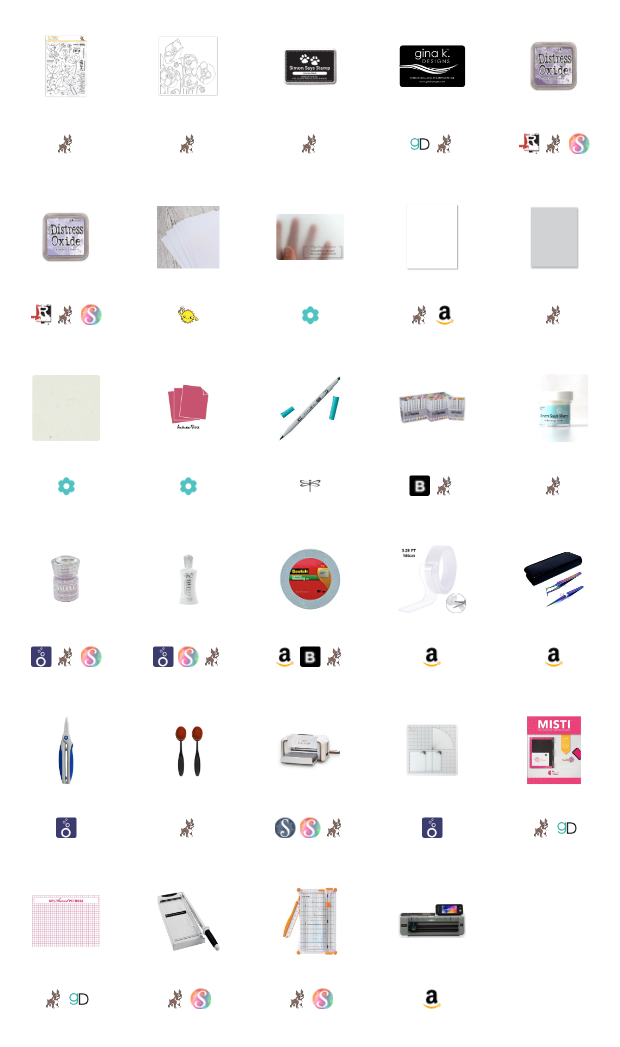
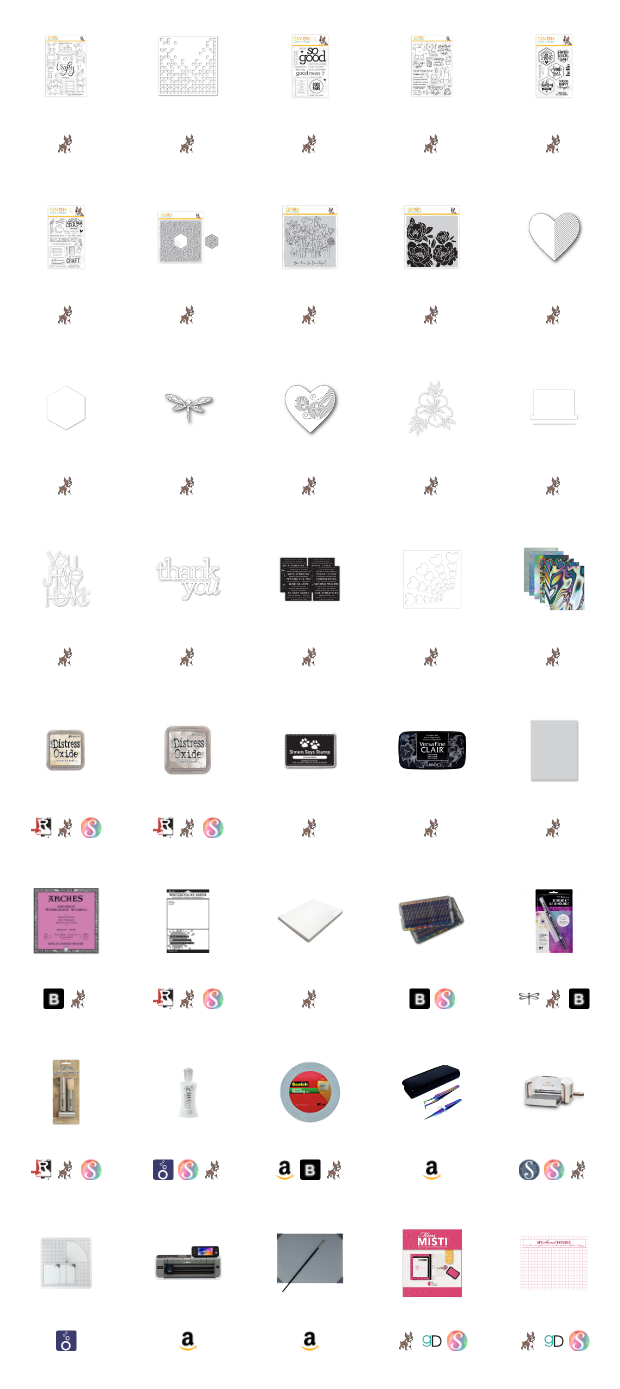
Hello everyone. Today is the Simon Says Stamp Blog Party to celebrate the 10th Anniversary of STAMPtember. If you don't already know, STAMPtember is kind of a big deal around here. We should not let 2020 be any different. I used the NEW Deco Squares background stamp and Because of You sentiment stamp set to create this Art Deco inspired greeting card. 

To check out more from the NEW Simon Says Stamp STAMPtember release (CLICK HERE!) to visit the online store or website for more paper crafting inspiration. 

Background:

I loaded the Deco Squares red rubber background stamp into my Original MISTI and stamped it with some Gina K watermark ink. I stamped it twice to make sure I got a great impression. I then used Hero Arts Gold embossing powder to heat emboss the background. This panel was cut down to 3 1/2 by 4 3/4. 

Sentiment: 

I stamped the "you made all the difference" sentiment with the same watermark ink on a piece of Fun Stampers Journey's Rustic Rose cardstock. I used a basic diamond die from my stash to cut it out. I used a nesting set of dies, so I grabbed the next size up and my EK Success Woodgrain paper. I have been hoarding this paper for a long time. I will be surprised if it is still available, but I will link it below if it is. This paper is sorta thin, so I also cut a piece of chip board that I had lying around my craft room. A piece of Neenah 110 would have done the trick as well. I glued the woodgrain paper onto the chipboard to create my own little diamond shape wood element to back my sentiment piece with. I popped up both pieces using foam tape onto the background. 

The sub-sentiment "I just wanted you to know" was also stamped and embossed. I used the Fiskars Cut line paper trimmer to cut it down into a strip. I also cut a thin strip of Fog cardstock to use as an accent piece. 

All the pieces were assembled onto a piece of Simon Says Stamp Fog cardstock cut to size A2 and scored in a top folding portrait orientation. 

I hope that I've inspired you to create something today. Don't forget to (CLICK HERE!) to visit Simon Says Stamp and shop the NEW STAMPtember release. 

Thank you for visiting my blog today, 

Koren 


Tuesday, September 1, 2020

The One with the Simon Says Stamp STAMPtember Card Video


simon says stamp, halloween, greeting card, candy, all I want is candy and you, alcohol markers, heat embossing, die cutting, fractured background, The boo crew, stamping, coloring, splatter, gouache, nuvo drops, kolour map

Hello everyone. I have a NEW video for you today. In celebration of Simon Says Stamp's NEW STAMPtember release, I made a fun Halloween card inspired by another card maker that I admire, Francine Vuilleme. You can find the card that inspired mine by visiting her blog (CLICK HERE!)

To check out the entire Simon Says Stamp STAMPtember release (CLICK HERE!) Don't forget to visit the Simon Says Stamp blog for even more inspiration using the NEW release as well as challenges designed to motivate you to create with others. 

I also created a Kolour Map of the markers that I used on this project. I have been loving my Tombow ABT Pro alcohol markers so, that is what I used. 


simon says stamp, halloween, greeting card, candy, all I want is candy and you, alcohol markers, heat embossing, die cutting, fractured background, The boo crew, stamping, coloring, splatter, gouache, nuvo drops, kolour map

I hope that I've inspired you to create something today. Make sure you check out #STAMPtember over on Instagram to see a ton of inspiration using the NEW release. 

Thank you so much for visiting my blog today, 

Koren


Friday, June 26, 2020

The One with the Simon Says Stamp Send Happiness Release

Simon Says Stamp, Fairy Tale Spinners, Poppy Bouquet, fairy, butterflies, grass, greeting card, off white, vellum, alcohol markers, Koren Wiskman, I believe in you, pink, green, purple, flowers, white, stars

Hello everyone, I have a super cute card using some of the products in the NEW Simon Says Stamp Send Happiness Release. I used the NEW Fairy Tale Spinners stamp set and the NEW Poppy Bouquet stencil to create this fairy inspiration card. 

The NEW Simon Says Stamp Send Happiness release is available now. (CLICK HERE!) to visit the Simon Says Stamp online store and shop the NEW release. 

Background:
The background of my card was simple to create. I started with a piece of Rustic White cardstock cut to 4 3/4 by 3 1/2. I originally thought I would be using a more vibrant background than the one you see in the final photos. I thought the specks from the natural fibers in the cardstock would make a nice fairy dust effect but in the end, I covered the element of the card to mute the background. I used the NEW Poppy Bouquet stencil to ink blend some poppies on the panel. I used purple tape to mask the areas of the stencil that represented leaves. I didn't want the leaf images in the background, only the poppies. I used Distress Oxide inks in Dusty Concord and Shaded Lilac and some make-up brushes to blend the ink onto the paper. 

Once the background was completed, I felt like it was too intense for the images that I intended to use and the color scheme of the project, so I cut a piece of vellum the same size to mute it's vibrancy. This also allowed me to stamp a few of the star images in watermark ink and heat embossed with Soft Lilac embossing powder. I was a little heavy handed with the stamping of these cute little stars but I love the look of them. I remember drawing something similar all over my school work growing up. 

Simon Says Stamp, Fairy Tale Spinners, Poppy Bouquet, fairy, butterflies, grass, greeting card, off white, vellum, alcohol markers, Koren Wiskman, I believe in you, pink, green, purple, flowers, white, stars

Images:
I stamped the images used on this project using the NEW Simon Says Stamp Fairy Tale Spinners stamp set as well as Simon's Intense black ink. I stamped them onto my latest favorite toy, alcohol marker friendly paper from my friend Lesley of Heffy Doodle. She sent me some to try and I'm using it all!! It's so fun to blend alcohol markers on. It's like a slick track for your markers but it's not glossy. I made a color map listing the markers I used to color these images. 

Once the images where colored I used my Brother Scan N Cut to "fussy cut" them out. I do not enjoy cutting out my images with scissors, plus I have an issue with my shoulder that affects my ability to hold things in my dominant hand, so I am constantly looking for ways to assist myself in every way possible to enjoy my hobby. I am lost without dies, I always highly recommend getting the coordinating dies if available. The Scan N Cut does an adequate job of cutting out most things but I enjoy the finished look that a die gives you.  

To adhere everything together, I put all of the images onto the vellum overlay first before attaching the see through panel to the ink blended panel. This helped me hide the adhesive needed to put it together. The images were stuck on using foam tape or liquid adhesive depending on where or on what layer they looked best. The first flower image was adhered with liquid adhesive directly to the vellum panel starting off the collage of florals, grass, and butterflies to create the scene. 

Once all of the images were attached, I then added liquid adhesive behind them hiding it so that you couldn't see it through the vellum. I added the vellum panel to the ink blended panel this way and then attached the stack to a WHITE CARD BASE! Can you believe it? I'm using a Neenah 110 lb. cardstock to create my A2 size top folding portrait orientation base today. It simply looked better than my standard gray this time. 

Simon Says Stamp, Fairy Tale Spinners, Poppy Bouquet, fairy, butterflies, grass, greeting card, off white, vellum, alcohol markers, Koren Wiskman, I believe in you, pink, green, purple, flowers, white, stars

Sentiment:
The sentiment was added last, using Simon Says Stamp White embossing powder to heat emboss the "I believe in you" sentiment onto a piece of Autumn Rose cardstock. I used my cut line paper trimmer to cut it down into a strip and popped it up onto the card using foam tape. 

I hope you enjoy my project today and I've inspired you to create something. If you would like to see the entire Simon Says Stamp Send Happiness release (CLICK HERE!) to visit the online store or visit the blog for even more crafty inspiration. 

Thank you for visiting my blog today, 
Koren 
Thursday, May 28, 2020

The One with the Simon Says Stamp Crafty Hugs Release Card Video


Hello everyone. Today I have a video that takes a look at some of the products from the NEW Simon Says Stamp Crafty Hugs Release. In the video, I get to check out a few of the products from the release as well as create a fun, crafty, and cute card using some of the new products.

I hope that you will take a look at the video linked below. 


Thank you so much for visiting my blog today. 

Koren 


Thursday, April 23, 2020

The One with the Simon Says Stamp Sunny Days Ahead Release Video

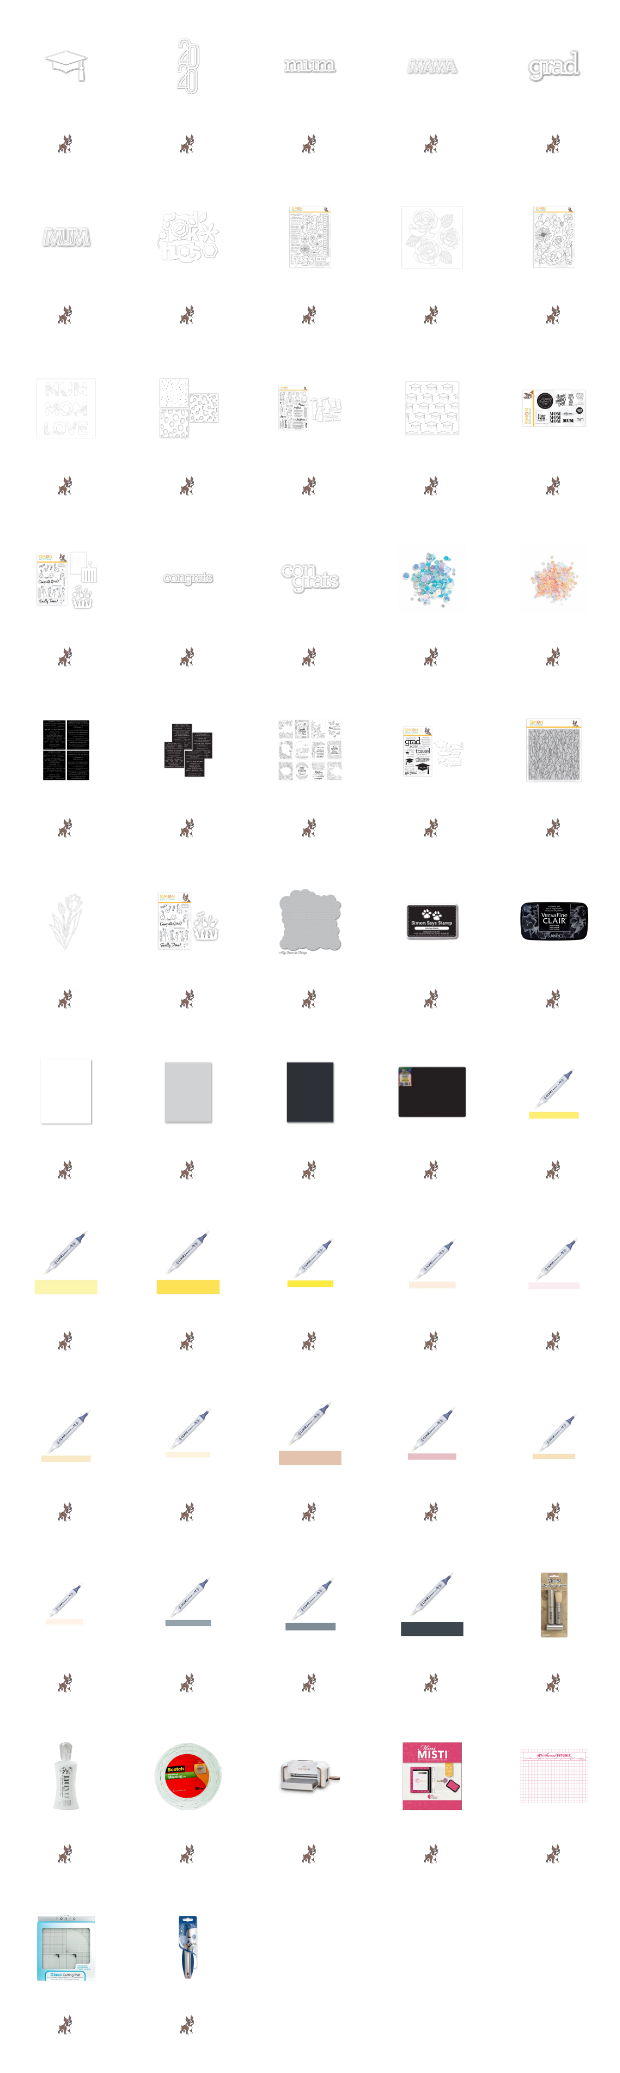
Hello everyone. The Anticipation is over. The Simon Says Stamp Sunny Days Ahead Release is finally here and I have a video to share with you, and I go through the entire release on camera, and share a few samples of cards made with the new release products. 

The release has quite a bit for the graduates in your life as well as your Mom! This spring is sure to bring sunnier days and Simon Says Stamp is setting us up for us that. 

I also have a few additional card projects to share with you here on my blog so if you are interested in those, just keep reading. 

You can find the entire Simon Says Stamp Sunny Days Ahead release (CLICK HERE!) to visit the online shop and blog with tons more inspiration using these products. 


Background: 
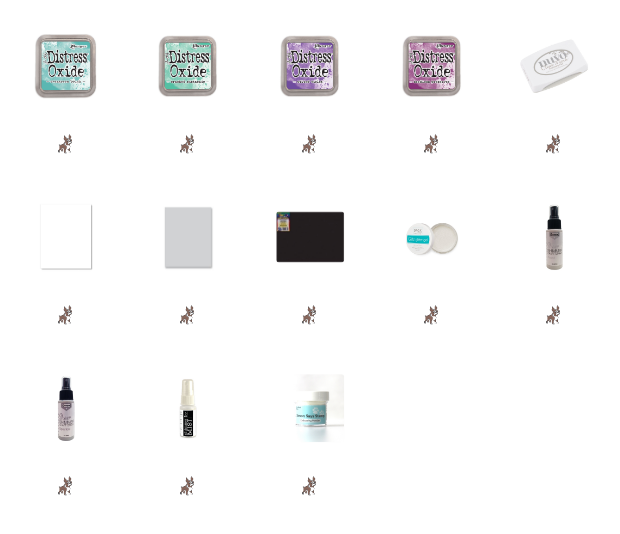
For this card, I started with a piece of Neenah 110 lb. Solar White Classic Crest cardstock cut to 4 3/4 by 3 1/2. I used the NEW Graduation Celebration Layering Stencil Trio, specifically the balloon stencil from the trio. I ink blended Distress Oxide inks in Cracked Pistachio Evergreen Bough and Wilted Violet with a Simon Says Stamp blending brush. I then used the confetti stencil from the same trio to add some Gina K Designs White Glitz Glitter Gel and set it aside to dry. 

Sentiment:
As for the sentiment, I cut the NEW "Grad" word die by CZ Designs. I cut the shadow from black cardstock and used white for the word die itself. I just love black and white sentiments. I added a sub sentiment of "you're one rad" from the NEW Grad Party stamp set also in collaboration with CZ Designs. To finish it off I also added a heat embossed tiny grad cap from the same stamp set. 

Everything was popped up onto a Simon Says Stamp Fog card base cut to size A2 and scored in a top folding portrait orientation. 


Background:
For this card, I wanted to make a card for my Mom. So I grabbed a piece of Neenah and cut it to 3 1/2" by 4 3/4"  and the NEW Simon Says Stamp Mom, Mum, Love Stencil. This stencil is fabulous for not just Mother's Day but to shower your Mom with love all year. I laid down the stencil trying to center the word Mom the best I could and ink blended some Distress Oxide ink in Wilted Violet and Seedless Preserves with a Simon Says Stamp Ink Blending tool. I then transferred the panel to my splat box keeping the stencil in place. I sprayed the piece with my favorite combination of shimmer sprays to make the Mom sparkle. I used Imagine Crafts Frost and Sparkle shimmer spray along with Hero Arts White Iridescent shimmer spray. Once you pull off the stencil, the crisp ink blended word beneath it shimmers and sparkles. 


Sentiment: 
I kept this super simple by using one of the pre-made sentiments in this month's release. I love the idea of telling my Mom just how much she's killing it out there, and this sentiment is perfect. I cut it into a strip and popped it up onto my ink blended panel. 

The panel was then added to a Simon Says Stamp Fog card base cut to size A2 and scored in a side-folding landscape orientation. 

I hope you have enjoyed checking out the NEW Simon Says Stamp April Release with me. I will have a few more cards over on Instagram so make sure you follow me there as well. Find the #SSSsunnydaysadhead to see tons of inspiration from designers all over the world. 

Thank you so much for visiting my blog today, 

Koren


Saturday, April 4, 2020

The One with the Simon Says Stamp Blog Party


Hello everyone. Today I am partying with Simon Says Stamp for the #sssunitedwecraft Blog Party. We are using some past Simon Says Stamp exclusive products to create with today. Visit the Simon Says Stamp blog for more information about the blog party and to find tons more inspiration to keep you happy and crafting during this difficult time. (CLICK HERE!) to visit SimonSaysStamp.com. Use the hashtag #sssunitedwecraft if you make a project and party with us and your Simon Says Stamp exclusive products on social media.


I have two cards for you today. The first of which I broke out the stitching panel die from the March Lucky to Know You release by Simon Says Stamp. I first took a piece of Ranger watercolor cardstock and my Avery Elle liquid watercolors and went to town using the Cherry, Lemon Grass, and Celery colors. I used a wet on wet technique where I wet my paper first with clean water before bringing my watercolors to the paper. This technique allows the watercolors to blend together more easily. I used a different technique on the second project today.


The second project received a dry watercolor splatter technique to the background. I placed another piece of watercolor paper into my splat box and started to use the same three watercolors to splatter on the background. I simply picked up my brush full of watercolor and splattered it on the panel. Dipping my brush in water to regenerate the watercolor still left on the brush and then splattering again. Dipping the brush into the water to refill the brush dilutes the watercolor still left on the brush, bringing a different shade of the same color into the mix.


simon says stamp, blog party, just because word mix 2, crocus flowers, stitching panel die, watercolor, cardstock, mix media background

I purposefully used a various amount of color concentrations to splatter the background. This gave me a range of colors even though I was only using the same three colors mentioned above. I used water to dilute the mix more and more before splattering the color.

After both watercolor panels where dry, I cut them down to 3 1/2 by 4 3/4 to prepare them for the next step.  I wanted to run both watercolor backgrounds through the die cutting machine using the Stiching Panel Die by Simon Says Stamp. This panel die cuts a gazillion holes the the piece and adds a tremendous amount of texture to the background.

Once the holes where cut, I thought about how many holes I actually wanted to come out. I wanted to show some texture by taking some of the holes completely out but also keep enough holes to hide my foam adhesive. The splattered panel was able to be popped up using thin strips of foam adhesive in the areas where the holes did not come out. The panel with less holes to hide adhesive was just added flat to the card base using liquid adhesive.

simon says stamp, blog party, just because word mix 2, crocus flowers, stitching panel die, watercolor, cardstock, mix media background

Both card bases are made from Simon Says Stamp Fog cardstock and cut to size A2 and scored in a top folding portrait orientation.

I then cut the Crocus Flowers dies by Simon Says Stamp from Neenah 110 lb Solar White Classic Crest cardstock. I cut them several times to have plenty to work with. I layered the die cut pieces together on the "a little note" card using liquid adhesive. I cut the die cut four times and layered them together to create a focal image for my card. They were also adhered to the panel using the same liquid adhesive in the lower left of the panel.

simon says stamp, blog party, just because word mix 2, crocus flowers, stitching panel die, watercolor, cardstock, mix media background

As for the sentiment on this one, I stamped the "a little note" from the Simon Says Stamp Just Because (Word Mix 2), but I used a smaller circle die to cut it out leaving no white border around the edges. This was popped up on the flowers using foam tape.

To finish this card off I added a few black enamel dots.

simon says stamp, blog party, just because word mix 2, crocus flowers, stitching panel die, watercolor, cardstock, mix media background

For the second card, I added on of the crocus flowers flat to the panel on the left side of the card. I cut the "the world need more people like you" sentiment from the Simon Says Stamp The World Need wafer dies. I used a nice hot pink cardstock that I liked with the background already created. I cut the sentiment four times from the pink cardstock and layered them together using liquid adhesive. I used the same glue to adhere it to the right side of my card panel.

To finish off this card, I added a few coordinating hot pink enamel dots sprinkled on the panel.

simon says stamp, blog party, just because word mix 2, crocus flowers, stitching panel die, watercolor, cardstock, mix media background

I hope that you enjoyed my card projects for you today. I hope to inspire you to create something. Remember to (CLICK HERE!) to visit the Simon Says Stamp blog and find more crafting inspiration over there.

Thank you so much for visiting my blog today,

Koren

Thursday, March 5, 2020

The One with the NEW Simon Says Stamp March Release "Lucky to Know You" Video

Altenew, Simon Says Stamp, Layered Tulips, layered stamping, greeting card, easter, he is risen, cz designs, Cathy Zielski, inlaid die-cutting

Hello everyone. Today I have the wonderful pleasure of looking through the NEW Simon Says Stamp March release, affectionately named "Lucky to Know You". Great minds think alike I suppose, as my next event is also called "Lucky to Know You". Even though these two things are unrelated, I was excited to have the opportunity to share them both with you this month.

To check out the entire Simon Says Stamp March release (CLICK HERE!) and visit their website and blog to shop the release, and to find even more inspiration using the NEW Simon exclusive products.

I have a video showing the entire release as well as a few cards that I made using some of the products that were intriguing to me. I will leave a link to that video below.


Spoiler Alert!  The release is fantastic so, I made a few cards that I want to share with you here. Starting with this "he is risen" card made using the NEW Layered Tulips stamp set and CZ Designs "he is risen" die set.

Altenew, Simon Says Stamp, Layered Tulips, layered stamping, greeting card, easter, he is risen, cz designs, Cathy Zielski, inlaid die-cutting

I took a piece of Neenah 110 lb. cardstock cut to 4 1/4 by 5 1/2 and loaded it into my MISTI. I love that the stamps are slightly longer than an A2 size card front which makes for the perfect fit for your tulips. I stamped the two stem layers using Altenew Parrot and Moss ink, and I stamped the two bud layers with Altenew Lavender Fields and Midnight Violet ink. The layers were super easy to line up and the result is a fantastic floral background.

I thought briefly about ink blending some sky towards the top of the card but ultimately decided not to and left it white.

I used some coordinating purple and green cardstock from my stash to cut out the "he is risen" sentiment from Simon Says Stamp and CZ Designs. I cut it four times and layered them together creating a nice chipboard like embellishment.

As for its shadow, I took the background panel that I just stamped with the Layered Tulips and cut it down to 3 1/2 by 4 3/4 and arranged the shadow die from the "he is risen" die set towards the center. I cut it directly from the background. I also cut it from a piece of white craft foam. This allowed me to put it right back where I cut it from but popping it up to make it stand out with a little dimension.

Altenew, Simon Says Stamp, Layered Tulips, layered stamping, greeting card, easter, he is risen, cz designs, Cathy Zielski, inlaid die-cutting

I added my new camouflaged panel to a Simon Says Stamp Fog card base cut to size A2 and scored in a landscape orientation.

I absolutely love how this turned out and although the sentiment is a bit time consuming to put together, this could easily be massed produced for a lovely Easter card. 

I also put together a fun card using the NEW Spring Gnomes stamp set and coordinating dies. This card features the adorable gnome with bunny ears and the sentiment "i'm all ears" is just perfect.

simon says stamp, spring gnomes, paper piecing, stamping, copic markers, die-cutting

This simple card starts with a piece of Neenah 110 lb. I stamped my adorable gnome with Simon Says Stamp intense black ink so that he could be colored with my Copic markers.

I ended up paper piecing his beanie using some plaid papers from Lawn Fawn. In addition to the hat I also cut the heart shape from the set so that he could wear a little heart almost like a pin or broach. I used the coordinating dies to cut him out.

I took another piece of the same heavyweight white cardstock and cut it down to 3 1/2 by 4 3/4. I stamped the sentiment "i'm all ears" with the same black ink towards the bottom of the piece leaving room for my gnome above it. I popped him up using foam tape.

simon says stamp, spring gnomes, paper piecing, stamping, copic markers, die-cutting

The entire panel was then popped up onto a Simon Says Stamp Fog card base cut to size A2 and scored in top folding portrait orientation. I used white craft foam to do this.

I also have this fun bunny butt card that I made in the video linked above. I hope that you will watch the video and check it out. I use the NEW Bunny Butt Peek-A-Boo stamp set and coordinating dies to make it.

simon says stamp, peek-a-boo, pre-made sentiments, flock, stamping, die-cutting, interactive, greeting card, easter, bunny, bunny butt

simon says stamp, peek-a-boo, pre-made sentiments, flock, stamping, die-cutting, interactive, greeting card, easter, bunny, bunny butt

I hope that you've enjoyed taking a look at Simon Says Stamps NEW March release "lucky to Know You". For more information about the release (CLICK HERE!) to visit the online shop or blog for more inspiration using the NEW release.

Thank you so much for visiting my blog today,

Koren


Saturday, February 4, 2017

Sweet Stamp Shop Haul and Card Share with Video

Hello fellow card makers. Today I am sharing with you my Sweet Stamp Shop Haul Video and Card Share. I have ordered from Sweet Stamp Shop before and I will definitely be ordering from them again in the future. The stamps are adorable. Sweet Stamp Shop has gone deep into the planner community with all their adorable planning type stamps. Although I don't stamp in my planner, their stamps for this purpose are genius and it makes a girl think about starting to stamp in her planner.

I ordered my stamps on a Friday afternoon and was stamping away by Wednesday afternoon. I couldn't be happier with my order. I also made two cards with my stamps with many more to come. If you would like to see those cards and what was in my order, watch the video linked below on my YouTube channel. Photos of my card share as well as a list of supplies used are also listed below.


Supplies:

Stamps:
Sweet Stamp Shop, Believe Princess, Hope Princess, Fishy, Peekaboo Cats, Royal Wish

Ink:
Memento, Tuxedo Black
Hero Arts, Unicorn White

Dies:
Spellbinders, Nesting Labels two, Shape Banner Basics 2

Cardstock:
Papertrey Ink Soft Stone
Tim Holtz Distress Watercolor  Cardstock

Embossing Powder:
Simon Says Stamp, Detail White

Other:
Copic Markers
Daniel Smith Watercolors

Thank you so much for visiting my blog today,

Kori

Wednesday, January 25, 2017

Guest Star Stamper for The Color Throwdown #427

Hello fellow card makers. I am so excited because today I am the guest star stamper over at The Color Throwdown #427. The color palette for this weeks challenge are mint green, pink, and aqua. Click here to get to there most recent challenge. Here is a look at the color palette and inspirational photo.


I love these colors. They really are some of my favorites, but I found it hard to create with them this week. I'm not sure why. Somehow, I managed to come up with this...


This is my take on this weeks challenge. I love the look of dipped feathers, it is just so beautiful to me. So, awhile ago I bought this stamp set from Stampin' Up! and its coordinating dies. I die cut my feathers out of some aqua cardstock. I them stamped them with detail images in Versamark just to give it a slight detail. To create the dipped look, I used a foiling technique. I used a toner marker to draw where I wanted my foil to adhere. I found that the toner marker was kinda hard to work with. This was my first try at foiling and I'm going to keep trying other methods. I found this method not only to be messy and inconsistent, but I wasn't real happy with the way it turned out. I used my laminating machine to heat up the foil. Maybe it was a combination of toner coverage and not enough heat on the project. I will keep trying because I love the look of foil and I want to be able to use it on future projects.


Once I had my feathers "dipped" I then wrapped some mint colored embroidery floss around the quill of the feather as if it actually where dipped into paint or dye. I knotted them together to hang them on my card, to create the focal image. I molded them to appear more like they where free hanging and 3 dimensional.
The front panel was created from a light pink cardstock. I blended some Distress ink, in Worn Lipstick, around the edges to create the vignette around the feathers. I adhered the front panel directly to a gray top folding card base. After adding some sequins and a sentiment that seemed more than fitting, my card was done. A complete list of supplies is below.


Supplies:
Stamps:
Stampin' Up! Four Feathers
MFT, Adorable Elephants (sentiment)

Dies:
MFT, Blueprints 1 Die-namics (front panel)
Stampin' Up! Feathers Framelits

Ink:
Distress Ink, Worn Lipstick, Spun Sugar
Versamark
Hero Arts, Unicorn White

Cardstock:
Avery Elle, Aquamarine, Pixie?
PTI, Soft Stone (card base and sentiment)

Embossing Powder:
SSS, Detail White

Other:
DMC 6 strand embroidery floss, 3817
Hedi Swap Minc Foil, Rose Gold
Darice, Iridescent Clear

Thank you for visiting my blog today and Good Luck with the Challenge!

Kori

Sunday, January 8, 2017

January Birthday's

Hello fellow card makers. Today I am sharing the cards that I made for the people in my family that have January birthdays. I have two cards for this month. They are both similar in design and nature and so are the ladies receiving them.

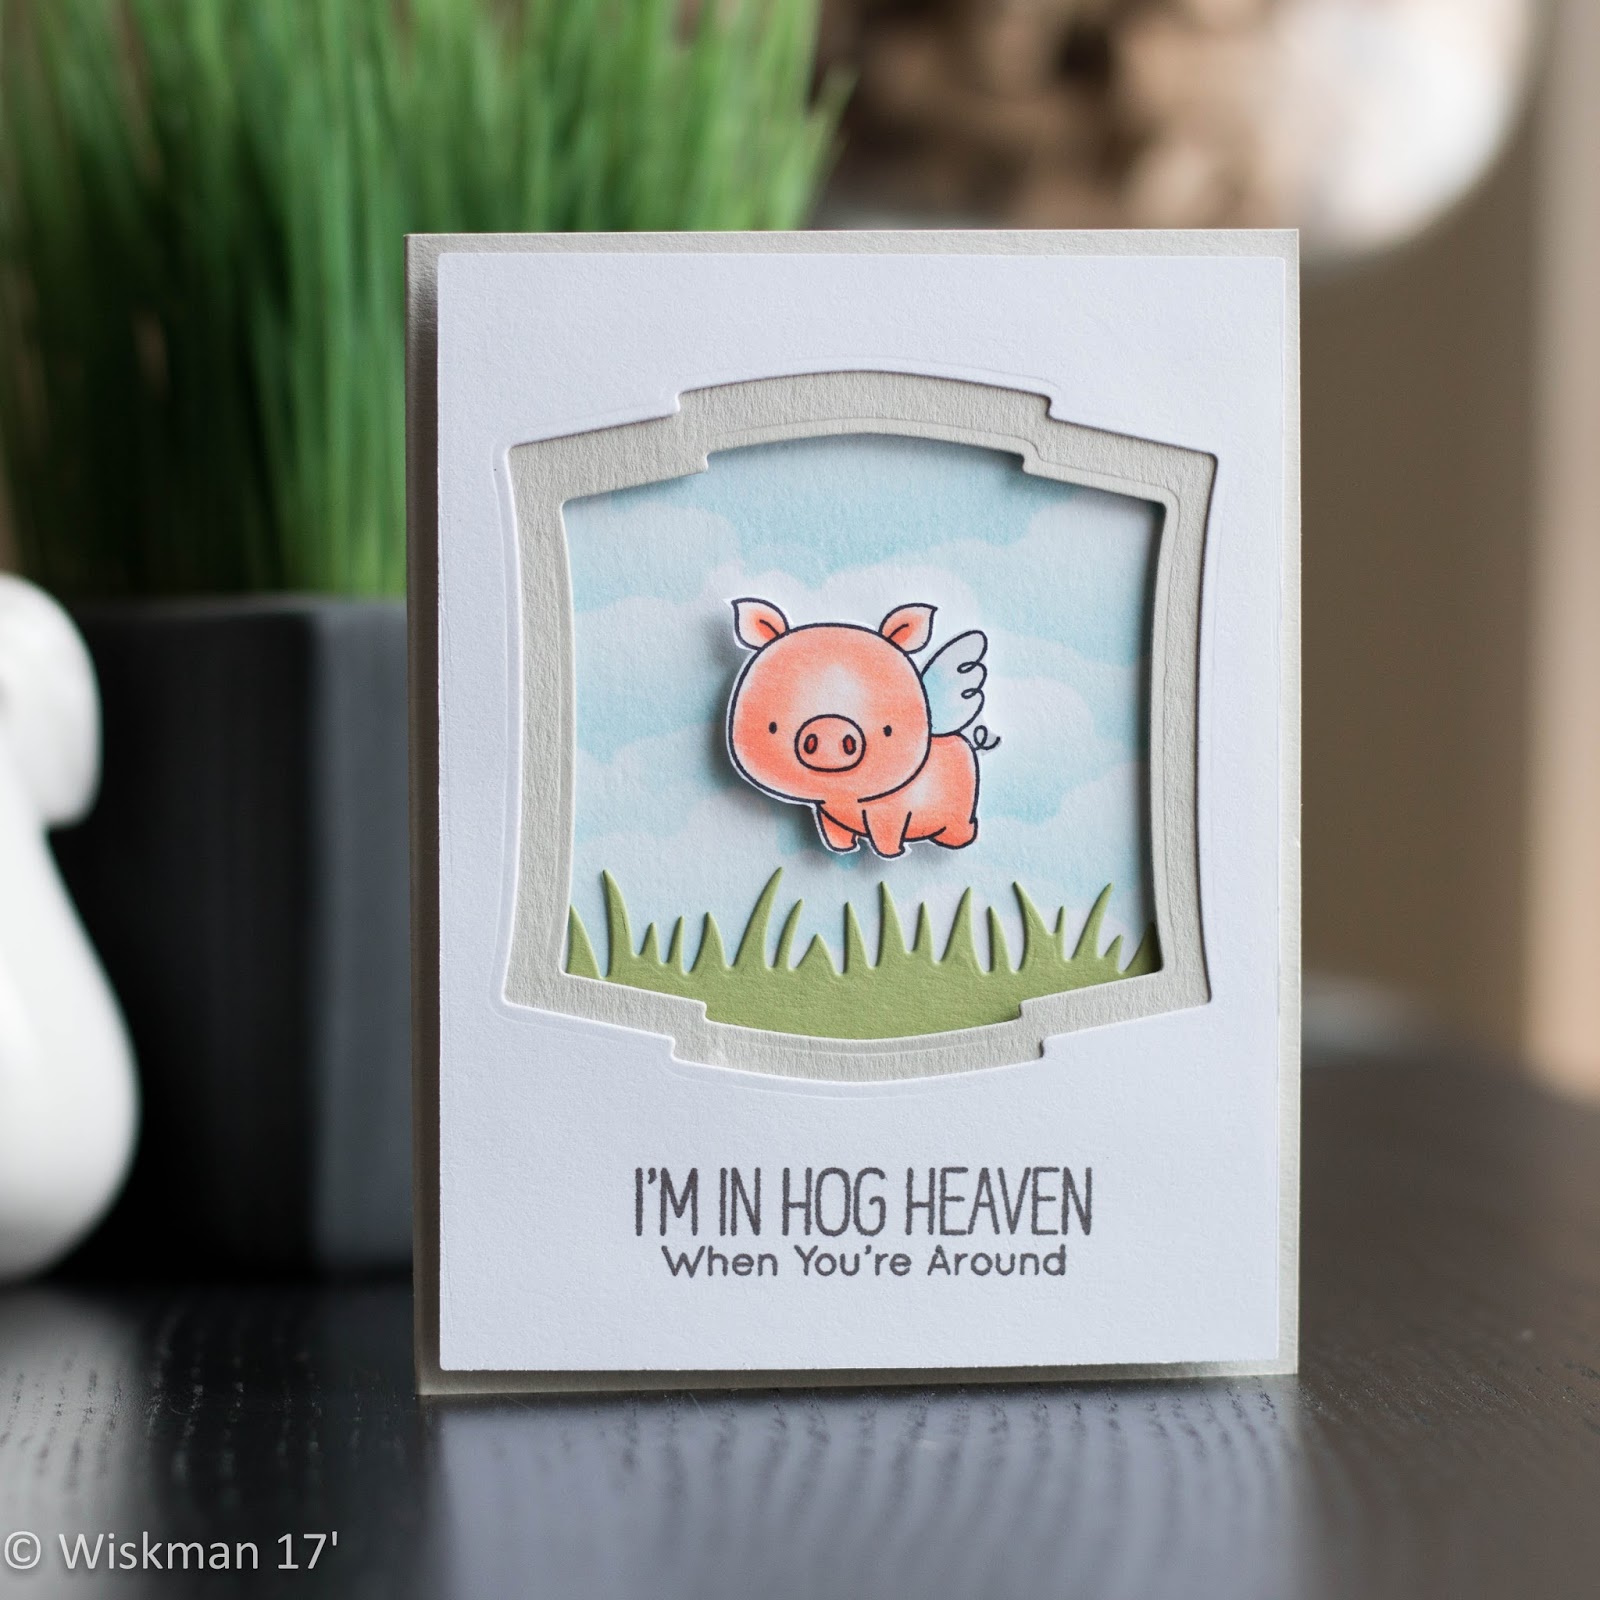
For both cards I used a homemade stencil to ink some clouds in the background using Tumbled Glass, Distress Ink. I cut a window in the front of each card and created a mini scene. Photos and a list of supplies used are below.


Supplies for card #1
Stamps:
MFT, Hog Heaven

Dies:
Spellbinders,
Lawn Fawn, Grassy Borders

Ink:
Memento, Tuxedo Black
Taylored Expressions, Earl Gray
Distress Ink, Tumbled Glass

Cardstock:
Neenah, Solar White 110 lb.
Simon Says Stamp, Fog
Stampin' Up!, Pear Pizazz

Other:
Copic Markers
Gelly Roll Glaze, Black


Supplies for Card #2
Stamps:
Paper Smooches, Spectrum

Dies:
MFT, Wonky Stitched Rectangles
MFT, Jumbo Peek A Boo Window
Paper Smooches, Rainbow

Cardstock:
Neenah, Solar White 110 Lb.
Simon Says Stamp, Fog
Stampin' Up!, Real Red, Pear Pizazz, and Old Olive
PTI, Orange Zest, Lemon Twist, Blueberry Sky, and Wisteria Wonder

Other:
Copic Markers
Distress Markers
Spectrum Nior, Clear Sparkle Pen
Gelly Roll Glaze, Black
Nuvo Glitter Drops, White Blizzard