Hello Everyone.
Today is Day Four of Neat & Tangled’s May Release Week, and we are using the NEW Foliage Frames stamp set and coordinating dies to inspire you today. This stamp set is easy to use and it creates the most elegant cards. It features a circle pattern, that is the size of a background, in clear photopolymer as well as matching added foliage to add versatility. These additional pieces of foliage also have coordinating dies. The die set even has a die that cuts just the center of the large circular pattern stamp, which is what I did today.
Don’t forget to (CLICK HERE!) to visit the Neat & Tangled blog for more information about today’s featured set, as well as the giveaway for today’s post. There will also be some more inspiration over there from the design team that is sure to wow you. This release goes LIVE tomorrow Friday, May 16th at 8:00 AM.
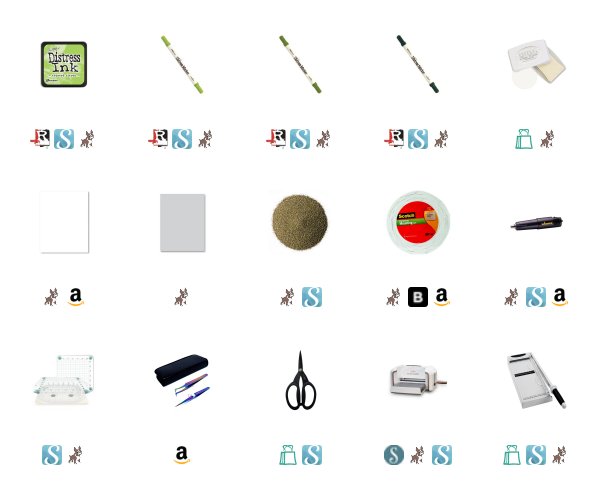
I started with a piece of Ranger Watercolor cardstock, and loaded the large stamp from the Foliage Frames set into my We R Memory Keepers Precision Press. I inked up the stamp first with Distress Ink in Twisted Citron. This gave a good green base to work with. Then I used my Distress Markers in Mowed Lawn, Peeled Paint, and Pine Needles to add some more depth to the colors of the image. I stamped it twice to get the look you see in the finished photos.
I cut the panel down to 4 3/4 by 3 1/2 inches and used the Foliage Frames dies to cut out the center of this stamped image. Just the center for now. This leaves an opening in the center that is perfect for a sentiment.
To add to this panel, I also stamped the smaller individual pieces of foliage from the same set, using the same technique as above, only this time I used the coordinating dies to cut them out.
As for a sentiment, I used the “hello” sentiment from the Foliage Frames Stamp set. I stamped it using Nuvo Clear Mark embossing ink onto a piece of Neenah 110lb. cardstock, and heat embossed it with Hero Arts Gold Embossing Powder.
To add a little more detail, I added a few of the berry clusters that come with the set. I’m not sure what the actual name for this image is, but it basically looks like a cluster of three circles. I feel like they represent berries or nuts or just some other element of the arrangement. Anyway, I stamped them and heat embossed them as well, and scattered them throughout the panel.
To put this card together, I added Scotch 3M Foam Tape to the under side of the original panel to provide some dimension for the sentiment. I then added the entire panel to a Simon Says Stamp Fog card base.
I hope you enjoyed my project for today. Make sure you stop over to the Neat & Tangled Blog to see what the rest of the design team as created to inspire you. (CLICK HERE!)
Thank you so much for visiting my blog today.
Koren


Pretty card! Love the dimension and the way you used the window opening for the sentiment! Beautiful set!
ReplyDeleteLove the layering.
ReplyDeleteDelicate card and so
pretty. thanks for
sharing.
txmlhl(at)yahoo(dot)com
Beautiful card! Colors are great!
ReplyDeleteSuch a lovely card!
ReplyDeleteAbsolutely beautiful! I love this pretty set.
ReplyDeletePretty card. :)
ReplyDeleteThe layers add so much. I love this look!!
ReplyDeleteI love the idea of coloring over the lighter stamped color. Thanks for the inspiration!
ReplyDeleteI love the gold embossing with the gold berries! BeautifuL!
ReplyDeleteWhat a pretty card! I love how you cut out the center of the foliage and placed the sentiment in there. :)
ReplyDeleteMarisela Delgado saidL great card. mariandmonsterd@yahoo.com
ReplyDeleteVery pretty card and I love the dimension you created with the layering of the foliage stems.
ReplyDeleteBeautiful foliage framing. I like the touch of gold.
ReplyDelete