Hello everyone. Today is day one of the Neat & Tangled’s NEW August Release. It’s been a few months since there has been a release, so I was very excited to put together the next week’s worth of projects and inspiration.
Something that has changed in this release week process… You no longer have to wait to make your selections at the end of the week. The entire Neat & Tangled August Release is now available in the online store. You can save 20% and purchase the bundle deal. (CLICK HERE!) for savings.
There is also a giveaway each day of release week, so make sure you are commenting all of the design team’s blogs to increase your chance of winning the prize each day. Giveaway winners will be announced Friday on the Neat & Tangled Blog.

Today I’m using the NEW Grateful Heart Stamp set to create a card that was inspired by a Starbucks cup. I saw this cup when I was out and about one day and snapped a photo of it because I thought it would make a great background on a card. I was just waiting for the right stamp set you use it with.
I took a piece of Strathmore Bristol Smooth White Cardstock and the Grateful Heart Stamp Set and loaded it into my Original MISTI. I covered the entire front panel that measures 4 3/4 x 3 1/2. I prepped my cardstock with an EK Success powder tool and inked up my stamps with Nuvo Clear Mark Embossing Ink. I closed the MISTI door and checked to make sure all of my image was successfully transferred to the paper with the ink. I used my Wagner Heat Tool to melt the Ranger White Embossing Powder in place. I wiped the entire card front with my blue micro fiber towel to wipe off any excess ink that may be lingering on my white heat embossing.
Once the panel was cooled completely, I took The Picket Fence Studios Blender Brushes and some Avery Elle Sea Glass pigment ink and ink blended it on about half of the card. Then I used Distress Oxide ink in Wild Honey to blend onto the other half. Making sure to blend the two together well in the center. I also ink blended a second piece of Bristol Smooth White cardstock that will end up being the sentiment.

I popped up this panel using gray craft foam and tear tape adhesive. I placed it onto a Simon Says Stamp Fog card base cut to size A2 and scored in a top folding portrait orientation.
As for the sentiment, I stamped the “thank you” from the same Grateful Heart Stamp Set onto the extra piece that I had ink blended earlier. I used the same method of heat embossing for the sentiment that I used on the images. I cut it down into a strip using my Fiskars Wire Guide Paper Trimmer. It was then placed onto the card front using Craft Perfect Foam Squares.
This card was not hard to create but looks very pretty and elegant, as do many of the cards I have lined up this week. Be sure to check back tomorrow for more release week inspiration. Happy shopping. (CLICK HERE!) to visit the Neat & Tangled website.
Thank you for visiting my blog today,
Koren
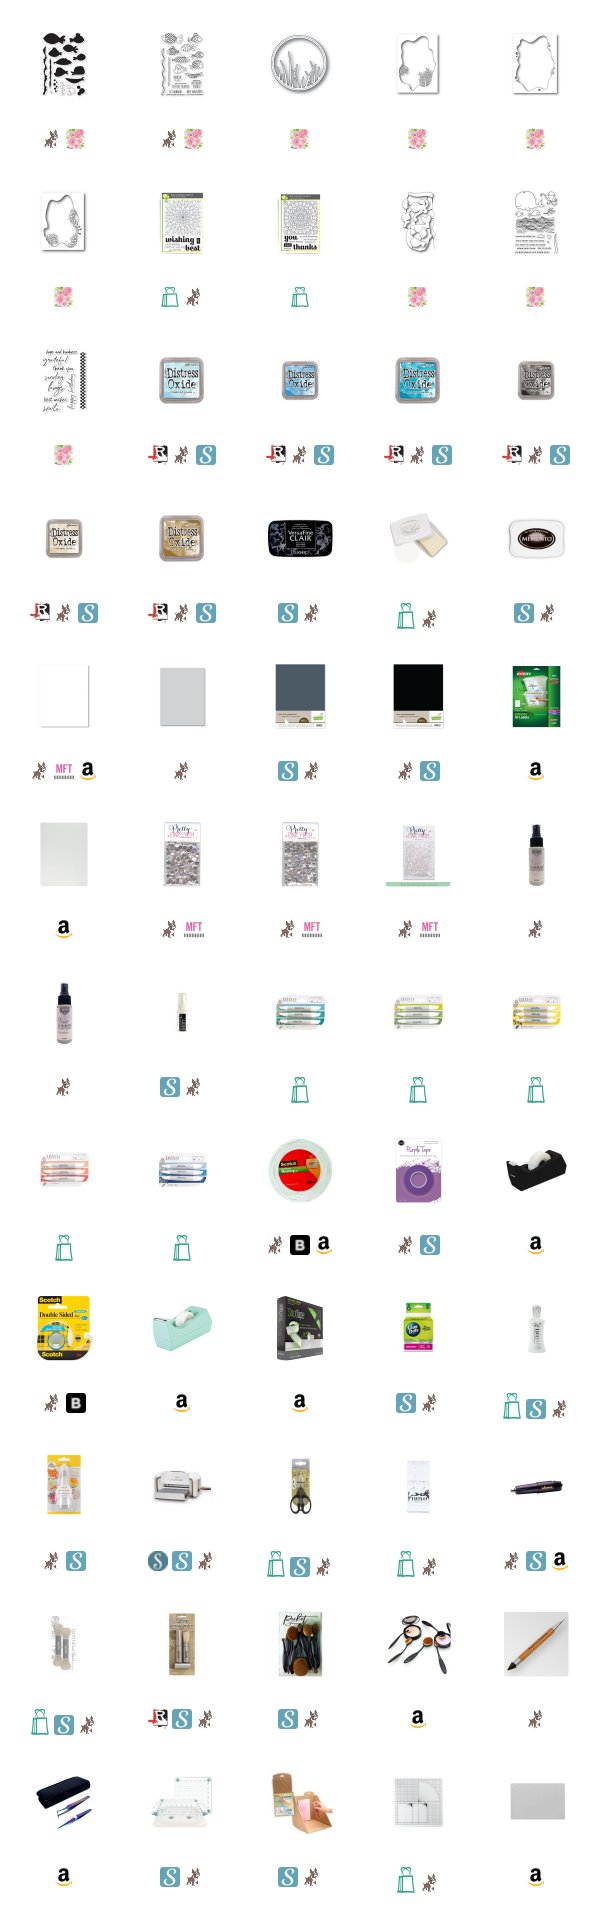
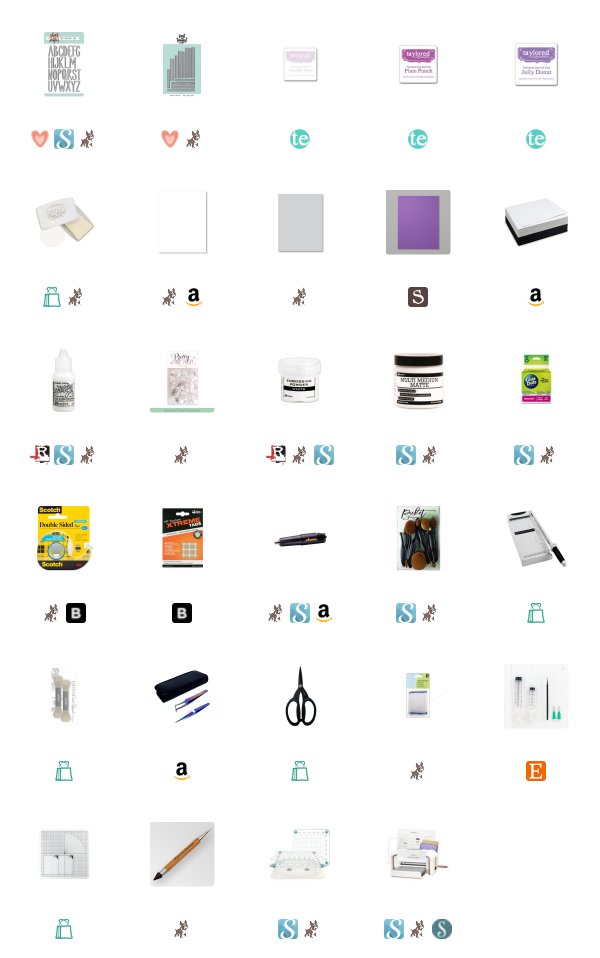
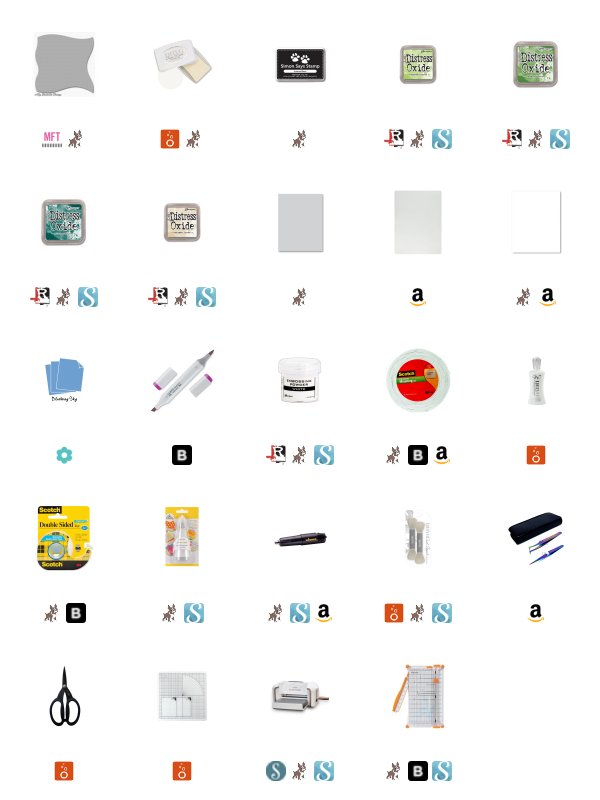
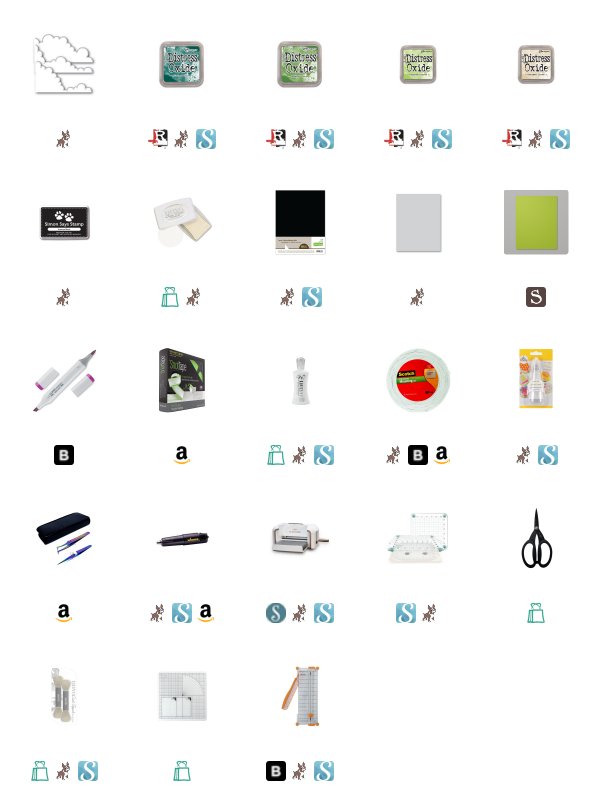
-List of Supplies-
Affiliate links are used when available at no additional cost to you.