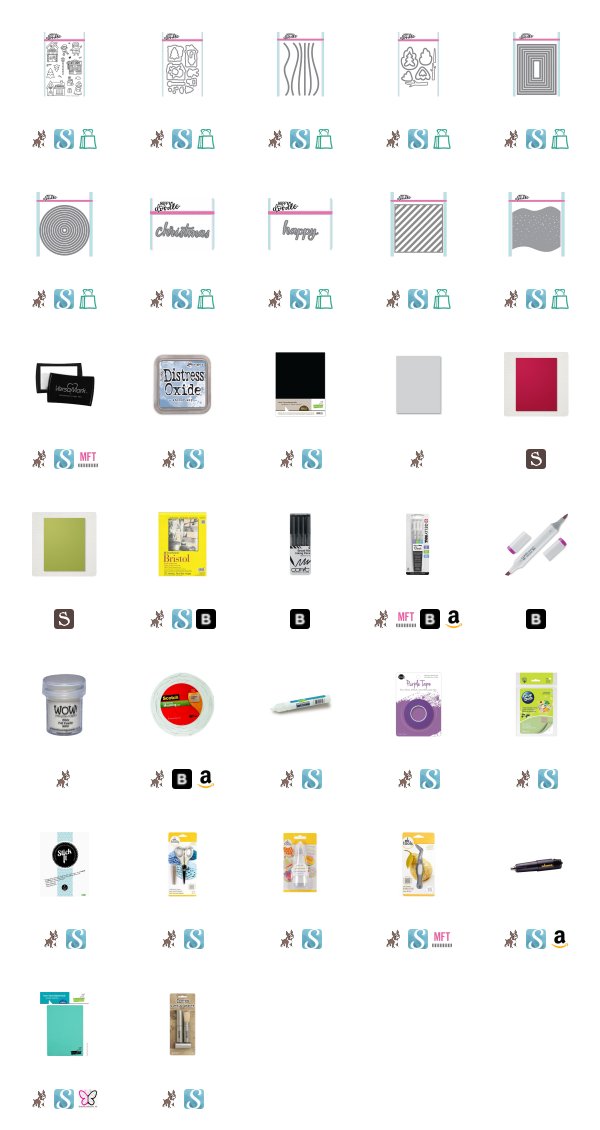
Today is an exciting day because Heffy Doodle has a NEW Release! I'm super excited to share with you a card I made using some of the products from this NEW Release. For this one, I chose Santa's Village stamp set. This set also has a set of coordinating dies available for purchase as well. I also used a few other products, so continue reading. I will also provide a complete list of supplies I used for this project at the bottom of this post.
I started with a A2 size top folding card base in Simon Says Stamp's Fog Cardstock. I then grabbed a piece of Stampin' Up!'s Cherry Cobbler Cardstock. I used the NEW Candy Store Stencil and some Versamark Ink. I laid the stencil on top of the cardstock and rubbed my Versmark Ink Pad over it to coat the cherry red cardstock with sticky embossing ink. I then used WOW! White Puff Embossing Powder and heated it with my heat tool. It leaves a bumpy rough texture that reminds you of snow.
To finish off this panel, I cut it down using the NEW Imperial Stitched Rectangles by Heffy Doodle (the second from largest). I like to call him Karl. Karl is NEW to me with this release, but I know we are going to be fast friends. That red and white striped panel was popped up onto white craft foam and double sided adhesive.
I then cut both the NEW Happy Heffy Cuts Word Die and the NEW Christmas Heffy Cuts Word Die out of the same Cherry Cobbler Cardstock from Stampin' Up! I cut them each three times and layered them together. I made sure the back of the cardstock was coated with Stick It adhesive before die cutting. This makes the die cut a sticker with an adhesive back. This helps when you layer several intricate die cuts together. After I layered them all together. I added a small amount of Gelly Roll White Gel Pen to make it look like snow had fallen on the tops of the letters.
I then stamped many of the images from the NEW Santa's Village Stamp Set (coordinating dies are available for this set). I stamped my images with Memento Tuxedo Black Ink onto Neenah Solar White Cardstock. I added some texture to the front of Santa's workshop and some snow to the rooftop. I also added stripes on the little elf's pants. I then colored my images with Copic Markers. I will leave a Copic Color Map in this post for you to pin on Pinterest. This helps you save interesting Copic Coloring Combos. You will find a great resource on my Pinterest boards. I have saved hundreds of Copic color combinations there. Check it out! (CLICK HERE!).
I added bits of white gel pen to my images to clean them up and make the white parts appear just a bit whiter. I popped up the images with varying widths of adhesive scattered throughout the card front. I arranged a scene and even made my little elf hanging onto the letters of the die cut word sentiment.
To add just a little more to this already cluttered card. I cut one of the trees from the NEW Forest Builder Die Set by Heffy Doodle and stuck it in amongst the Copic colored trees. I like the way the two styles coordinate well together.
Here is the blog hop line up for the release. Make sure you comment along the way for a chance to win a Heffy Doodle Gift Certificate.
Prize:
A random winner will be selected for a £50 gift certificate to the Heffy Doodle store. To be eligible, leave comments across the entire blog hop by 11:59 PM PST on 22nd October 2018. Winners will be announced on the Heffy Doodle Blog on 24th October 2018.
Kori (You are here)
I want to thank you for visiting my blog today.
Koren


Such a lovely holiday card! Super fun and awesome coloring! :)
ReplyDeleteWhat a sweet pair!
ReplyDeleteCute card! :)
ReplyDeleteVery sweet card, Koren! :-) Loads of lovely details! Thanks for the cute inspiration!.
ReplyDeleteAdorable Christmas card !
ReplyDeleteThis SSStamp is so cute!
ReplyDeleteAdorable card and amazing background.
ReplyDeleteKori this is a wonderful festive scene! Love all the details,so cute !
ReplyDeleteSo super cute!
ReplyDeleteWow, stunning card! So much depth, dimension and richness. Fantastic!
ReplyDeleteFantastic Card! Love it!
ReplyDeleteAwww!!! How cute!!! Adorable Xmas card!!!
ReplyDeleteSuper cute card Koren!! The background is so pretty! It really reminds me of snow! :)
ReplyDeleteI love the little scene.
ReplyDeleteMrs even has grey hair - to
go along with her age.
thanks for sharing
txmlhl(at)yahoo(dot)com
I LOVE THEM! What a cute little couple! Great coloring and layering!
ReplyDeleteAbsolutely adorable card! I just love all the beautiful bright colorful colors that you used for this card! And your coloring is so gorgeous too! I really love how you added some snow on the words Happy Christmas Very cool looking!
ReplyDeleteYour creativity amazes me :) You really know how to make an extraordinary card :)
ReplyDeleteThis is such a cute little Christmas scene ! Thanks for sharing your process. Love, Marjorie
ReplyDelete[margessw(at)icloud(dot)com]
Awesome card!!
ReplyDeleteWhat a great card! I love your videos...they are fantastic and fun!!!
ReplyDeleteLove the bright, festive colours on your holiday card that bring these images to life.
ReplyDeleteI don't think this is too cluttered. I mean, it's full, but it's full of fun! And I like how you kept to a pretty strict color palette, so the whole thing looks really cohesive. Thanks for sharing with us!
ReplyDelete