Today I am sharing with you my latest video for Your Next Stamp. Today I am using the Your Next Stamp Holiday Wreaths Stamp Set and a few other supplies to create a handmade greeting card to share Christmas cheer.. with a deer. I crack myself up.
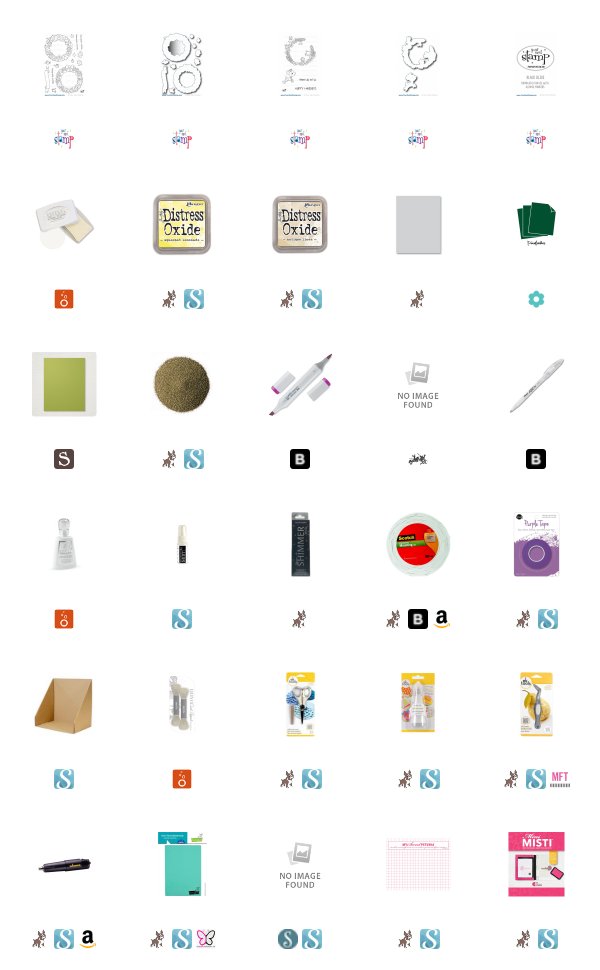
So, I began with Paper Trey Ink's Pine Feathers cardstock, which is a gorgeous rich, and dark green and I applied some Nuvo Clearmark embossing ink to a few if the individual stamps from my new Your Next Stamp Holiday Wreaths stamp set. I applied the sticky ink in a random pattern, then generously dusted the ink with Hero Arts Gold embossing powder, and heat set it. I used the same color combinations, and technique for the banner and sentiment. And once again, I repeated this same technique on my wreath, but this time used the wreath from the same stamp set, and StampinUp!'s Old Olive light green cardstock to create a tone on tone effect.
Once I had my wreath stamped, and looking fabulous, I used the coordinating dies that are available for purchase with this set to cut out my wreath. This die was fantastic. It is open-backed which makes aligning the image with the die unbelievably easy.
I selected my deer from the Winter Critters Wreath stamp set from Your Next Stamp, and, using Your Next Stamp Black Olive ink, stamped him onto Neenah 110lb solar white cardstock. This is a copic-friendly ink, and I immediately set out to use my copies and make him beautiful. On the tip of his nose, I finished him off with a drop of Nuvo Crystal Glaze to make his nose sparkle like Rudolph.
Now that my images were complete, it was time to assemble. I used Scotch 3M Foam tape, aligned my images the way that I wanted them, and used that foam tape to give me a layered effect. I adhered this panel to a top folding A2 sized card base in Simon Says Stamp Fog cardstock, and found that happy place where the card is done. Anything else is too much, and anything less was not enough. I love the way that this turned out. The products worked so well, and I screwed up so much while making this one, but the result was so so worth it.
I hope you enjoyed my project today, and I look forward to connecting with you again soon. Until next time!
Koren


No comments:
Post a Comment