Saturday, November 11, 2017

Your Next Stamp November Preview Day Card Video

Hello fellow card makers.

Today is Preview Day. The day we get to sneak a peak at what is being released tomorrow at 10:00 pm EST. Thats right, it's November folks, I can not believe it. To check out what the rest of the design team is sharing (CLICK HERE!) to go to the Your Next Stamp blog.


I was inspired to create my project from a fellow paper crafter, Karolyn Loncon. You can visit her blog (CLICK HERE!) to see all of her fab projects. 


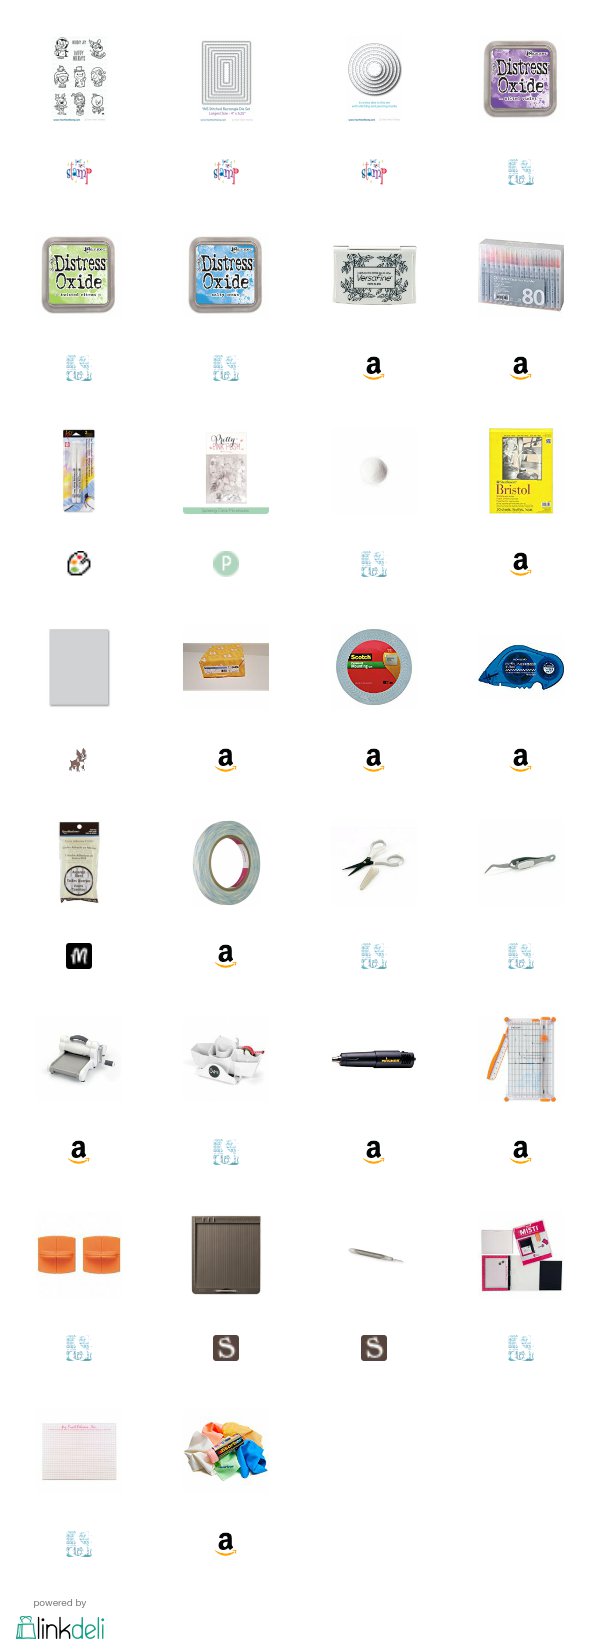
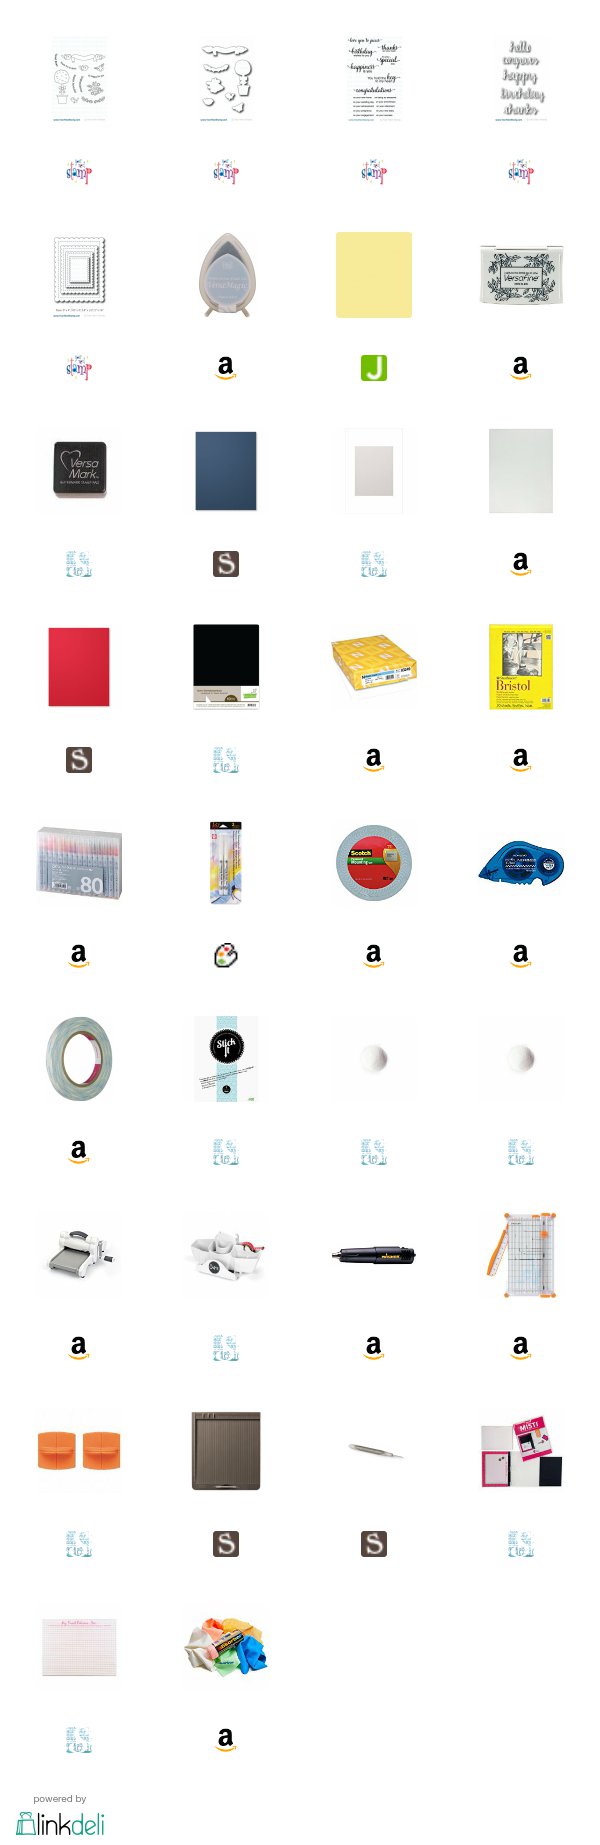
I started with Brand New products by Your Next Stamp! When the new products go live, you can (CLICK HERE!) to visit the online store, new products page. I used the new Drink Tag die set and Reinbeer Stamp set to make my drink tags. 

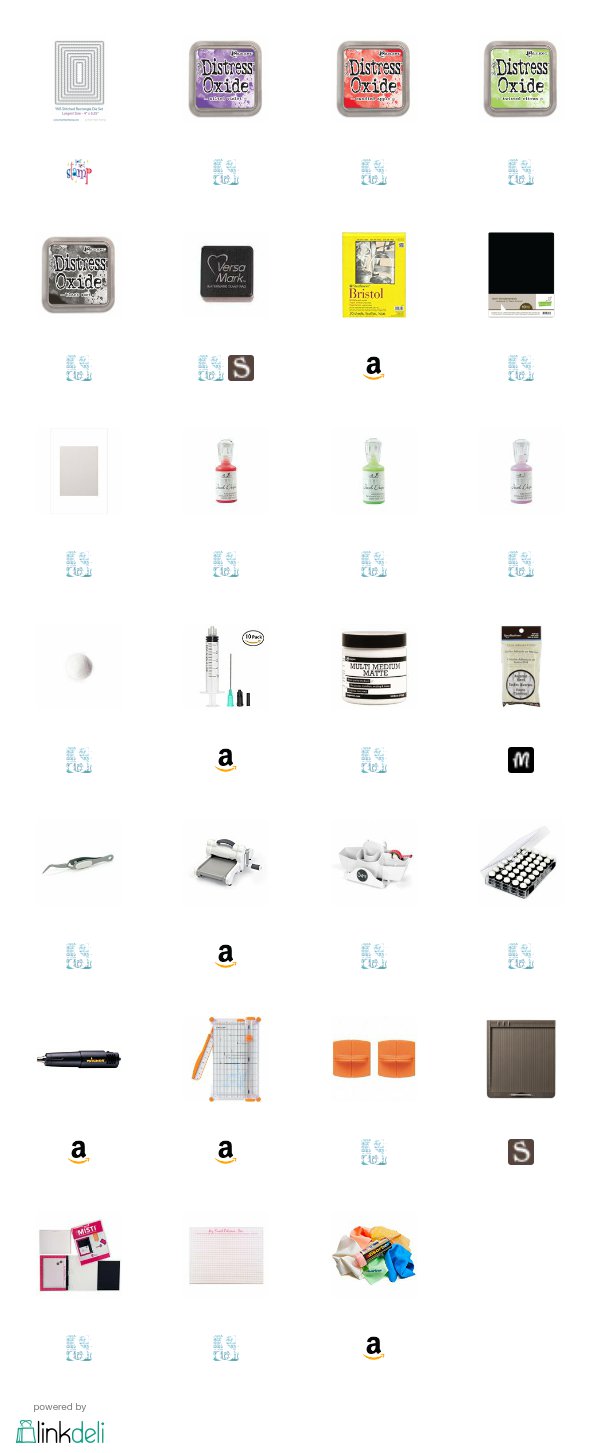
I took Altenew's Moonrock cardstock and cut two of the wine tags out in my die-cutting machine. Then I took some Strathmore Bristol smooth cardstock and ink blended some pieces with Ranger Distress Oxide inks. I used Candied Apple, Twisted Citron, Black Soot, and Wilted Violet. I splashed some water onto my ink blended paper to get that bubble effect we all know and love. If you don't know what I am referring to, please look for a link to my YouTube video below in this post. I show you how I created these tags in the video. 


I then cut out my wine bottle, glasses, and grapes from the ink blended pieces. I stamped my sentiment from the brand new Reinbeer stamp set. This set is so fun. I used the Holiday Cheers sentiment. I white heat embossed the sentiment using Versamark ink on a piece of Lawn Fawn Black Licorice cardstock. I then cut it out with the second smallest Stitched rectangle die. 


I popped up all the elements of my tags with recollections circle foam adhesives. I finished off the tags adding a few dots of Nuvo Jewel drops is coordinating colors. 

For a link to my YouTube video, and links to the products used to make this card, look below. The new products will be available November 11th 2017 at 10:00 pm EST. (CLICK HERE!) to go to the new products page on the Your Next Stamp online store site. 

Thank you for visiting my blog today,

Koren 


Friday, November 10, 2017

Your Next Stamp Challenge #77 Card Video

Hello fellow card makers.

Today I am sharing the project that I created for Your Next Stamps Challenge #77. This is a biweekly sketch and/or color combination challenge on the Your Next Stamp blog. To play along with us or see the rest of the design team's inspiration (CLICK HERE!).

Here is a look at the sketch and color combination for this weeks challenge. I love these colors and my projects were inspired more by the color combo than the sketch. If you also feel inspired to play along with us, stop on over to the Your Next Stamp blog.


I started with two pieces of paper cut with the second-to-largest Your Next Stamp Stitched Rectangle Die set. One was cut from Neenah 110 lb Solar White cardstock and the other was cut from Strathmore Bristol smooth white cardstock. The piece of Neenah, I cut up using the stitched and pierced circles from Your Next Stamp. I cut three different sizes for my images to sit in. To go behind the openings, I ink-blended some Distress Oxide inks in Wilted Violet, Twisted Citron, and Salty Ocean. I also sprinkled some water on the ink blending to give the distress oxides that distressed look we all know and love. lf you would like more explanation, please look below for a link to my YouTube video I created making this card. I popped up the circle panel with thick foam adhesive to place it on the ink blended panel.


I stamped my images with Versafine Onyx Black ink and clear heat-embossed them with Hero Arts clear embossing powder. I colored them using my Zig Clean Color Real Brush Markers and cut them out. 


I popped the images up using 3M foam tape, resting in the circles on the card panel. I stamped the sentiment using Versafine Onyx Black ink as well. I finished the card using some Pretty Pink Posh Sparkling Clear Sequins. I adhered the completed panel to a Simon Says Stamp Fog cardstock card base.   


Below will be a link to my YouTube video creating this card and a full list of supplies used to make it.  If you would like to play along with us over at Your Next Stamp (CLICK HERE!) 

Thank you for visiting my blog today, 

Koren 


Friday, November 3, 2017

Your Next Stamp Challenge #76 Card Video

Hello fellow card makers.

Today I am sharing the card I made for Your Next Stamp Challenge #76. Your Next Stamp has a biweekly sketch and/or color combo challenge which makes it easy to play along. To play along with us or to check out the rest of the design team's inspiration, visit the Your Next Stamp blog or (CLICK HERE!). Here is a look at this weeks sketch and color combo.


I tend to be more inspired by all the colors in the challenge, and that's what I've used on my project. I've used Your Next Stamp Birdie Banner stamp set and coordinating dies as well as the Scripty Word die set. I started with a piece of Altenew Moonrock cardstock. This is not white cardstock. Its on the gray side with natural fibers embedded in the finish. It has virtually no tooth which is different than most natural fiber cardstocks. It is a smooth finish cardstock with a vellum coated much like Bristol smooth cardstock. This brings me to my next step, ink blending. I have used Versamagic chalk ink in Aspen Mist and Thatched Straw to blend some ground and sky on my background. I chose these colors in keeping with the color combo picture above. I used the Your Next Stamp Stitched Scalloped Rectangle die set, the largest of the set, to cut down my background panel.

I stamped my images with Versafine Onyx Black ink and clear heat embossed with Hero Arts clear embossing powder. I colored my images with Zig clean color real brush markers. I also used a, new to me, Koi Coloring Brush Pen, to blend out my Zigs. To see it in actions, click the link below in this post to watch my YouTube video I made creating this card. Once my images were colored, I cut them out using the coordinating dies.


The word die sentiment is from Your Next Stamp Scripty Word die set. I cut "congrats" out four times from Stampin' Up! Real Red cardstock. The cardstock had been pre-prepped with Stick-it adhesive prior to die-cutting. Once it was cut out four times, you just peel off the backing of the Stick-it adhesive and stick all four layers on top of one another. Use the negative die-cut area to keep the word die in the original intended form. The sub-sentiment was stamped from Your Next Stamp Whatnot Sentiments Four stamp set with Versamark ink onto Lawn Fawn Black Licorice cardstock. I then white heat embossed it with Hero Arts Ultra fine embossing powder. I trimmed it with my Fiskars wire cutter, I then tried to cut it down further with my scissors, which made it wonky and weird. I don't recommend using your scissors to cut down sentiments unless you are really good at it. I am not, so you can tell in the the final photos.

I popped up my background panel onto craftoam and adhered it with 1/2" scor tape. I used tape runner adhesive to tape down my topiary image and 3M foam tape for the sub-sentiment and birds. The word die was easy, you just pull of the last of the backing of the Stick-it adhesive and stick it to your project.

For Photos of my project, a link to the YouTube video I made creating this project, and links to all the products used to make it, look below. If you still have time, (CLICK HERE!) to come play along with us over at Your Next Stamp.

Thank you for visiting my blog today,

Koren