Saturday, July 7, 2018

Your Next Stamp July Release Blog Hop Card Video

Hello fellow card makers.

It's BLOG HOP TIME! That means there has been a NEW release by Your Next Stamp this month, and its a good one. We have tons of NEW stamps and dies to play with this month. From them, I have two projects for you today featuring the NEW products. To see ALL the NEW stuff (CLICK HERE!), it will take you to the NEW PRODUCTS page over on the Your Next Stamp website. If you are new to me, welcome, you will have much more fun over on my YouTube channel, I promise. But before you go let me tell you the scoop on the hop.


The blog hop runs from July 7th at 10:00 PM EST until July 10th. Hop along with us to see all the projects that the Design Team and Guest Designers have created using NEW Your Next Stamp July release items. While you hop along, make sure you comment for your chance to win a $25 gift certificate to spend in the YNS online store. Each time you comment, it increases your chance of winning, so be sure to leave no stone unturned.

On top of that, Your Next Stamp has a coupon code for 20% off your entire purchase! That is an amazing coupon. I'm leaving the banner below with the code: JULY2018 <---- Don't be like me and forget to use it. I do that ALL the time, don't forget!


I have two projects for you today. The first one, I've created a YouTube video showing its creation. I will link it below for your enjoyment. I'm using the NEW Happy Hour stamp set and coordinating dies to make a fun after party themed card. It was an idea I had to use the images from the set as though the drinks are gone and their owners are off dancing.  Here, have a look for yourself...


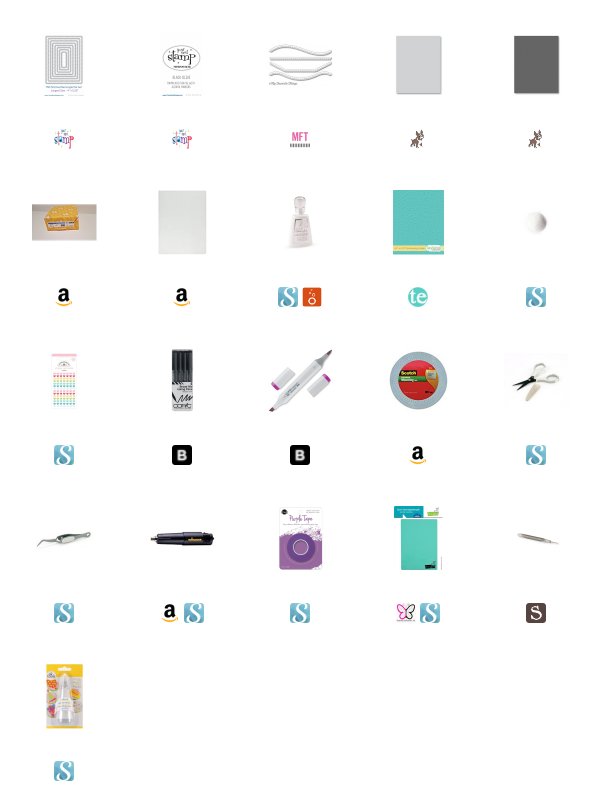
Here are some photos of the project featured in the video above. I hope you enjoyed it. I will also leave a full list of supplies below. But wait!!  I have a second project to show you, so don't leave just yet.


As for my second project I am using the NEW Honey Bee Stamp set and coordinating dies. Along with the NEW Honey Comb Die and Honey Drip Die to create my second card. I started with a piece of Neenah 110 lb cardstock and inlaid the Honey Comb Die using craft foam and Ranger Multi Medium Matte liquid adhesive. Before inlaying the honey comb I did run it through with a old Vine embossing folder from Stampin' Up! I'm not sure you can buy this anymore (I know that is so annoying). The background is cut down with the second from largest Your Next Stamp Stitched Rectangle Die and placed on a Simon Says Stamp Fog cardstock base.


The sentiment is also from the NEW Your Next Stamp Honey Bee stamp set. I stamped it with Versamark ink on a piece of Lawn Fawn Black Licorice cardstock and heat embossed it with Hero Arts Ultra Fine White embossing powder. I cut the sentiment down with one of the smaller stitched rectangles from the YNS set. I added a piece of Stampin' Up! So Saffron cardstock cut with the NEW Honey Drip edge die. I wanted it to appear to be getting covered in honey.


The images are stamped with Versafine Onyx Black ink and heat embossed with Hero Arts Clear embossing powder. I stamped them on Ranger Watercolor paper. I colored them with my Derwent Inktense pencils. I applied a little color in the darkest areas of the image and then I drew out the color with Stampin' Up! blender pens as if I were using a paint brush. I added some sparkle to the wings with my Gelly Roll Stardust clear pen. I then cut the images out with their coordinating dies and popped them up onto the background with Scotch 3M foam adhesive.


I want to thank you for visiting my blog today. Please remember to comment along the hop for your chance to win a $25 gift certificate at the Your Next Stamp online store. To check out the entire NEW RELEASE (CLICK HERE!) to visit the new products page over on the website. It should have all the new products available for you to look at.

Koren

Your Next Stamp July Preview Day 2018

Hello fellow card makers.

Today is Preview Day at Your Next Stamp and that is exciting because that means the NEW RELEASE comes tomorrow at 10:00 PM EST! This release is amazing, just like all the others. To check out what the rest of the design team is previewing over on the Your Next Stamp blog (CLICK HERE!). If you are interested in the entire NEW RELEASE check back tomorrow at 10pm EST for projects featuring all of the new stuff.

For now, I decided to use the NEW Strike Up the Fun stamp set to create a fun bowling-themed card. I love how Your Next Stamp has a stamp for just about any occasion. I use to be on a bowling team years ago,  and I even own my own ball and shoes. I keep them in my bowling bag that has flames on the side.


To create this card, I started with a piece of patterned paper from the Basic Grey Hipster 6x6 paper pack. Because I am a hoarder, it is no longer available. It has great retro paper. When I think of bowling, I think of Neon and old Las Vegas for some reason. So, I picked a great piece from the pack and cut it down with my Your Next Stamp Stictched Rectangle die (second from largest). I popped it up onto a Simon Says Stamp Fog card base with double sided adhesive and craft foam. 

I cut the starburst the you see behind my image with the We R Memory Keepers Nesting Starburst Dies out of Simon Says Stamp Sea Glass cardstock. That die cut is adhered directly to the piece of patterned paper with scrapbook.com tape runner adhesive. 


As far as the image panel goes... I cut out one of the circles from the Your Next Stamp Stitched and Pierced Circles from Neenah 110 lb cardstock. I stamped the image with Your Next Stamp black Olive ink and colored it with my Copic Markers.

I also stamped the additional bowling ball image from the same set separately and colored him as well. I popped him up on top of the original stamp image with an action wobble attached to him. This makes him interactive and super fun while hitting those pins.


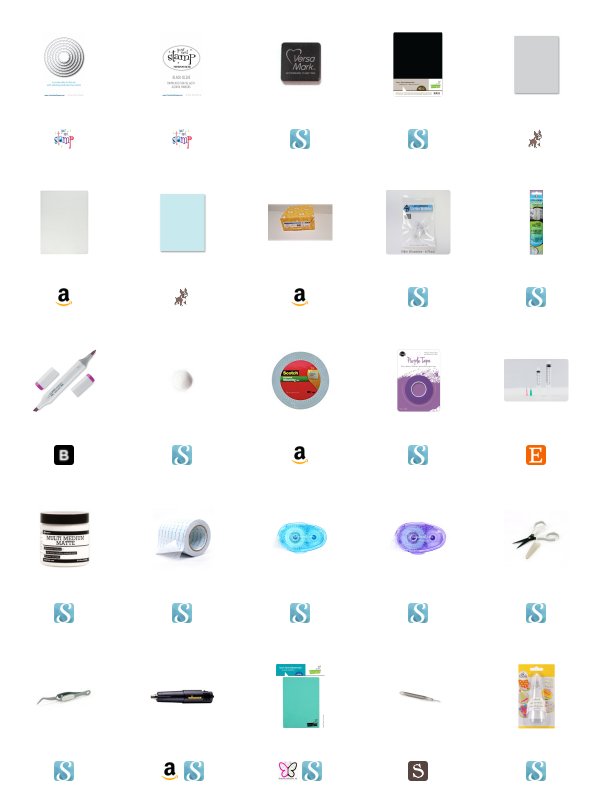
I stamped the word "STRIKE" from the same Strike Up The Fun stamp set onto EK Success wood veneer paper with Versafine Onyx Black ink. Pigment ink works better for this because it sits on top of the paper unlike dye ink which would bleed into the wood and it would not result in a crisp image. I also stamped the same word onto Neenah 110 lb cardstock and fussy cut it out around the black line that it has. I used the wood veneer paper and fussy cut each letter to fit inside the white layer. The result is adhered with Ranger Multi Medium Matte Liquid adhesive and then popped up with Scotch 3M foam adhesive onto my card panel.

The last sub sentiment was stamped onto Lawn Fawn Black Licorice cardstock with Versamark Ink and heat embossed with Hero Arts Ultra Fine White embossing powder. I then used my Heffy Doodle Strips of Ease to cut it out. It too is popped up with foam adhesive on the back.

Thank you for visiting my blog today. Make sure you stop back tomorrow for the blog hop starting at 10 pm. EST.

Koren


SaveSave

Friday, July 6, 2018

Your Next Stamp Challenge #93

Hello fellow card makers.

Today is a NEW biweekly challenge over on the Your Next Stamp blog. (CLICK HERE!) to visit the Your Next Stamp blog and see what all the other designers and participants have done with this weeks sketch and/or color combination.

Your Next Stamp hosts a biweekly sketch and/or color combination challenge. You can use the sketch  and the color combination on your project, or one or the other. It a lot of fun to see what you create with a little challenge. Here is a look at this week's sketch and color combinations to inspire you to create a project using Your Next Stamp products.


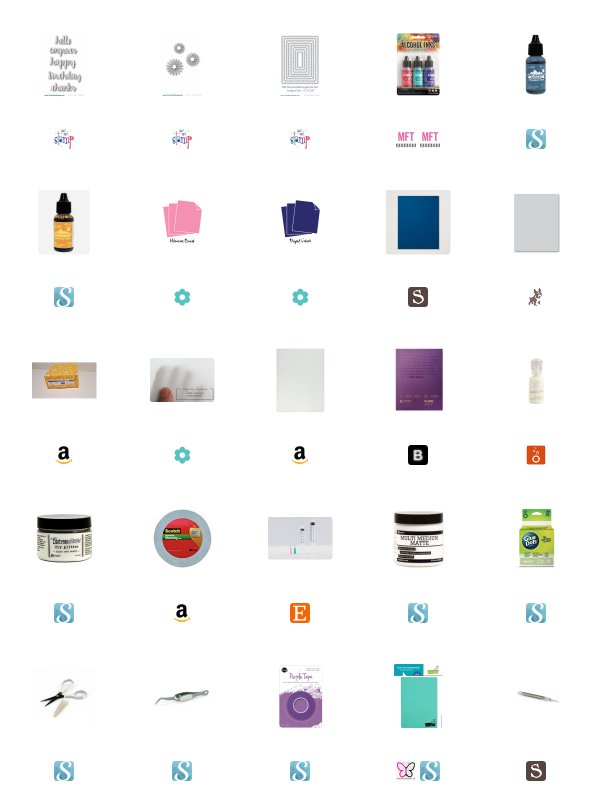
This week was a good week. I was inspired to use both the sketch and the color combination to create my card. I used Legion Yupo Paper and Ranger Alcohol Inks in Flamingo, Peach Bellini, Turquoise, Denim, and Amethyst. The colors may not be an exact match, but you can definitely tell that they are close. I dropped each color onto the Yupo paper four drops spread out at a time and one color at a time. I use a straw to blow the color out as it dries. I then cut the panel down with Your Next Stamp Stitched Rectangle Die (second from largest).


I added Ranger Multi Medium matte liquid adhesive to the white area of the Yupo paper that did not get touched with Alcohol Ink. I quickly covered the areas of adhesive with Ranger Rock Candy Glitter. As the adhesive dries to a clear finish, the Rock Candy Glitter sparkles and shines in all the areas the were left barren. I think it adds a fun sparkle to my project and reminds me of a geode.


I then cut coordinating colors of cardstock with the Your Next Stamp Starburst Die Set. I used Stampin' Up! Tempting Turquoise and Night of Navy and Papertrey Ink's Hibiscus Burst and Royal Velvet. I took one of each color to create some flowers to add character to my sentiment strip. I mimicked the sketch and created a strip across my card front. I used Papertrey ink's vellum cardstock to create the strip.

Then I cut "thanks" with the YNS Scripty word die set multiple times from Neenah 110lb cardstock to create a faux chipboard word. I adhered all the layers together with Ranger Multi Medium Matter liquid adhesive. I also used the same liquid adhesive to adhere the piece to the center of the vellum strip.


I then cut tiny pieces of Scotch 3M foam adhesive strips to affix behind the thicker parts of the letters in the word die in order to pop up the piece and hide the adhesive. Glue dots were used to adhere the flower I cut both behind and on top of the sentiment strip.

I thought I would get creative and add a little White Nuvo Drops to the center of the flowers and before they could dry add a little Ranger Rock Candy Glitter. It didn't turn out the way I expected. It was too heavy and the glitter pushed the Nuvo drop down and made it all weird and bumpy. I'll try it on a smaller scale another time, but I wanted it to stay a perfect drop.

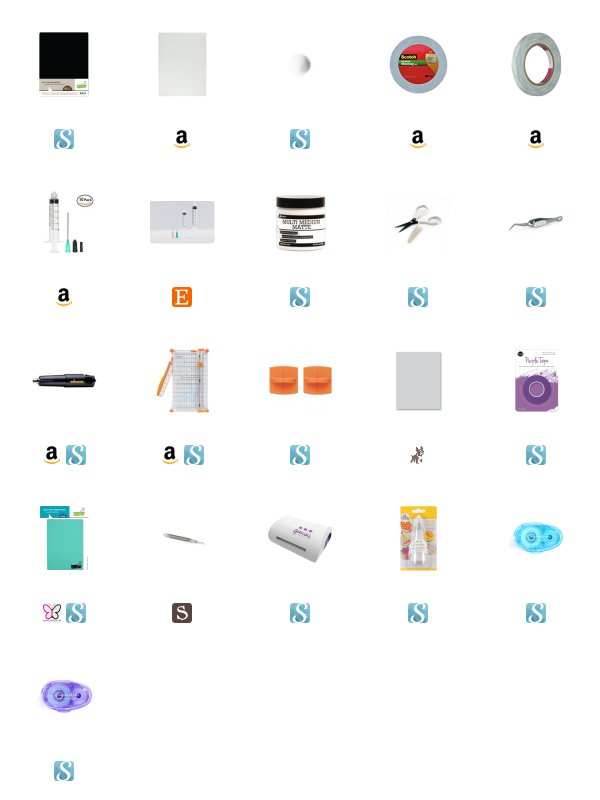
Finally I stuck the entire panel onto a piece of craft foam and popped it up onto a Simon Says Stamp Fog card Base. I think alcohol inks always make amazing looking cards. Even when things don't go as planned.

Thank you for visiting my blog today. If you want to play along with Your Next Stamp Challenge #93 (CLICK HERE!) to visit the YNS blog and check it out.

Koren