Monday, March 4, 2019

Neat & Tangled March Release Week: Day One

Hello everyone. 

It's Day One of Neat & Tangled's March Release Week. Today we are showcasing the NEW Eggciting Stamp set and coordinating die. This petite set features an adorable bunny coaxing a rather large Easter egg closer to it. It's so fun and I absolutely love decorating Easter eggs and this brings forth so many different techniques and card ideas to mind. The set will be available with the March release this Friday the 8th at 8am. To visit and shop the Neat & Tangled online store (CLICK HERE!).

I also encourage you to visit the Neat & Tangled blog for more information and more inspiration from the rest of the design team. (CLICK HERE!)


As for my project, I started with a sheet of Papertrey Ink's Aqua Mist 8 1/2 x 11 cardstock. I cut it into four quarters at 4 1/4 x 5 1/2 each. I took the Nested Egg die set from Frantic Stamper and cut the first and largest nested egg from one of the quarters. I did not measure. I simply tried to arrange the cut to be in the center of the quarter sheet. I then took the next largest size and cut it from another of the Aqua Mist quarters, then again with the next size. Each time I set the larger egg in front of the next piece and arranged it in the center. The last layer being just a flat uncut quarter of Aqua Mist cardstock. 

 I have seen many cards like this on Pinterest and the egg shape is very reminiscent of Easter and Spring, just like the Eggciting stamp set that I'm using from Neat & Tangled. When you line up the layers of eggs, it appears to be a sort of egg tunnel. I think it helps set the scene for the card. 


To add to this, I cut three pieces of Papertrey Ink Simply Chartreuse cardstock at varying lengths to add to each layer. I used the Your Next Stamp Grassy border edge die. 

Each layer was popped up onto the next using Scotch 3M foam tape. The grass was incorporated into place with Tombow Mono liquid adhesive. 

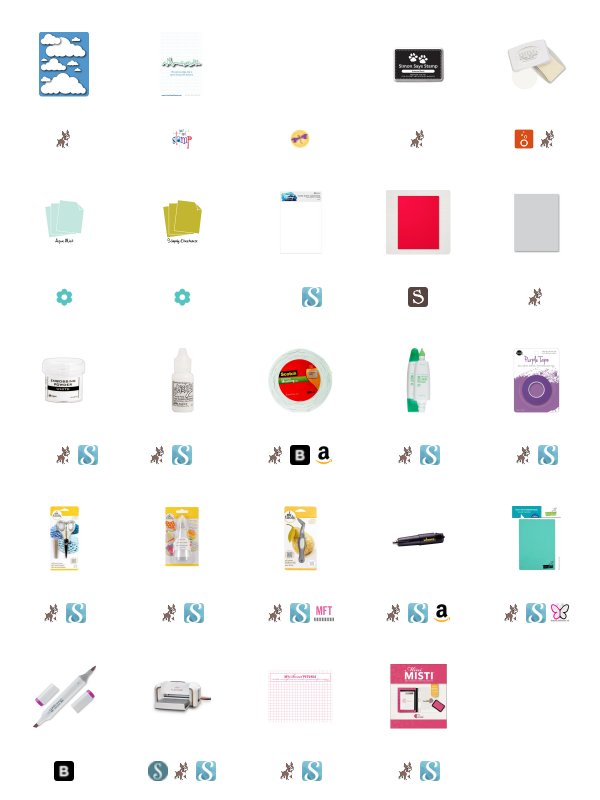
I stamped my image from the Eggciting stamp set with Simon Says Stamp Intense Black Ink onto Simon Hurley Stark White cardstock. This is a Copic friendly ink. I then used my Copic Markers to color this sweet bunny and egg image. A complete list of all of the markers I used to color this image is listed below in the Copic Color Map that I created. 

I love how the image has a lot of movement in it on its own. I was excited to place him into the scene tucking the egg two layers deep into the card while leaving the bunny to appear in the foreground. I used the same foam tape to pop him up. 


For the sentiment,  I thought that this sentiment needed to add to the suspense of the image pulling a giant egg from the background. So, I chose the "Get Eggcited!" sentiment and stamped it onto StampinUp!'s poppy parade, using Nuvo Clear Mark embossing ink and heat embossed it with Ranger White embossing powder. It was cut down using my fishers wire guide paper trimmer. The right side of the sentiment only required liquid glue but the left side needed some foam tape to prop up onto the same level. 

To finish off the card I added a few clouds, cut with Memory Box Cloud Bank die set from the same white cardstock. I used liquid adhesive to adhere my clouds into place. Then I used the same liquid adhesive to adhere the entire front panel to a Simon Says Stamp Fog,A2 size top folding card base. 

I also used Sprinkled Sugar Stickles on the little heart that I stamped to accent the egg on the image. This gives it a little something interesting to look at. I also stamped "an Easter treat for somebody sweet" on the inside of the card using Versafine Clair Nocturne Ink. 

Make sure you stop by the Neat & Tangled blog to see what the rest of the design team has created using this adorable stamp set. (CLICK HERE!)

Thank you for visiting my blog today, 

Koren 


Saturday, March 2, 2019

Video: Heffy Doodle Dino-Mite Scene Building Card Video


Hello everyone.

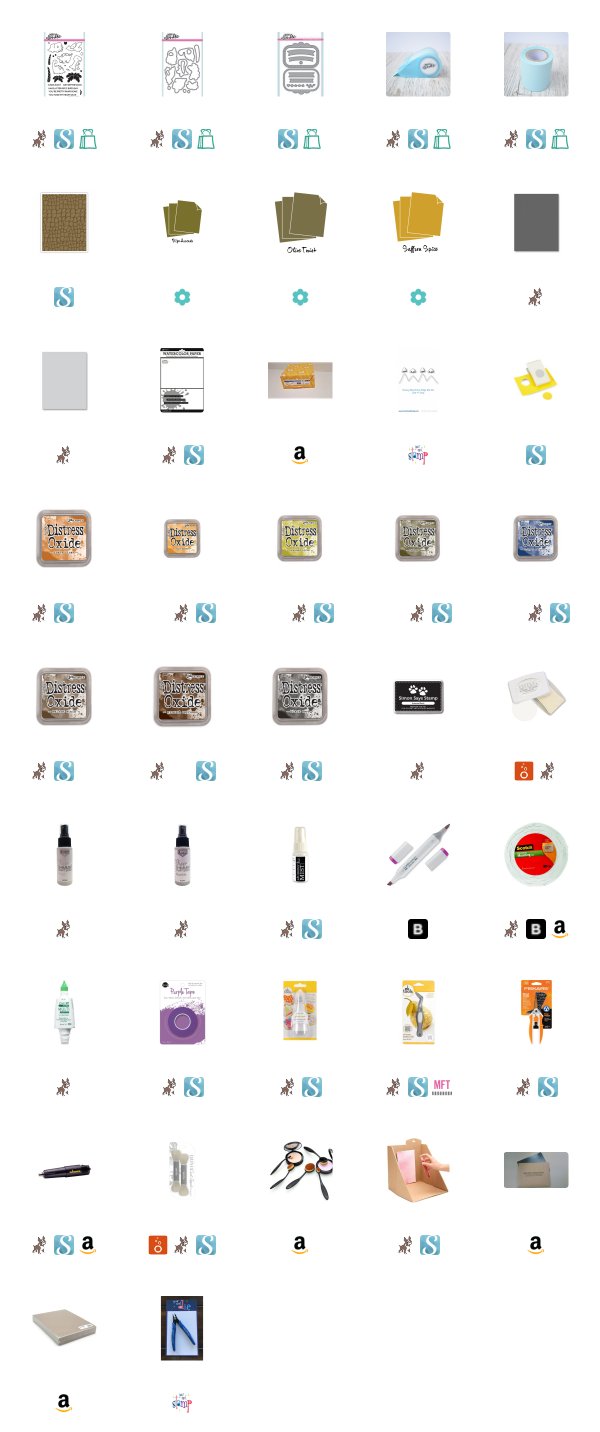
I am sharing with you a NEW video on my YouTube channel. I'm using Heffy Doodle's Dino Time stamp set and coordinating dies to create a masculine greeting card. I am also using the NEW Tag A Long die set from Release 6 to set the stage for a prehistoric scene.

I colored my images with Copic markers so below you will find a Copic Color Map that lists all of the markers that I used for this project. You will also find a complete list of supplies listed below the video.


I hope you enjoyed my video and thank you for stoping by my blog.

Koren


Friday, March 1, 2019

Spellbinders March Card Kit of the Month 2019


Hello everyone.

Today I am sharing with you several projects that I created using the NEW Spellbinders Card Kit for March 2019. The NEW kit for this month is filled with fun card making supplies. It has everything you need to make a card from start to finish, and I'll show you what I made below.

Spellbinders also offers a few add-on items at their online shop that coordinate with this month's kit and I have used those on some of my projects as well.

In fact, I have several cards that I made using this kit that were super simple and easy to make. Cacti seem to be a trend right now. I remember my Mother's sister, Aunt Teresa used to love the South-Western decor. She had it all throughout her home, and this card reminds me of that.


To make it, I used a gray piece of cardstock (not included in the kit) as my A2 sized top folding card base. On this card base I mounted a piece of patterned paper found in the add-on 6x6 paper pack. I chose a very South-Western inspired pattern. I stuck it to a piece of white craft foam, cut slightly smaller than the piece of patterned paper that was 4 3/4 by 3 1/2. Included in the kit is some 1/4 inch double sided adhesive. That is what I used to stick it on.

I then used the textured cardstock included in the kit to cut the cactus and his parts. Most of the cactus was adhered together using Lawn Fawn liquid adhesive, but any liquid adhesive would do the trick. I popped up some parts of the cactus die cut using the included foam tape from the kit.

As for the sentiment, I stamped "let's stick together" from the add on stamp set (also by Spellbinders) in Nuvo Clear Mark Embossing Ink, on to Lawn Fawn Black Licorice cardstock. I used my Fiskars wire guide paper trimmer to cut it into a rectangle. I used the little heart included in the kit, to cut a piece of the peach colored textured cardstock which is also in the kit. I also popped it up with the same foam tape.


The next card that I created also used some of the add on 6x6 patterned paper. This time I picked a floral pattern. I cut the the paper to fit the entire front of another A2 top folding card base. This time I used one of the white card bases provided to you in the Spellbinders Card kit this month. 

I then cut three pieces of Strathmore Bristol Smooth White cardstock and I cut one down to 3 1/2 by 4 3/4", and the other two I left alone. I am planning to add some color to them as well, but only using the die cuts to cut out shapes from them.  To add some color, I used my Ranger ink blending tools to blend on a bunch of Distress Oxide ink. The first two panels I used Tattered Rose, Worn Lipstick, Victorian Velvet, and Aged Mahogany. I blended them from dark to light. I used this color combination for the background that you see in the photo above and for the flowers on top of the arrangement. 


I also blended a panel using Forest Moss and Bundled Sage. This is what I used to cut the greenery that you see on the card. Before cutting anything I grabbed some Gansai Tambi Starry watercolor palette (one of my favorites is number 904- It is a very pretty opaque gold watercolor and it looks fantastic splattered over Distress Oxide inks), and  I broke out my Ranger Splat Box and splattered all of my pieces.

While I waited for it to dry, I cut the word dies included in the kit. I cut them each four times so that I could layer them together and place them on my background. I cut them from the textured white cardstock included in the kit. I used the same liquid adhesive to adhere all of my layers together and then onto the panel.

I used the included foam tape and double sided adhesive to adhere everything together. To finish it off, I added three of those copper colored sequins also included in the kit.


The next two cards were even easier to put together and the kit practically included everything except I did use one stamp from the add on stamp set to add a little heart sign in one of the planters. I took some of the included ephemera and added them to the included white card bases with the adhesive provided. I simply made a collage of like images in an interesting cluster and fixed them in place. I love how they turned out.  


The included ephemera as a copper foil accent on many of the pieces. There is also sentiment strips as well as accent strips in the kit to include on your projects, which is what I did for these last two cards.


As a bonus card, I created one using only the add on stamp set from Spellbinders. I started with a piece of Ranger Watercolor Cardstock cut down to 3 1/2 by 4 3/4. I used my Ranger Ink Blending tools to blend on some Distress Oxide ink in Salty Ocean. I used only that one ink and blended up into white. Before this panel was done, I wanted to splatter on some Gansai Tambi gold watercolor paint number 904 from the starry palette (again). Then I popped this panel up onto a Simon Says Stamp Fog card base with white craft foam and double sided adhesive.


I stamped my succulent images onto another piece of Fog cardstock, this time with My Favorite Things Hybrid ink in Cement Gray. I like to use this color for doing no line or light line coloring. This is my attempt at that technique. I used my Faber Castell Polychromos to color my images. I have a list of them on the Polychromos color map that I created below.


For these images, I took the time to fussy cut them out. I stamped the geometric container in the same stamp set with Nuvo Clear Mark embossing powder and heat embossed them with Hero Arts Gold embossing powder. I popped them up onto the ink blended background with the included foam tape. I used that same technique for the sentiment at the top.

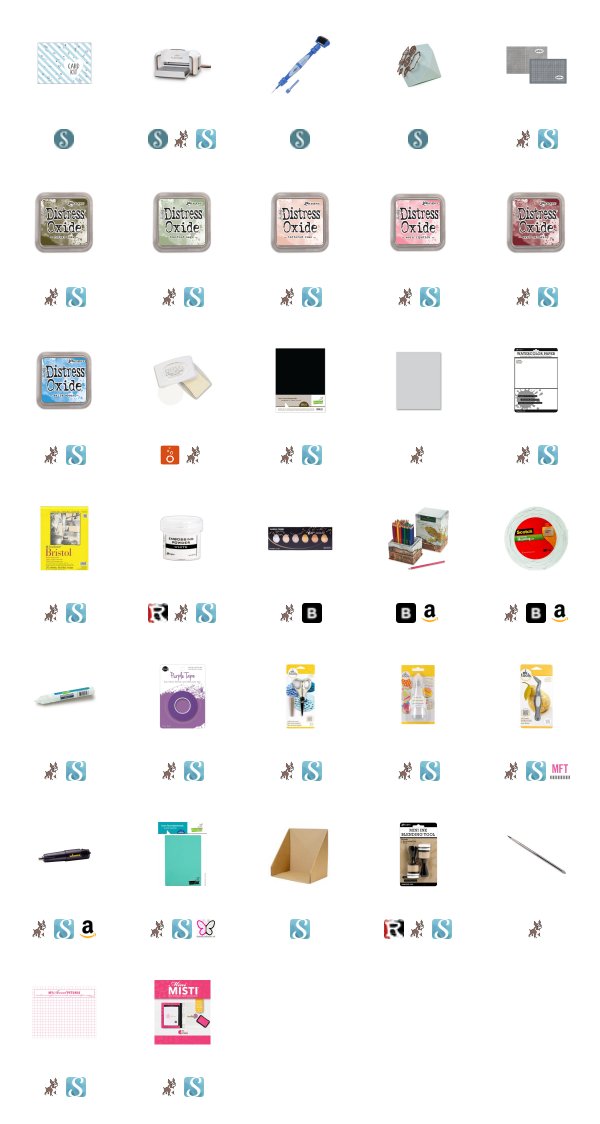
That is all for today. I hope you enjoyed seeing what I created using the Spellbinders March 2019 Card Kit of the Month. A full list of supplies are linked below.

Thank you for visiting my blog today. Check back later today for another project using the NEW March 2019 Spellbinders Card Kit of the Month.

Koren