Tuesday, April 16, 2019

Neat & Tangled April Release Week Day Two

Hello everyone.

Today is day two of Neat & Tangled's April release week. Today we are showcasing the NEW Dream Big stamp set. This set features an adorable little fairy, which matches closely with the NEW To The Stars stamp set we featured yesterday. It also has coordinating dies. I used some clouds from both sets because they are all the same, but different.

The release goes LIVE this Friday April 19th at 8:00 am EST!

To check out what the rest of the Design Team has come up with (CLICK HERE!) to visit the Neat & Tangled Blog and be inspired by all the Dream Big cards. I know that Cheiron has an awesome card (Insert wink emoji here, lol).


I started with a piece of Neenah 110 lb Solar White cardstock. I loaded the NEW Receding Background red rubber stamp (also by Neat & Tangled) into my We R Memory Keepers Precision Press. This is my new stamp positioner, it took me a minute to get on board here- it has been on the market a couple years- but so far I absolutely love it. I inked up the background stamp with Nuvo Clear Mark embossing powder and heat embossed it using Simon Says Stamp Clear embossing powder.

I used my Nuvo Blender Brushes to ink blend Distress Oxide ink in Tattered Rose, Wild Honey, and Abandoned Coral.  I concentrated on the darkest color being on the outside edges of the background working to a lighter color towards the middle. Blending the ink onto the background revealed the Receding Background and all of the interesting circles it provided. It reminds me of waves of heat, like coming from the sun. This panel was cut down to 3 1/2 by 4 3/4 and adhered to a Simon Says Stamp Fog card base using Scrapbook.com double sided adhesive and white craft foam.


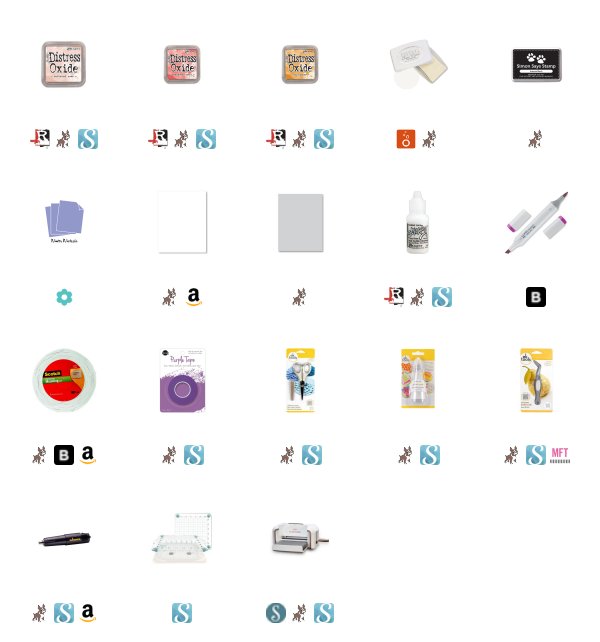
The images from the Dream Big stamp set were stamped on Neenah 110 lb Solar White cardstock using Simon Says Stamp Intense Black ink. I used Copic Markers to color my images. I have created a Copic Color Map for you to see ALL of the colors I used to bring a little life to my images.

After using the coordinating dies to cut out my images, I popped them up using Scotch 3M Foam tape. Some were stuck on with Tombow Mono liquid adhesive.

The sentiment "Dream Big" is also from the Dream Big stamp set, go figure. I love this sentiment, and I always have. I love encouraging others to have big dreams. I really enjoy being part of a community that encourages everyone, not just children, to have lofty goals and help motivate them to reach them. I stamped this sentiment in Nuvo Clear Mark embossing powder onto Papertrey Ink's Winter Wisteria cardstock and heat embossed it with Ranger White embossing powder. I used the Fiskars Wire guide paper trimmer to trim it down. It too is popped up with Scotch 3M foam tape.


To finish off the card I added some NEW Enchanted sequins. This sequin pack is filled with lavender to purple sequins with different sizes of each. I used Micro Glue dots to adhere each one in place.

I hope you enjoy Day Two of Neat & Tangled's April Release. The Dream Big stamp set works seamlessly with the To the stars set that was showcased yesterday on Day one. Don't forget to comment on each of the Design Team members blogs for your chance to win a Dream Big stamp set to keep for yourself or gift to someone special. To enter the giveaway just comment on as many of the Design Team members blogs as possible. (CLICK HERE!) to go to the Neat & Tangled online store and blog. You will find links to all of the design team members blogs in todays post.

Thank you for visiting my blog today.

Koren

Monday, April 15, 2019

Neat & Tangled April Release Week Day One

 Hello everyone. 

It’s Neat and Tangled’s April Release Week. Today we are showcasing the NEW To The Stars stamp set. Make sure you (CLICK HERE!) to visit the Neat & Tangled blog for more inspiration from the rest of the design team. The NEW April release will go live on Friday at 8 AM. Make sure you comment across all of the blogs on the design team, for your chance to win a To The Stars stamp set of you very own.


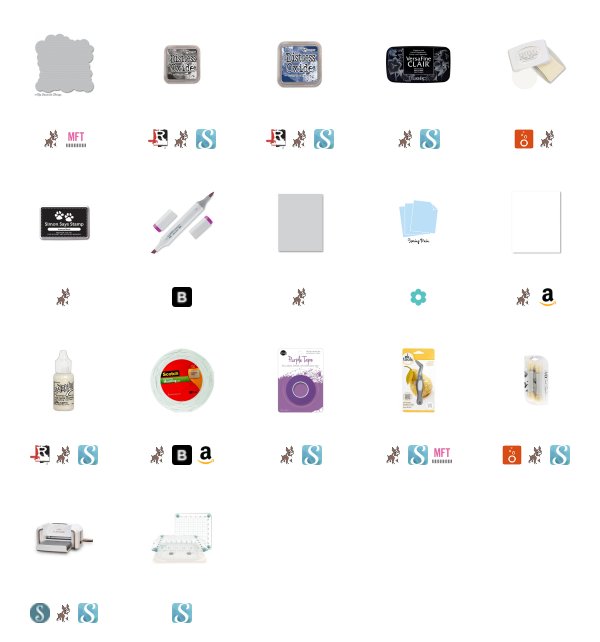
I started my card project today using a piece of Spring Rain card stock. I then used Distress Oxide Ink, in Black Soot to add some clouds, using the MFT cloud stencil. I also added in some Chipped Sapphire, but not very much. This panel was cut to 3 1/2” x 4 and 3/4’’. 

I used my We R Memory Keepers Precision Press to align the sentiment “Hello Beautiful” and stamped it using Versafine Clair Nocturne Ink. To do this I, did have to cut the sentiment into two pieces. I do this all the time, you can easily go back to stamping this the way it was intended, by just the lining them back up next to each other. 


While having my stamping tool out, I stamped my images using Simon Says Stamp intense black ink. I also colored them using my Copic markers. Below, I have a Copic Color Map listing all of the markers that I used to color my images. 

The cloud panel was added to a Simon Says Stamp Fog card base. I used white craft foam and Scrapbook.com double-sided adhesive to do so. I then adhered the rest of the images using Tombow Mono liquid adhesive or Scotch 3M foam tape.  


To add some additional interest to my card, I added Unicorn Stickles to my fairy’s wings. I also stamped three of the stars from the same Neat & Tangled "To The Stars" stamp set using Nuvo Clear Mark embossing ink.  I wanted it to leave some tone on tone stars up at the top of the card, near the sentiment. This is hard to see in the photos. If I made this card again, I would use a darker ink in a similar blue shade, to make it stand out even more while still remaining subtle. 

I hope you liked my card project today featuring the NEW To The Stars stamp set from the Neat & Tangled April release. This release will go LIVE on Friday at 8am. 

Thank you for visiting my blog today. 

Koren 


Thursday, April 11, 2019

Simon Says Stamp Blossoms & Butterflies Release

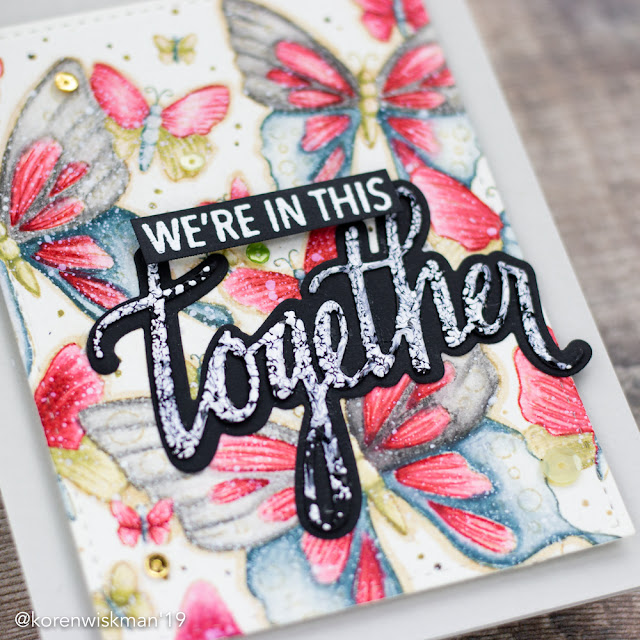
Hello Everyone. Today I have a slightly different card than what I normally create. I was inspired by Debi Hughes to hop out of my comfort zone a little bit and watercolor this NEW background stamp from Simon Says Stamp. This stamp is from the Blossoms & Butterflies Release. It is a red rubber cling mount stamp called Outlined Butterflies and it stamps like a dream.

To check out the rest of the release and find some inspiration (CLICK HERE!) to visit the Simon Says Stamp online store and blog.


I started my project with a piece of Arteza watercolor paper. This paper is more off-white than I would normally prefer, but for the antiqued look I was going for, it was perfect. I loaded my NEW Simon Says Stamp Outlined Butterflies background stamp into my original size MISTI.

I stamped the large background stamp using Distress Ink in Antique Linen as Debi frequently recommends. I stamped it twice to try to get the best outlined image I could. Using such a large stamp this is sometimes necessary to get a nice bold image.


Once my image was stamped and ready to color, I used my Distress Markers that I haven't used in a very long time, to color my background. I used Black Soot, Shabby Shutters, Barn Door, Stormy Sky, and Antique Linen. All of my markers seemed a bit dry and lonely from sitting around so long. I used my Stampin' Up! Blender Pen to blend out the Distress Markers. This is what I typically like to use. I start by adding the darkest color to the shadow areas and blend it into lighter areas using the same marker and blender pen combination. I will also sometimes steal color from the tip of the Distress Marker with the tip of the blender pen and blend color onto my project that way.

To finish off the watercoloring, I used the Antique Linen Distress Marker to go around the outside of the butterflies to give a little depth to the space between each butterfly. I also added color to the small dots already in the background using the same color markers that I used to color the image and blended them out using the same blender pen to give them a bit of a bokeh effect that is hardly noticeable in the photographs. I also loaded the entire background into my Splat Box and splattered the panel with some slightly watered down, Ranger Picket Fence White acrylic paint. I loaded an acrylic block with the paint and sprayed a little water into the mix. I used the Ranger Splatter tool to transfer the ink from the block to the card front.


I used the Neat & Tangled Together Stamp set and die set to create the sentiment on this project. I cut the "together" word die from Lawn Fawn Black Licorice cardstock. I used my Nuvo Clear Mark embossing ink to cover the entire front of the black die cut with sticky ink. I then coated it with Wow's "One Hundred and One" embossing powder, and heated it with my Wagner Heat Tool. I then adhered it to the shadow cut from the other die in the Together Die set by Neat & Tangled, using Elmers' spray adhesive. I took my die cut outside and laid it face down in order to spray plenty of adhesive onto the back.

I also added a few coordinating sequins using micro glue dots. I couldn't find the exact sequin pack that I used (which is Pretty Pink Posh Whimsical Forest), so below, I linked to a very similar set that I also could have used. Mostly I used the pale green and gold sequins.


The "we're in this" sentiment was stamped using the same sticky ink but this time I used Ranger's White embossing powder to heat emboss the sub sentiment. I cut it out with my Tonic Studios 9.5 inch shears, trying to leave a small black border around the letters. It was then popped up with Scotch 3M foam tape.

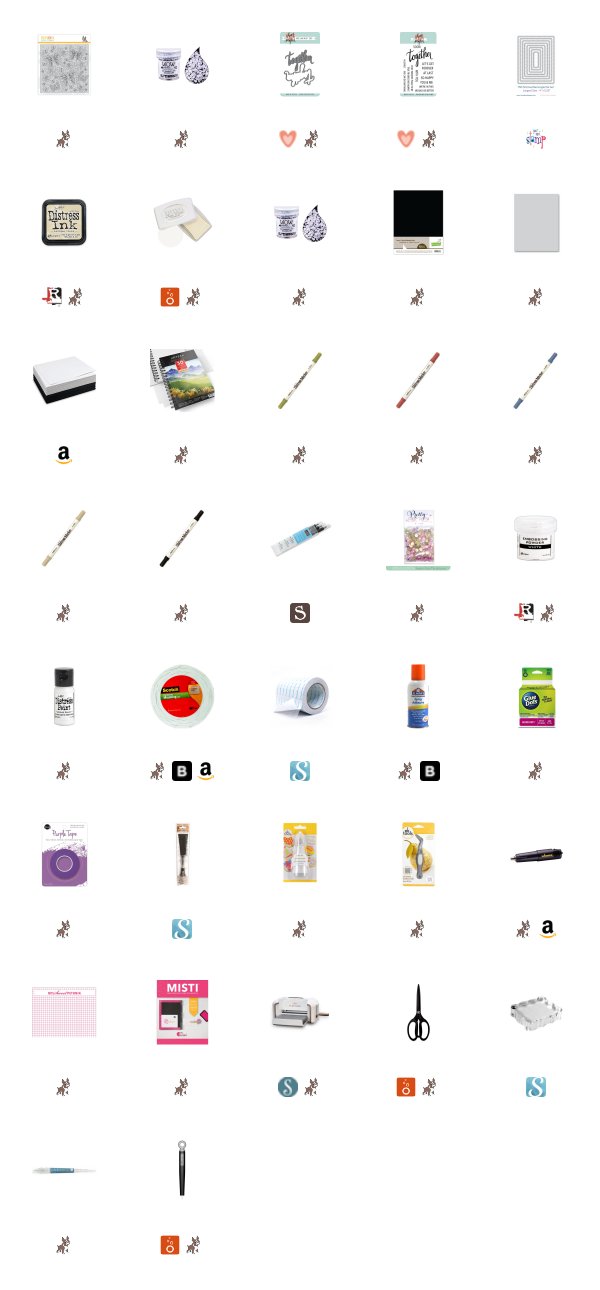
I want to thank you for coming to visit my blog today. There is a complete list of supplies below using affiliate links when possible. Don't forget to check out the Simon Says Stamp blog and online store for more Blossoms and Butterflies release inspiration. Use #blossomsandbutterlies to keep up with the latest postings.

Koren