Saturday, April 28, 2018

Lawn Fawn and Sizzix Mother's Day Gift Bag Video

Hello fellow card makers.

Today, I'm making a gift bag : ) Changing it up ya'll! I have a video showing the process of this project linked below, but if that's not your thing, keep reading.

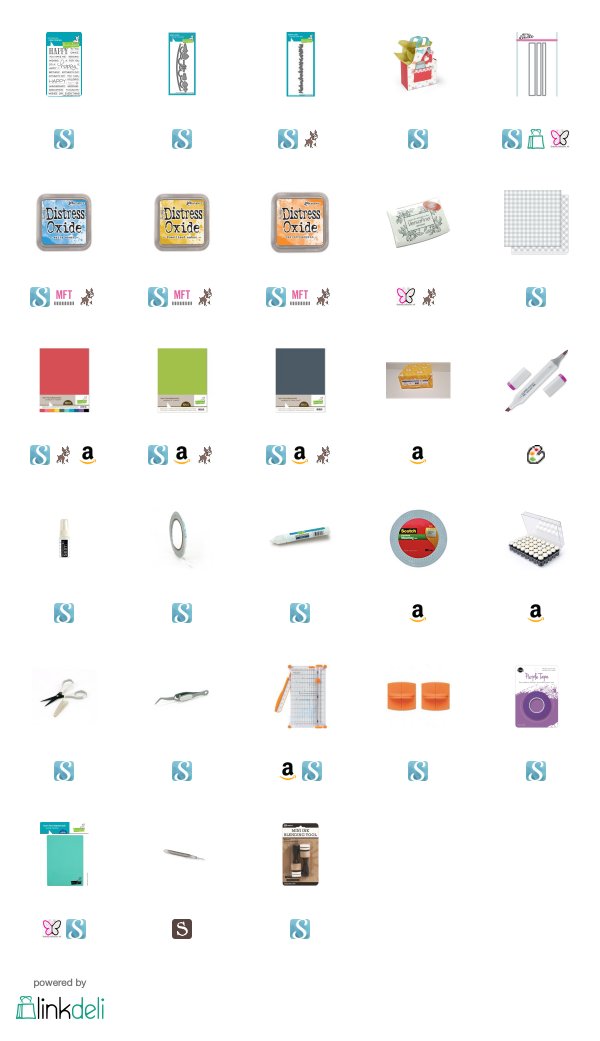
I'm using the Sizzix Bigz XL apron shaped gift bag die. I am using this to create a nice gift bag for the gardening Mama in your life. I cut the front of the bag from Neenah Solar White 110 lb cardstock.   I cut the sides of the gift bag from the new Lawn Fawn Nellie gingham 12 x 12 paper. The back of the gift bag is cut from Lawn Fawn Storm Cloud. Which is not blue by the way. When I purchased this cardstock, it looked more dark blue than gray. Trust me, I am not hating this cardstock, I love it. It's just mis-represented on the interwebs. It's a dark gray cardstock.


To dress up the front of my gift bag, I am using the Lawn Fawn Stitched Garden Borders Die Set. I am not a gardener, by any means. But there are plenty of people in my life that find a lot of joy in gardening and growing their own veggies. So, I plan to put some seed packets in this Mother's Day themed Gift bag.


I cut the Stitched Garden Border base from Papertrey Ink Classic Kraft cardstock. I used the Lawn Fawn Grassy Borders die to cut out the grass in Lawn Fawn Cliantro cardstock. I used the Lawn Fawn Rainbow pack of paper to cut out the rest of my veggies.

To add a little more interest to the die cuts, I used Copic markers to shade the gras and the green on the vegetables. I used Distress Oxide inks in Carved Pumpkin and Fossilized Amber to shade the bottom of the vegetables.


The background is ink blended with Distress Oxide ink in Salty Ocean. I also spritzed the background with Hero Arts White Iridescent shimmer spray. I did not lift off the spray like you normally would with water. I simply sprayed it and left it alone. It has a fair amount of shimmer and it looks great.

The Sentiments are stamped with Versafine Onyx Black ink. The sentiments are from Lawn Fawn's Happy Happy Happy stamp set. I wished so much that I had purchased the dies for this set, because I wanted the "happy" to pop just a little more. The "Mother's Day" is stamped on Neenah and popped up with foam tape.

I used 1/4 or 1/8 inch double sided adhesive to put the gift bag together. The Stitched Garden Border is adhered with Scotch 3M foam tape and so is the Grassy Border. The veggies fit nicely in the little pockets created by the die, but I have added a glue dot on each one to keep them into place.

I added some Stampin' Up! Basic Gray Stitched ribbon to create the handles for the bag. I threw in a little black tissue paper because that's what I had on hand. I would prefer using white. I think the white would look better. All in all, I love how it turned out.

I plan on using the same die to create a Father's Day card using different Lawn Fawn products.

Thank you for visiting my blog today.

Koren
Friday, April 27, 2018

Your Next Stamp Challenge #88

Hello fellow card makers.

Today I am sharing with you my project for Your Next Stamp Challenge #88. Your Next Stamp hosts a biweekly sketch and/or color combination challenge over on the YNS blog. (CLICK HERE!) to visit the blog and play along, or just be inspired by all the different projects you will find there. Here is a look at this week's sketch and color combination.


I felt more inspired by the color combination this week. I grabbed the colors from the challenge and also some inspiration from the coordinating photo. I used the new Unicorns Rock stamp set from the April release. I started with a piece of Neenah Solar White 110 lb cardstock. I cut it down with the second to largest YNS Stitched Rectangle Dies. I stamped the sentiment with Versafine Onyx Black ink in the upper right hand corner. At this point in the process, I wanted to keep the images and die cuts I planned on using on the bottom of this panel.


I stamped the image of the unicorn holding the adorable rainbow balloon with Your Next Stamp Black Olive Ink. I colored the image with Faber Castell Goldfaber Colored Pencils. I tried to stick with the color palette for the challenge. I then used the coordinating dies to cut it out.

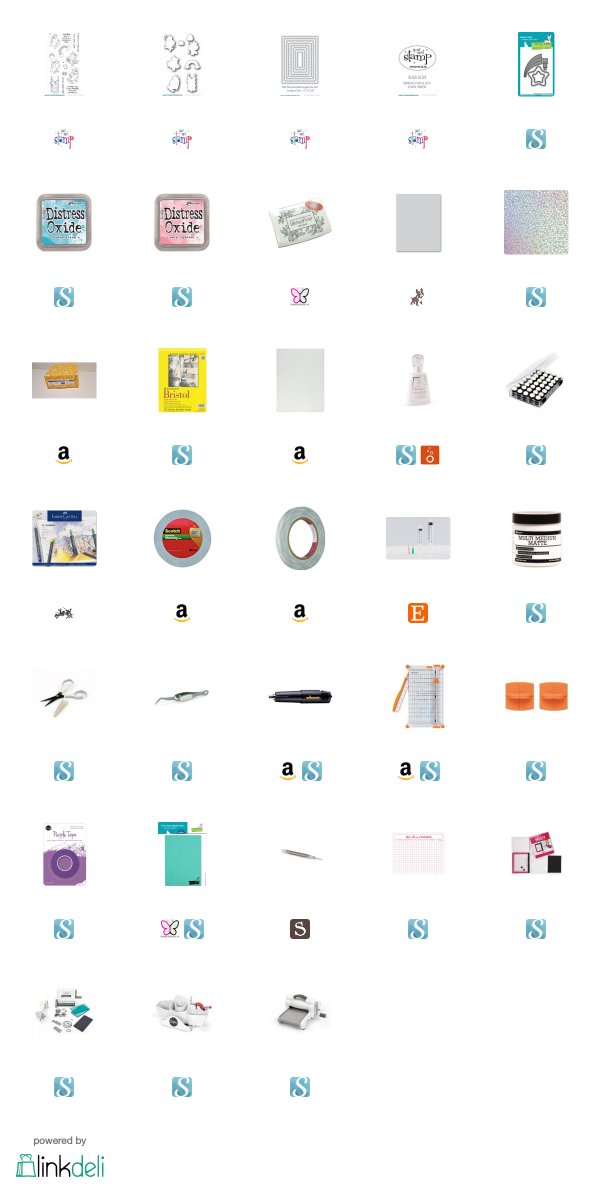
I took a piece of Strathmore Bristol Smooth White cardstock and Distress Oxide inks in Worn Lipstick, and Broken China to create an ink blended background. I used Lawn Fawn's Shooting Star Die set to cut out the largest star and the sparkle images or wonky squares. I also cut out the smaller star and the shooting star trails from American Crafts Silver Holographic Sparkles specialty paper. All of these elements were popped up using Scotch 3M foam tape or Ranger Multi Medium Matte depending on their position on the card.


I finished off the card by popping up the panel with white craft foam and double sided adhesive. I put the panel on a Simon Says Stamp Fog card base. I also added a little Nuvo Crystal Drops to the sparkle die cuts. I then added a little Wink of Stella Glitter Pen to the unicorns horn.

Thank you for visiting my blog today. Make sure you check out what everyone else created using this weeks sketch and/or color combination by (CLICKING HERE!) 

Koren


Sunday, April 22, 2018

Your Next Stamp Spring Showers

Hello fellow card makers.

Today I am sharing my latest project for the Your Next Stamp design team. We were challenged to create a project around the theme "spring showers". Yeah, I know my card doesn't scream SPRING! with flowers and all that jazz, but... it does have lots of fabulous color and to me, that is very spring. Plus, I just love this card and I wanted to make it. So... (CLICK HERE!) to head over to the Your Next Stamp blog and see all of the other creations the design team came up with and leave a comment by April 25th for the chance to win a stamp set of you choice. Good luck!


I was inspired to create this card after seeing a card on Instagram posted by @semsee_crafts and her cards can be found on semsee.blogspot.com. I will try to find the exact post so that you can (CLICK HERE!) I used a lot of supplies on this card. I will have all of them listed below with links (some will be affiliate links at no cost to you).

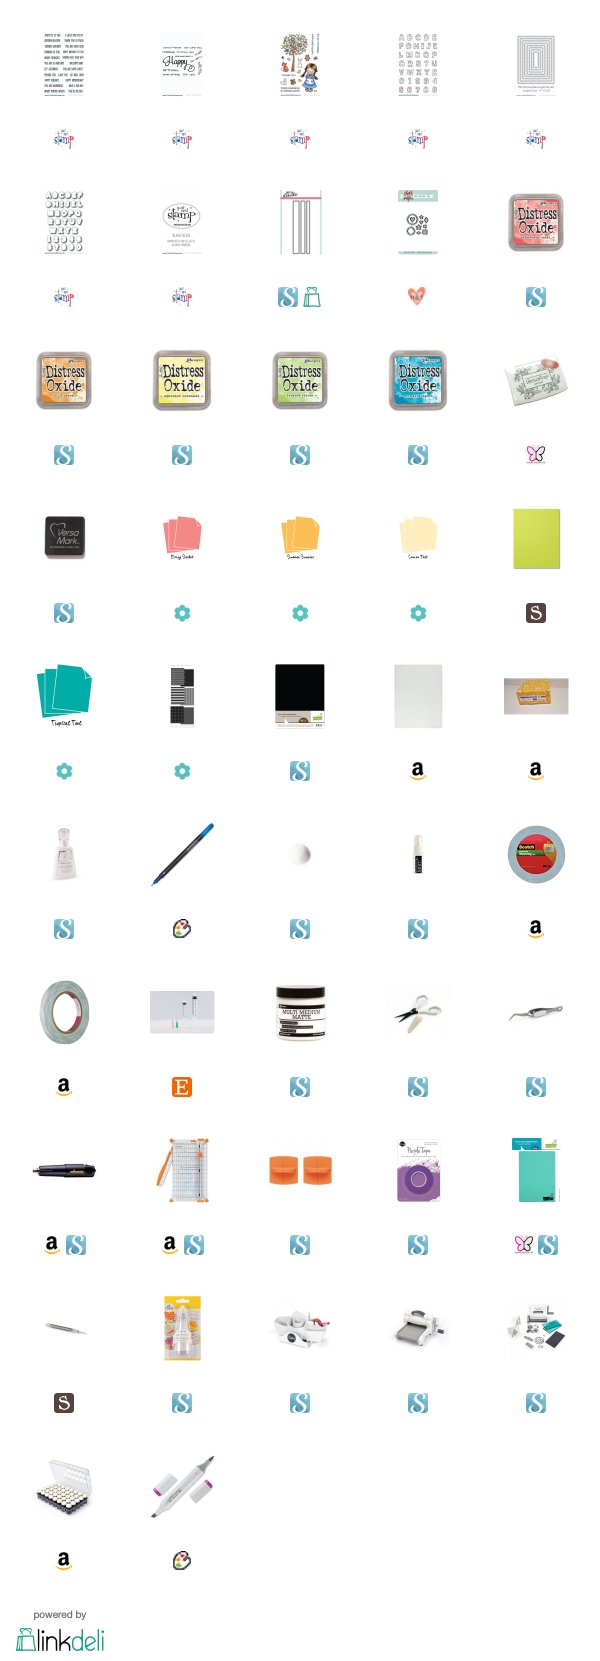
I started with a piece of Neenah Solar White 110 lb cardstock, and cut it down with a Your Next Stamp Stitched Rectangle Die (second to largest). I actually stamped the "HAVE A FUN DAY" sentiment first from the YNS Cool Tag Banner Sentiments set. I stamped it in Versafine Onyx Black ink.

I then decided that I wanted to put my next line of text as die cut letters from the brand new YNS Smiley Happy Alphabet stamp set and coordinating dies. I stamped them using YNS Black Olive Ink and colored them with Copic Markers. I added a small amount of shimmer on the shaped accents within each letter with a Spica Atyou Glitter pen in Clear. It is super hard to see it in the photos, but in real life, it adds lots of glitter to those small areas. I popped them up with Scotch 3M foam tape.


I knew that I wanted my next text to be white heat embossing on black cardstock. I grabbed some of the Lawn Fawn Black Licorice cardstock that I always use. This cardstock had recently been sprayed with Hero Arts White iridescent Shimmer spritz, from my last haul video. It was perfect. I cut a strip down using Heffy Doodle's Stitched Strips of Ease dies and stamped the "happy birthday" sentiment from YNS Woodland Jessica stamp set with Versamark ink. I used Hero Arts Ultra Fine White embossing powder to heat emboss it. It too is also popped up with foam tape.

To add more interest, I wanted to find a scripty word stamp in my stash that fit along with the birthday theme of this card. I found exactly what I was looking for in the YNS Happy Everything stamp set. This is one of my favorite stamp sets, and I use it a lot. I stamped the scripty word "happy" in Versafine Onyx Black ink. I also used the birthday stamp from that same set to create the rainbow sentiment beneath it. I used Distress Oxide ink's in Abandoned Coral, Wild Honey, Squeezed Lemonade, Twisted Citron, and Mermaid Lagoon. I applied the ink using sponge daubers directly to the stamp.


The last and final sentiment on the card was also from the Cool Tag Banner Sentiments set and it too was stamped in Versafine Onyx black ink. To add more detail to the card, I cut out a bunch of stars and hearts from Neat & Tangled's Little Bits die set in various shades of coordinating cardstock. I used Papertrey Ink's Berry Sorbet, Summer Sunshine, Lemon Tart, Tropical Teal, and Stampin' Up!'s Lemon Lime Twist. I also coated each of the little bits in Nuvo Crystal Glaze to make them shine.

I added a large polka dotted patterned paper from the Papertrey Ink's True Black Patterned Paper Pack to my card base and popped up the main panel using double sided adhesive and craft foam. I used a Neenah 110 lb card base.

Thank you for visiting my blog today. Don't forget to (CLICK HERE!) to visit the Your Next Stamp blog and check out what the rest of the design team came up with. Also, don't forget to comment on the YNS blog by April 25th for a chance to win a stamp set of your choice.

Koren


SaveSave