Sunday, June 23, 2019
Spellbinders New Cut and Emboss Folders plus Jane Davenports Colorsticks
Hello everyone.
Today I have a project featuring Spellbinders Cut and Emboss folders. These folders are so unique. They not only embossing a deeply embedded image into your cardstock, but it has built in cut lines to actually cut into your project as well. I have two of these folders. I also used the Jane Davenport Colorsticks to add some color to the already interesting background.
To see more from Spellbinders (CLICK HERE!). I have been using their Platinum Die cutting machine for quite some time now. These folders work perfectly in this machine, but i'm sure they will work in whatever machine you typically use with your thick embossing folders. I would check with your machines manufacturer for the correct sandwich to use.
I took two full 8 1/2 by 11 sheets of Ranger Watercolor cardstock and cut them down to half sheets. Any watercolor cardstock would work for this technique. These embossing folders are a bit bigger than any of the other folders I have used in the past. This makes for a larger card. Just be aware of this when creating with them.
I used a thick piece of acetate that I scored from some Tonic Studios packaging. This acetate is awesome and I save every piece I can. It's super thick and it's perfect for using on card projects like this. I placed the acetate flat on my work surface and began to choose colors from the Jane Davenport Colorsticks collection. I have the Soul Window set with a very vibrant rainbow of colors. I added the colors to the piece of acetate and sprayed it with some water. I used a number 9 brush to mix the water and the color together. After the color was sufficiently mixed I picked up the piece of acetate and took it to one of the watercolor panels. I stamped it down "smooshing" it to the paper, letting it collect wherever it wants to on the paper. After most of the color was removed from the acetate, I then allowed the color to dry on its own. I waited a few mins between adding a new color in the exact same way. I did find that the color layered nicely using this method.
I did two panels using this method of application. Once the panels were done and completely dry. I cut down the panel to the exact measurement of the cut and emboss folder. After running it through my Platinum die cutting machine I had two water color backgrounds with tons of interest. Now what do I do for a sentiment? These card panels are huge, what about a card base?
I cut two specialty card bases to specifically fit these card panels. I used Neenah 110 lb cardstock to do this. I made them slightly larger than the panels themselves in order to leave a nice border around the front panels.
To add them to the card bases I wanted to choose a sparkly cardstock to layer underneath. This will show through on those really neat holes that the folder cuts for you. I picked a white glitter cardstock for this purpose. To affix them together I used Scotch 3M foam tape and a lot of it. I needed to cover a large area without covering the holes that peek underneath.
As for a sentiment, I used the "bonjour" from a past Spellbinders Large Die of the month kit. I love this die. It is super simple to layer together and the heart for the I is adorable. I cut two of these from the same watercolor cardstock and used coordinating colors for each panel to paint an ombre wash of color on them. You can add the color directly to the paper and blend it out with clean clear water and a brush. This gives you the most vibrant color using these sticks. I love the granulated specks that watercolor leaves behind. This is very apparent on the rainbow background.
I cut the same "bonjour" word die several times from heavyweight white cardstock to layer onto my painted die cuts to give them dimension. For the pink and blue panel, I used the same white glitter cardstock and offset the word die on top of it to give it a glittery shadow effect. Both of these were added to the panels using liquid adhesive.
These cards are gigantic and i'm sure I will be handing these cards to friends instead of mailing them, but the concept behind the cut and emboss folders is exciting and opens up tons of neat ideas and possibilities for future designs. The Jane Davenport Colorsticks were fun to play with and gave a fantastic result. I love that they look like lipstick containers. They also come in a great case with a swatch chart ready for you to fill in with color. I hope you enjoyed my projects today. To see more from Spellbinders (CLICK HERE!).
Thank you for visiting my blog today.
Koren
Saturday, June 15, 2019
Heffy Doodle Crafty Friends Card Set
Hello everyone.
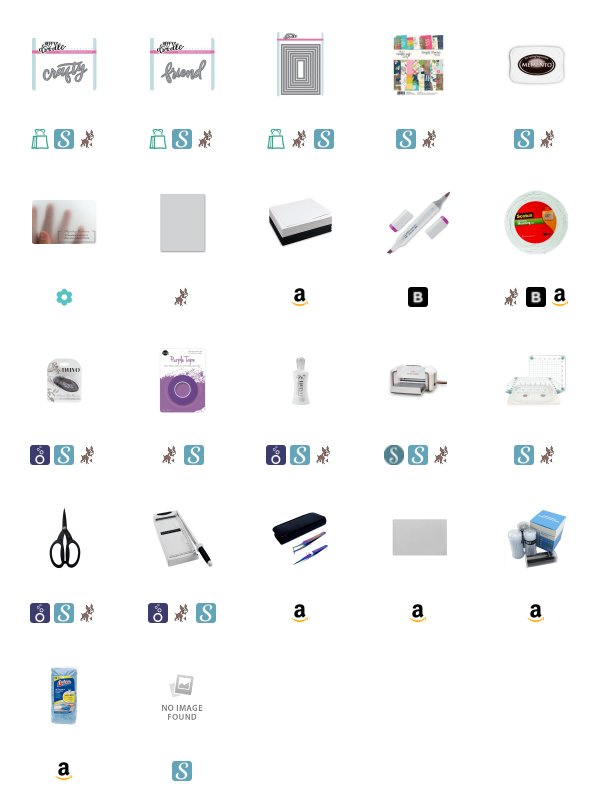
Today I have a series of interesting cards for you and a video. I'm using the Heffy Doodle crafty and friend Heffy Cuts Word dies, and a glue bottle stamp and die from the Crafty Friends Stick together set, Simple Stories 6x8 paper from the Crafty Girl pack, and even a little clear vellum from Papertrey Ink. I really wanted to make a few beautiful, yet simple cards, to make for some of my "Crafty Friends".
These cards incorporated some die layering on the sentiments to create a truly dimensional look.
I hope you will check out my YouTube video of my making this card. I will leave it linked in this post.
Thank you for visiting my blog today.
Koren
Tuesday, June 4, 2019
MFT & Friends June Release
Hello everyone.
I am always excited to be participating in the MFT & Friends' posts. I am a huge fan of Birdie Brown, I’m sure you have heard this before. And this month, I am simply in love with these adorable sea creatures and their punny coordinating sentiments.
The MFT June Release is LIVE in the shop right now. (CLICK HERE!) to check out the entire release. You can also (CLICK HERE!) to see the MFT & Friends post with tons of inspiration for this release.
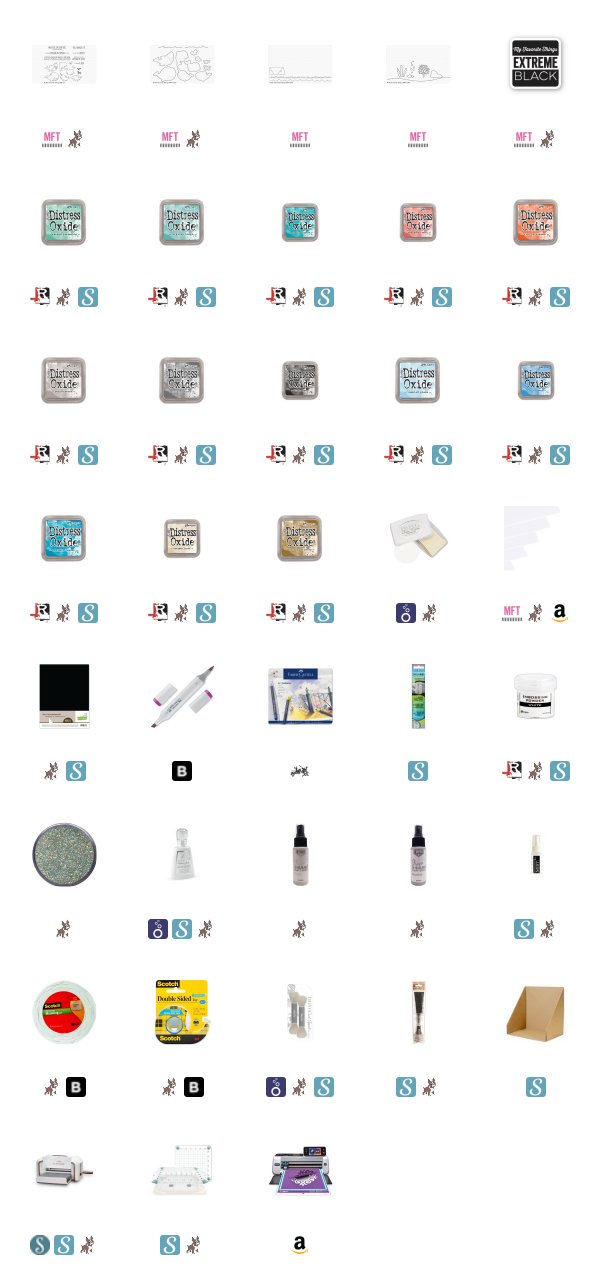
Today I have two projects for you both using the NEW Friends with Fins stamp set and coordinating dies from My Favorite Things and Birdie Brown. This set has whales and dolphins and an absolutely adorable shark that I just had to color. I actually cut him out and stuck him onto a collage I’ve been creating behind the scenes here in my craft room. The other images found their way onto this adorable oversized card.
This card actually measures around 4 1/4 by 7. I never actually measured it. I just assumed I would have to us a big old envelope to send it in. I was inspired to create it with the MFT Pop Up Wiper Card Components that are also being released today. I used the long wave border die in that set to create the seamless waves on the top of my card. This was so easy because of the length of this die.
Before cutting the waves into the top of that panel, I did use my Nuvo Blender brushes to ink blend some Distress Oxide Inks for the water and the sandy ocean bottom. I used Mermaid Lagoon, Salty Ocean, and Tumbled Glass for the water, and the sandy ocean bottom was created with Antique Linen and Brushed Corduroy.
Once I saw how good the background looked, I needed to do more ink blending so I ink blended four additional smaller panels to use as well. I used the NEW MFT Under the Sea dies with them to add to the underwater environment. For those panels I used...
- Teal - Cracked Pistachio, Evergreen Bough, and Peacock Feathers
- Purple - Wilted Violet and Shaded Lilac
- Coral - Abandoned Coral and Ripe Persimmon
- Gray - Pumice Stone, Hickory Smoke, and Black Soot
Once the panels were all inked. I used one of the colors from each blend to add a little bit of splatter with the Ranger Splatter Brush and an acrylic block. I just simply add some ink to the acrylic block and dip my brush in. Re-inkers are fabulous for this technique. It gives you a lot of ink to play with. I rub the bristles over against the block over my project and try to direct the splatter onto the backgrounds the best I can. The Ranger Splat Box helps me contain my mess, but I have used an old diaper box for this in the past as well.
Since I already had my splat box out, I decided to cover them with shimmer as well. I used Imagine Crafts Frost and Sparkle shimmer spritz as well as Hero Arts White Iridescent spray to make all of the panels shine before die cutting them.
I then used MFT’s Extreme Black Ink to stamp the images from the Friends with Fins stamp set onto Neenah 110 lb Solar White Cardstock. I used my Copic Markers to color them. I also added a bit of shading with my Faber Castell Gold Faber Colored pencils.
I added the images and the die cuts onto the background with either Nuvo Deluxe Liquid adhesive or Scotch 3M Foam Tape. I almost forgot the bubbles! The bubbles are also from the Friends with Fins coordinating dies. I cut them from the lightest parts of the blue ink blended background that I used for the water. We are just going to pretend these fish are talking amongst themselves for this scene.
I stamped the “ I would cross and ocean for you” sentiment with Nuvo Clear Mark embossing ink and heat embossed it with Ranger White embossing powder. I quickly trimmed it down with my Fiskars wire guide paper trimmer.
I also added some Gelly Roll Stardust pen to the hearts and I coated them with a layer of Nuvo Crystal Glaze.
My second card is super simple, but really fun. Does anyone remember the fish from finding Nemo that could work together to transform themselves into just about anything? Well, that was my inspiration for this card.
I used my Brother Scan N Cut to cut out the shape of a heart out of Avery repositionable label material. I placed it onto a piece of Neenah 110 lb Cardstock. I loaded an acrylic block with the two solid cluster of fish images from the Friends with Fins stamp set and stamped them repeatedly with Nuvo Clear Mark embossing ink. After every couple of stamps, I coated them with Wow Under the Sea embossing glitter. Once the heart was completely filled in, I heated up the fish with my Wagner heat tool to finish the embossing.
I removed the heart shaped mask and added a sentiment strip made from Papertry Ink’s Tranquil Tide cardstock. I stamped the “sending you an ocean of love” with the same embossing ink and Ranger White embossing powder. This sentiment was also trimmed with my paper trimmer.
I hope you enjoyed my projects for today. If you would like to see more from this release or see more inspiration (CLICK HERE!) to visit My Favorite Things online store and blog.
Thank you so much for visiting my blog today,
Koren