Friday, March 30, 2018

Your Next Stamp Challenge #86

Hello fellow card makers.

Today I am sharing with you my project for the Your Next Stamp challenge #86. Your Next Stamp has a biweekly sketch and/or color combination challenge and it's time for a new one. Here is a look at this week's sketch and color combo.


I wanted to test myself to see if I could create a card around this week's sketch. Although the color combination is very beautiful, I wanted to see if I could do it. So, I grabbed one of the new stamp sets by Your Next Stamp and started planning. I used the Puddles of Fun stamp set and coordinating dies to create my card.

I started with a piece of Neenah 110 lb cardstock. I used Darice's Chicken Wire embossing folder to emboss the paper. This was the start of my hexagon theme for this card. I cut this panel down with the second to largest Stitched Rectangle Die and adhered it to a piece of white craft foam using double sided tape. I also used double sided tape to adhere it to my Simon Says Stamp Fog card base.


To create the bottom portion of my background, and in keeping with the sketch; I grabbed some patterned paper. This honeycomb or chicken wire type patterned paper is from an older My Mind's Eye 6x6 paper pad called Quilting Bee. I cut it down using the same Stitched Rectangle Die I used on the embossed panel. I adhered it to the embossed panel using double sided adhesive.

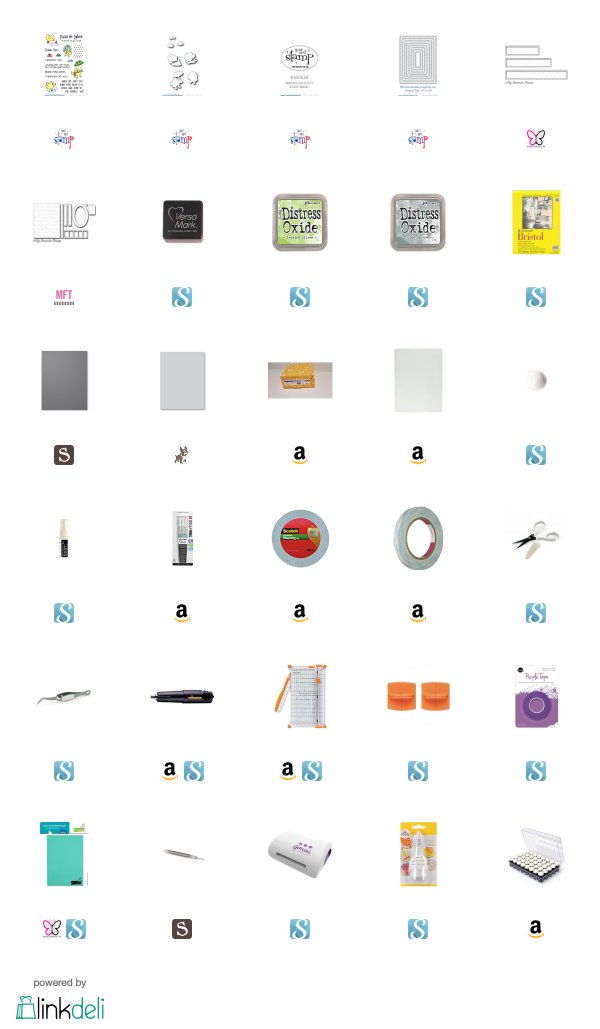
I moved onto the centerpiece of my card, that being the center most rectangle in the middle of the sketch. I chose to use a piece of Strathmore Bristol Smooth White cardstock. I used the smallest rectangle from the My Favorite Things Blueprints 1 Die-namics die set.  For this part of the card, I ink blended a sky and some hills using Distress Oxide inks and the My Favorite Things Drifts and Hills stencil. I used Iced Spruce and Twisted Citron Distress Oxide Inks. Once I was done ink blending, I spritzed the background with Hero Arts White Iridescent Shimmer Spray. It is hard to tell in the photos, but this gave the panel a shimmer and also lifted some of the ink from the blending in classic Distress ink fashion. I wasn't sure if I was done with this panel but I adhered it to the card front with double sided adhesive. I also added a piece of washi tape to the top left corner as shown in the sketch.


I stamped my image in Your Next Stamp Black Olive Ink and used my Copic Markers to color them.  For a complete list of which colors I used, see the Copic color map I created below. I used the coordinating dies to cut out my image. I then adhered it to my drifts and hills background using Scotch 3M foam tape.

The sentiment which is also from the Your Next Stamp Puddles of Fun stamp set was stamped on Stampin' Up!'s Basic Gray cardstock with Versamark ink. I used Hero Arts Ultra Fine White embossing powder to heat emboss it. I used the Stitched Window Rectangles by My Favorite Things to cut out my sentiment. I adhered it to the card panel also with foam tape.


As I was creating this card I noticed that the chick was holding an umbrella which is typical for Spring, but he was also wearing a scarf. Considering we just had about 8 inches of snow here 3 days into Spring, I got the idea to add a little snow to my card. It's about as unexpected at the snow we just had was. So I used my white Gelly Roll pen to add tiny dots of snow all over my background and my image. I think it helps document the weather we have been having and hopefully says good bye to colder weather for the rest of Spring.

Thank you for visiting my blog today. I hope you enjoyed my project. Please (CLICK HERE!) to visit the Your Next Stamp blog to play along in challenge #86 or to see what other inspiring projects the design team and others are creating with the sketch and color combo.

Koren


Sunday, March 25, 2018

Bubble Background Card Video

Hello fellow card makers.

Today, I am sharing with you a fun way to create a background for your cards. I used bubbles, thats right, bubbles. I mixed clear bubble solution and Avery Elle Liquid watercolors. I mixed them and litterally blew them onto my watercolor cardstock to create the background for these cards.

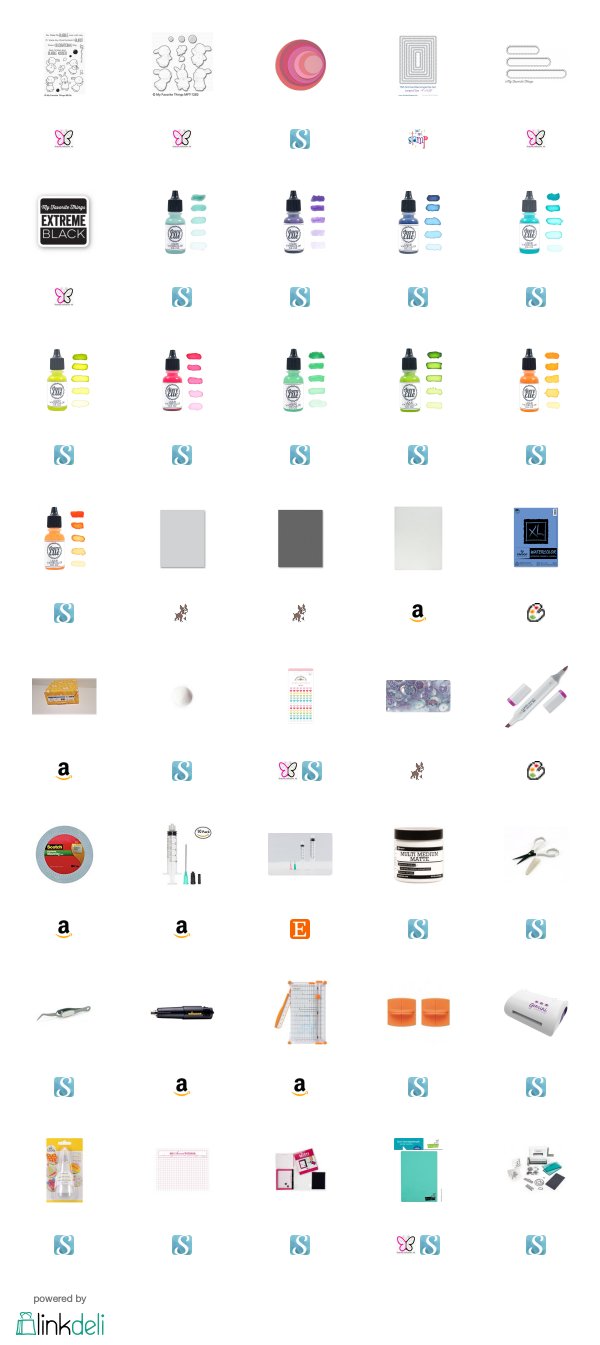
To see this in action. Click on the link to the YouTube video I created while making these cards. It shows you how they were created from start to finish. I complete supply list with some affiliate links are listed below for your convenience.


My backgrounds where made on Canson XL watercolor paper. Watercolor paper is needed because you completely saturate your paper with bubbles and liquid watercolors, so you need to use something that will hold up to that much wet material. I cut both of my panels down using the second to largest Your Next Stamp Stitched Rectangle die. This is my favorite size die to use for my card panels. I love the way it shows off the gray from my Simon Says Stamp Fog card base. I popped up both card panels using white craft foam and double sided adhesive. 

I stamped my images using My Favorite Things Extreme Black ink. This ink is Copic marker friendly and I knew that I wanted to use my Copics to color my images. I listed each marker I used to color the images on Copic color maps that are easy to Pin to Pinterest for future reference. I also used the coordinating dies for this set to cut them out. 


As for the sentiments, they were stamped with versamark ink and I used Hero Arts Ultra Fine white embossing powder to heat emboss them onto Simon Says Stamp Slate cardstock. For the card with the bunny in the green dress, I used the My Favorite Things Stitched Oval Word Window dies to cut out my sentiment. I used Scotch 3M foam tape to pop it up along the bottom of my background panel. I also used foam tape to pop up my bunny image and the bubble images on this card. 


My sentiment on the card with the bunny in the red dress was cut out using Sizzix Circle Framelit dies. I used the coordinating dies for the stamp set to cut out some additional circles. I popped up the sentiment circle using foam tape but the rest of the circles were adhered with Lawn Fawn glue tube adhesive and adhered flat to the background panel.


I added a tiny heart from the Doodle Bug Shaped Sprinkles Tiny Heart collection beneath my sentiment. The bunny image on this card was also popped up with foam tape. I did not like how the sentiment circle covered up so much of the beautiful background I created. I thought briefly about stamping my sentiment onto some colored vellum but I do not currently have any vellum adhesive and I did not want my adhesive to show. I like the way this card turned out, but I will be adding some vellum adhesive to my next crafty haul. 


To finish off the other card I added some Darice Iridescent Clear sequins scattered throughout my background to add a little sparkle. I think this added a great touch and the sequins have a similar bubble look to them. 

I want to thank you for visiting my blog today. I hope you check out my youtube video on this technique and if you share your projects on soical media, I would love to see them. 

Koren 


Thursday, March 22, 2018

Your Next Stamp March Feature Day "Sweet Treats".

Hello fellow card makers.

Today I am sharing my project for Your Next Stamp March Feature Day. This month's theme is "Sweet Treats". (CLICK HERE!) to head over to the Your Next Stamp blog to check out what everyone else on the Design Team has created. While you are there, don't forget to leave a comment by March 25th for your chance to win a stamp set of your choice.


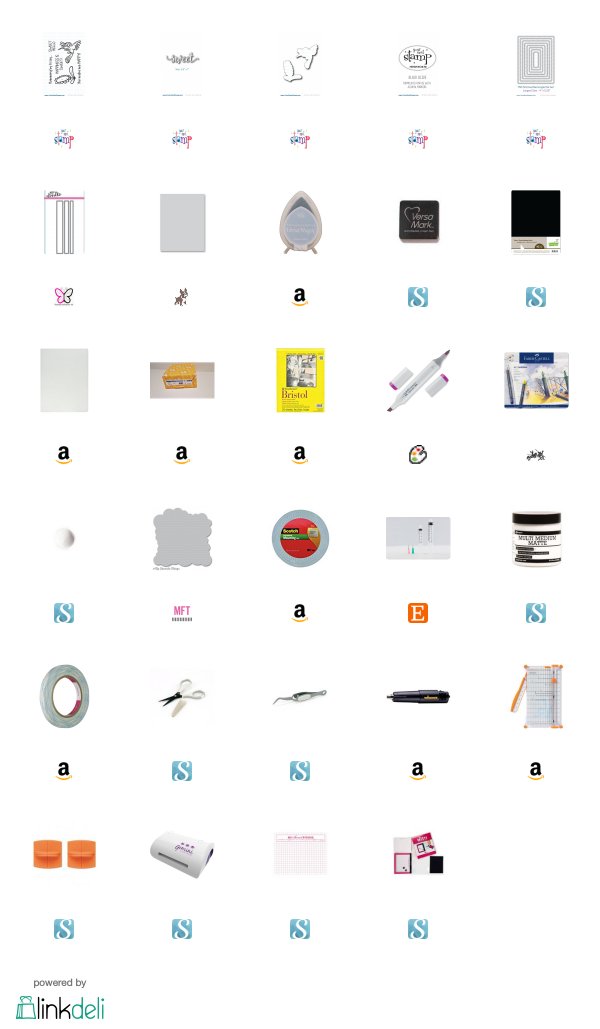
I am using the brand new Humming By stamp set and coordinating dies for my card today. I started with a Simon Says Stamp Fog card base. If you have been with me for any length of time, you will know that this is my regular card base. I took a piece of Strathmore Bristol smooth white cardstock and ink blending a group of clouds in the upper right hand corner using Versamagic ink in the color Aspen Mist. I used the YNS Stitched Rectangles die (second from largest) to cut down the panel. I adhered some white craft foam to the back with double sided adhesive and centered it onto my card base.


I stamped my image in Your Next Stamp Black Olive ink onto Neenah 110 lb. cardstock and colored it with Copic markers. I have a Copic color map showing which markers I used to color the image, you can even Pin to Pinterest if you would like. I used the coordinating dies to cut it out. I wanted to use part of one of the stamps from the Humming By... stamp set. It reads "happiness is" because I masked the sweet as to not stamp that part of the sentiment. The sentiment was stamped with Versamark ink and I used Hero Arts Ultra Fine White embossing powder to heat emboss the sentiment onto Lawn Fawn Black Licorice cardstock. I used Heffy Doodle's Strips of Ease dies to cut it down.


I used the YNS Fancy Sweet word die to finish off my sentiment. I cut it from Neenah 110 lb cardstock a total of four times and adhered the layers together with liquid adhesive. I sponged a little of the VersaMagic ink that I used for the clouds around the bottom of the sentiment. I adhered the black sentiment strip with Scotch 3M foam tape as well as the humming bird. I used liquid adhesive to adhere the "sweet" word die cut.

Thank you for visiting my blog today. Don't forget to (CLICK HERE!) to visit the Your Next Stamp Blog and comment for you chance to win a stamp set of your choice. Comments must be left by March 25, 2018.

Koren