Today, I am sharing with you a fun way to create a background for your cards. I used bubbles, thats right, bubbles. I mixed clear bubble solution and Avery Elle Liquid watercolors. I mixed them and litterally blew them onto my watercolor cardstock to create the background for these cards.
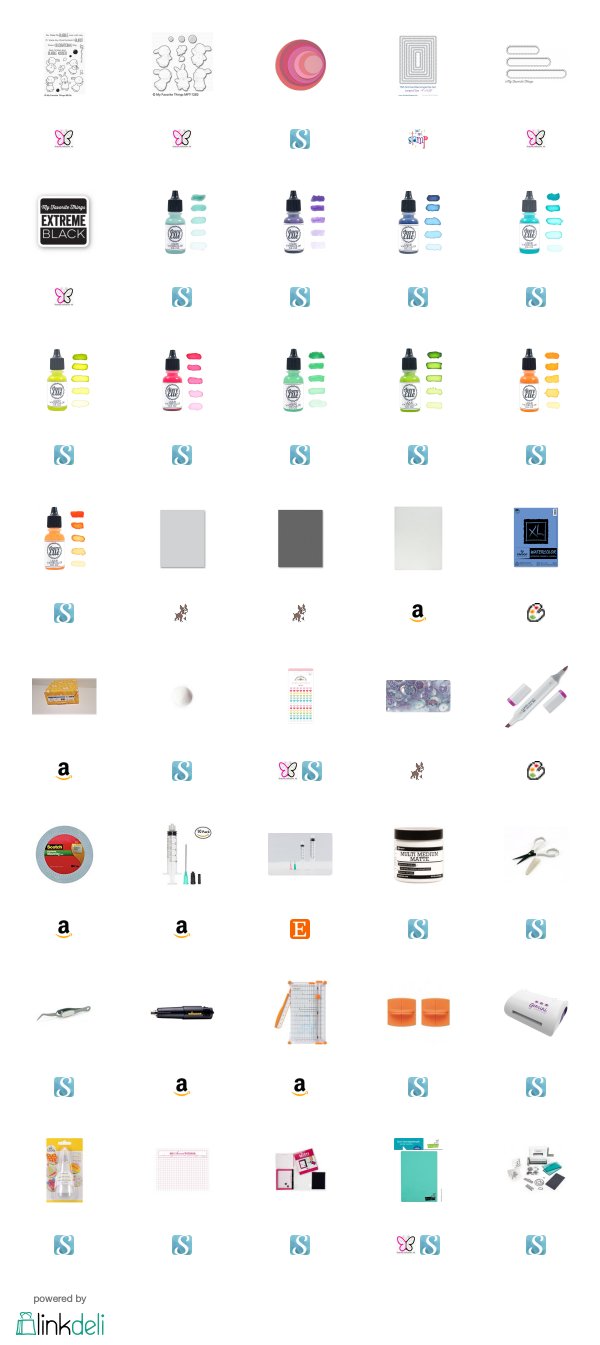
To see this in action. Click on the link to the YouTube video I created while making these cards. It shows you how they were created from start to finish. I complete supply list with some affiliate links are listed below for your convenience.
My backgrounds where made on Canson XL watercolor paper. Watercolor paper is needed because you completely saturate your paper with bubbles and liquid watercolors, so you need to use something that will hold up to that much wet material. I cut both of my panels down using the second to largest Your Next Stamp Stitched Rectangle die. This is my favorite size die to use for my card panels. I love the way it shows off the gray from my Simon Says Stamp Fog card base. I popped up both card panels using white craft foam and double sided adhesive.
I stamped my images using My Favorite Things Extreme Black ink. This ink is Copic marker friendly and I knew that I wanted to use my Copics to color my images. I listed each marker I used to color the images on Copic color maps that are easy to Pin to Pinterest for future reference. I also used the coordinating dies for this set to cut them out.
As for the sentiments, they were stamped with versamark ink and I used Hero Arts Ultra Fine white embossing powder to heat emboss them onto Simon Says Stamp Slate cardstock. For the card with the bunny in the green dress, I used the My Favorite Things Stitched Oval Word Window dies to cut out my sentiment. I used Scotch 3M foam tape to pop it up along the bottom of my background panel. I also used foam tape to pop up my bunny image and the bubble images on this card.
My sentiment on the card with the bunny in the red dress was cut out using Sizzix Circle Framelit dies. I used the coordinating dies for the stamp set to cut out some additional circles. I popped up the sentiment circle using foam tape but the rest of the circles were adhered with Lawn Fawn glue tube adhesive and adhered flat to the background panel.
I added a tiny heart from the Doodle Bug Shaped Sprinkles Tiny Heart collection beneath my sentiment. The bunny image on this card was also popped up with foam tape. I did not like how the sentiment circle covered up so much of the beautiful background I created. I thought briefly about stamping my sentiment onto some colored vellum but I do not currently have any vellum adhesive and I did not want my adhesive to show. I like the way this card turned out, but I will be adding some vellum adhesive to my next crafty haul.
To finish off the other card I added some Darice Iridescent Clear sequins scattered throughout my background to add a little sparkle. I think this added a great touch and the sequins have a similar bubble look to them.
I want to thank you for visiting my blog today. I hope you check out my youtube video on this technique and if you share your projects on soical media, I would love to see them.
Koren


I love these backgrounds, they look adorable and fun to make too. What's not to love about that?
ReplyDeleteThe backgrounds are so cool, what a great idea! Those little bunnies are so adorable and your coloring is perfect.
ReplyDelete