Today I am sharing my project for Your Next Stamp Challenge #85. Your Next Stamp has a biweekly sketch and/or color combo challenge over on the Your Next Stamp blog. (CLICK HERE!) to visit the blog, to play along, or to check out what everyone else has created using the given sketch and color combination. For this challenge you can use either the sketch, the color combo, or both. Here is a look at this week's sketch and color combo inspiration.

This week, I struggled with this challenge for some reason. I think I was having a bad day and it effected my crafty mojo. This is the downside to creating on a deadline. Sometimes, you just don't feel creative. When I feel this way, I go back to the basics. This project is simple, but I don't hate it. I used the sketch to create my very basic, but cute card.
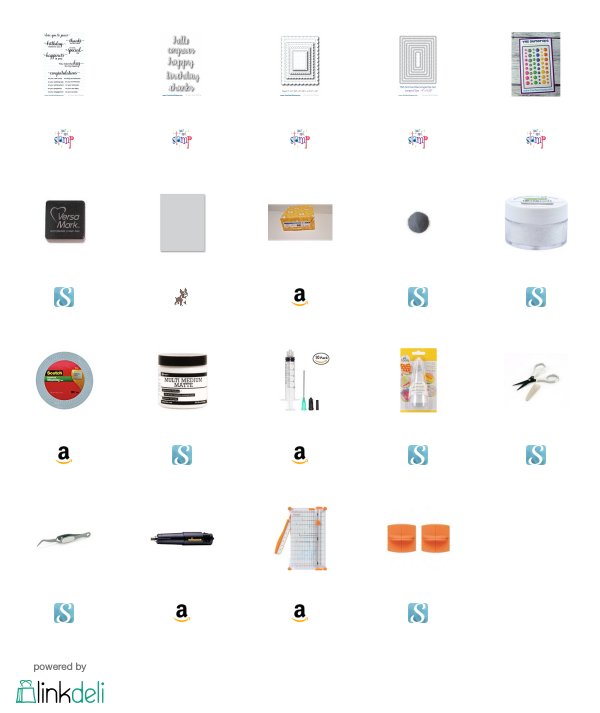
I started with a piece of Neenah Solar White 110 lb cardstock. I cut it down to replicate the sketch with the largest of the Your Next Stamp Scallop Rectangles die set. Then I cut a hole in the bottom right instead of popping up that piece of the sketch. Sometimes if you think dimensionally, it can add a whole new look to the sketch you are working with.
At this point I was trying to come up with a good combination sentiment to use. I knew I wanted to incorporate a die cut word and a sub sentiment in the cut-out. I ended up choosing "Congrats, it's your special day". I just love, love, love the What Not Sentiments Four stamp set. Its the perfect amount of scripty and plain text with wonderful sentiments.
I stamped the sub-sentiment of "it's your special day" with Versamark ink. I used my MISTI stamping tool to line up the stamp to be seen through the front panel to the card base. I used Hero Arts Sliver embossing powder to heat emboss the sentiment. I popped the front panel up onto the card base with Scotch 3M foam tape.
I cut out 4 of the "congrats" words with the Your Next Stamp Scripty words die set from Neenah 110 lb cardstock. I adhered the layers together with Ranger Multi Medium Matte liquid adhesive. Once the layers were dry I painted the top layer with Ranger Multi Medium Matte adhesive with a flat brush and dunked my die cut into Lawn Fawn Prisma Glitter. I gave the die cut a bath in it. I brushed off a little of the excess and set it down to dry. Once it was dry, I added a little more liquid adhesive to the back of the die cut and stuck it on my card and let it cure.
To add even more sparkle, I collected Spooky Cute Sparkly Gumdrops from my stash and added a few of the teal shade to my project.
Thank you for visiting my blog today. Be sure to (CLICK HERE!) to visit the Your Next Stamp blog and play Challenge #85 with us.
Koren


No comments:
Post a Comment