Hello fellow card makers. Today I am sharing with you my card for the Your Next Stamp Challenge #69... CLICK HERE!... to play along! This is a sketch and color biweekly challenge. Here is a look at the sketch and color combo for this challenge.
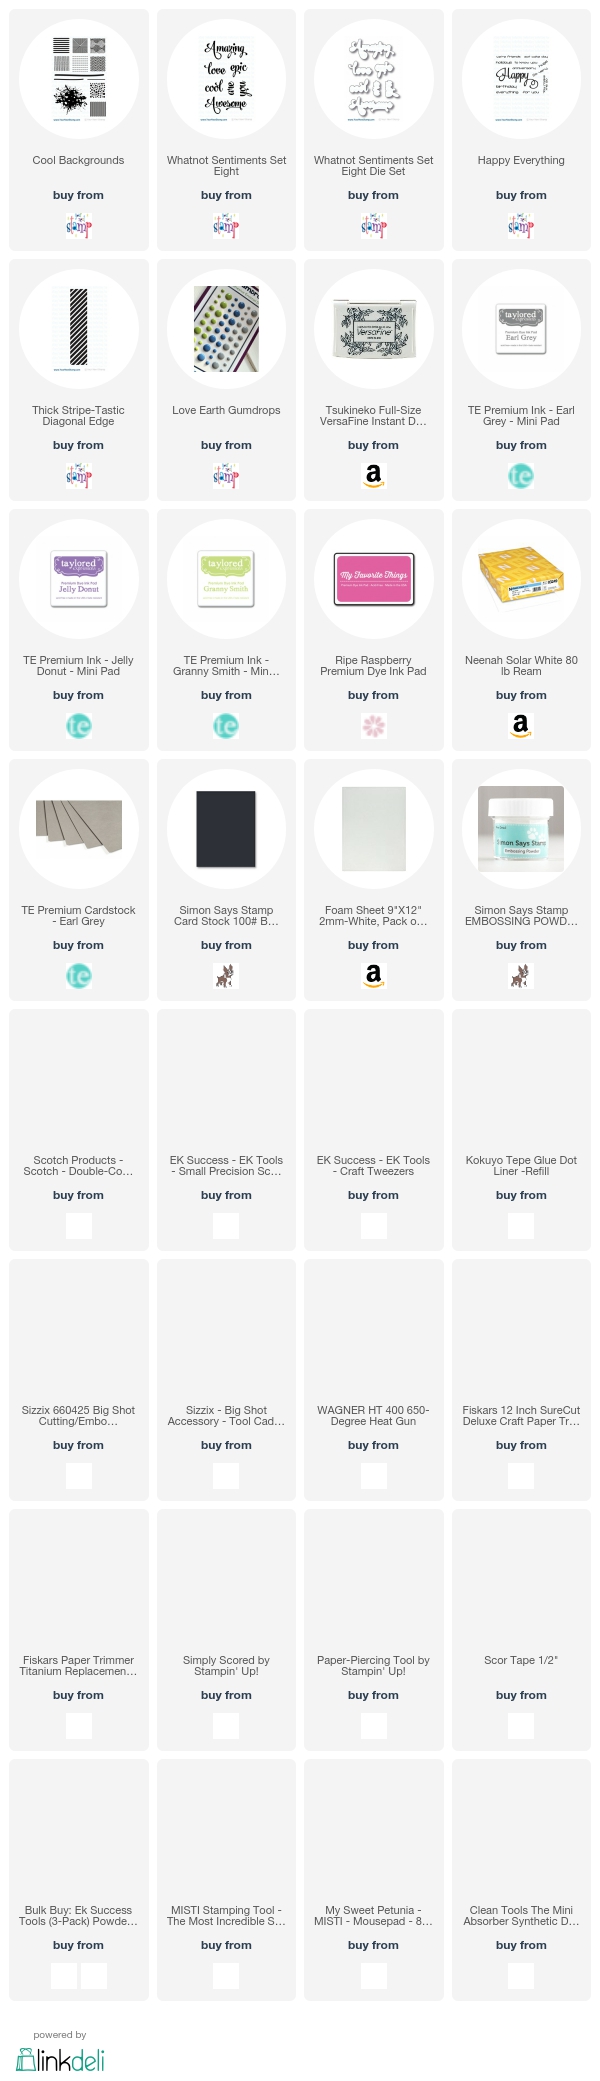
I used Your Next Stamp's Cool Backgrounds to create ink splatter on my card in several of the challenges colors. I stamped it on Neenah 80 lb cardstock. I also accented the side of my card with the Thick Diagonal Edge stamp from Your Next Stamp. To top it all off, I used the Epic sentiment from the What Not Sentiments Eights Stamp set with coordinating die to create my Epic Birthday sentiment. It was stamped on Simon Says Stamp Black cardstock and heat embossed with Simon Says Stamp detail white embossing powder.
Below are photos of my project, a link to my YouTube video creating this card, and links to the products used to make it.
Today I am sharing with you a project that I made using some Avery Elle products. I recently ordered the Avery Elle Beside the Sea stamp set and I could not wait to make this card. I had it all planned out in my head. You know when you have the best idea and you just have to create it, that was this card for me. I wanted to make this sand more than life! lol.
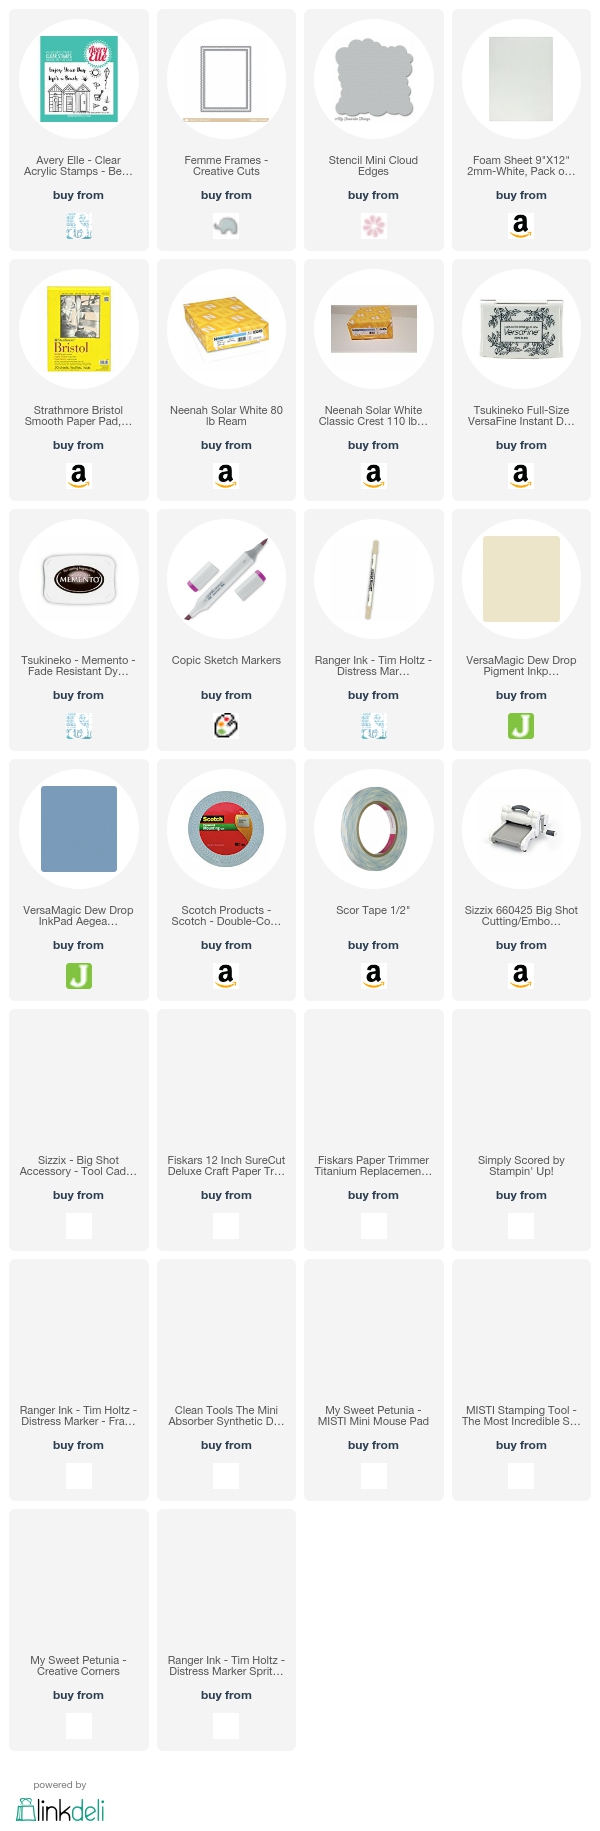
First I started with my background. I masked of the bottom portion of my card front and inked on some VersaMagic Wheat chalk ink. While it was still masked, I loaded up my Ranger marker spritzer with Antique Linen Distress ink marker and Frayed Burlap marker and spritzed some sand on top of the inked area to create sand. It looks so cool! I waited a bit to let that part dry before I masked off the sky portion of my background. I used the MFT mini cloud stencil to ink blend some clouds with VersaMagic Aegean Blue chalk ink. After my background was dry, I cut it down with a Mama Elephant Femme Frames stitched rectangle die. I stamped my sentiment with Versafine Onyx Black ink.
I stamped my images with Momento Tuxedo Black ink because I want to color with my Copics. I used a rainbow of colors to add life to my cabana and kite images. Below you will see a color map listing all of the Copic colors used on this project. Once they were cut out, I popped them up with some foam tape onto my background. To finish it off, I mounted the panel onto some craft foam adhered with 1/2" Scor tape and placed it on a Neenah 100 lb. card base.
Images of my project, a Copic color map, a link to my YouTube video making this card, and links to the supplies I used are below.
Hello fellow card makers. Today is Feature Day and we were challenged to create our own background paper. My oldest daughter who has all A's and B's on her report card, except for Algebra, has to take summer school this year. It's a big "welcome to responsibility" for her. She is a good kid, who is just legitimately having trouble with math. So, I was inspired to create this card for her. I wanted to let her know that despite her having to go to summer school, that she is amazing.
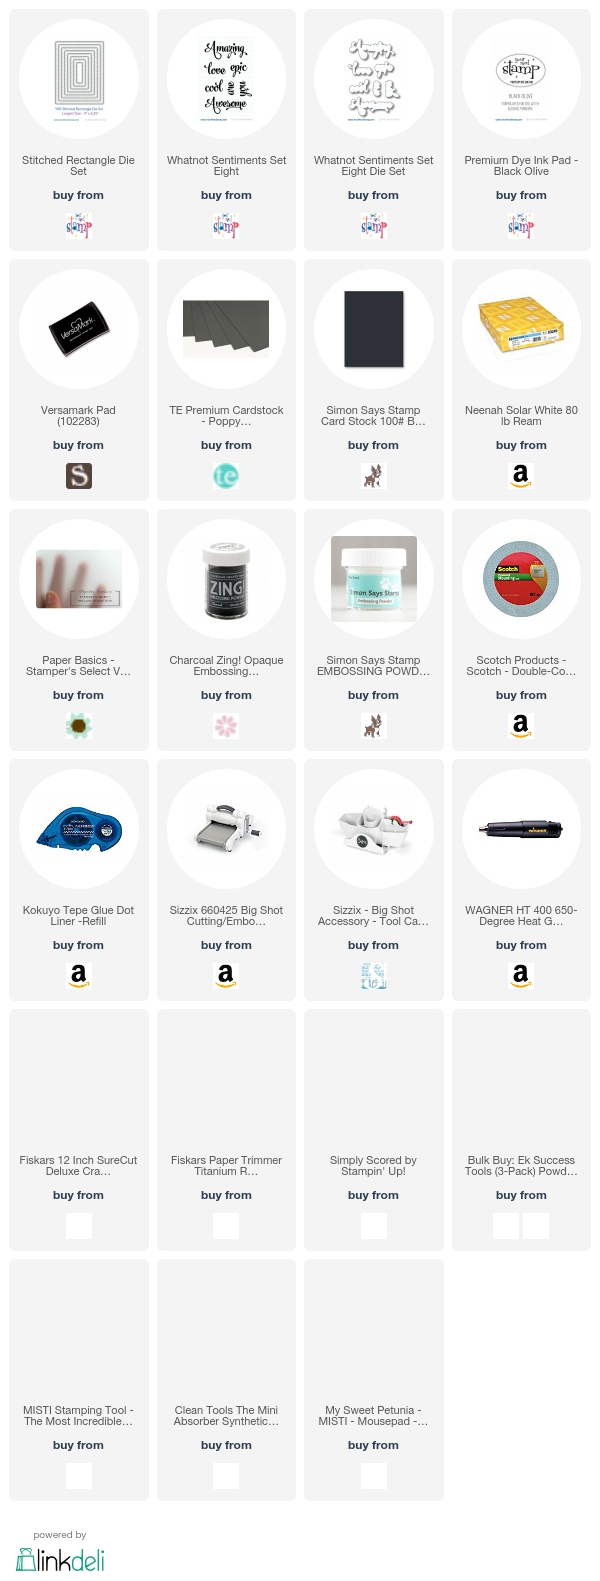
I used the Your Next Stamp School Notes stamp set to create my background paper. Using the Misti for this really makes it easy. I stamped several of the images from the set onto a piece of Neenah Solar White 80 lb cardstock with Your Next Stamp Black Olive Ink. I cut out that panel with the Your Next Stamp Stitched Rectangle Dies. I then stamped a portion of the You Are Amazing sentiment from School Notes in versamark ink and heat embossed it with Zing's Charcoal embossing powder. I also cut this panel out with the stitched rectangles die set. My intention was to coloring the images on the background paper, but I really liked them back and white, so I didn't color them. Finally I white heat embossed the Amazing sentiment from What Not Sentiments eight and used the coordinating dies to cut it out. After some creative adhesive, my card is done.
Photos of my card, a link to my YouTube video creating this card, and links to the products used to make it are below.
Hello. My name is Koren Wiskman, but many people call me Kori. My husband Tim and I run two businesses and have four kids. If this doesn’t immediately scream insanity, just keep reading…Tim and I grew up in the same waterfront town of Pasadena, Maryland. We graduated High School together in 1998, and about 15 years later we started dating. It would make an excellent love story, but we are not quite finished writing it yet. I became a Mother almost 20 years ago with my daughter Cailin. I’ve been crafting since birth but I discovered stamping when I was pregnant with my first son Hayden over 18 years ago. I fell in love and I have been card making ever since. Since then my joy for paper crafting has grown right along with my family. I now have a step-daughter Olivia who will be 13 this year. You can find me on YouTube and many of the popular social media sites. Thats where you will also meet Dexter my youngest, he is seven, and he is the perfect combination of me and Tim. See many of our family outings and shenanigans as well as plenty of crafting goodness.