Tuesday, November 28, 2017

A Neat and Tangled Christmas Pageant Card Video

Hello fellow card makers.

Today I am sharing a project that I created using some products by Neat and Tangled. I recently attended The Daily Marker Coloring Challenge Road Trip. This event was arranged and demonstrated by Kathy (best known as The Daily Marker), you can find her blog here (CLICK HERE!) and Neat and Tangled. (CLICK HERE!) to see all of the wonderful products Neat and Tangled has to offer. This event was held at The Queens Ink, a fabulous art supply/scrapbook/stamp/card-making store in historic Savage MD... they have a little bit of everything. (CLICK HERE!) to see more about Patty and her team. I had a fabulous time there at this event. Neat and Tangled had a pop-up shop at this event and I was able to score some awesome stamp sets, this Christmas Pageant set was just one of them. It is completely adorable.


I am also playing along with this months challenge at the Little Tangles Challenge Blog. I am playing in challenge #86 Coloring. (CLICK HERE!) to visit the Little Tangles Challenge Blog and check out the challenge for yourself.

I wanted to put all of these cute kids on my card, so I decided to make longer than usual card. This card base measures 4x8 1/2, it fits into a standard business #10 envelope. I started with a Simon Says Stamp Fog card base in the dimensions that I mentioned previously. Then I subtracted a half inch from each dimension to allow for a small border around my card panel. So I cut a piece of Strathmore Bristol Smooth cardstock to 3 1/2 x 7 1/2 and went to town ink-blending my background. I masked off an area for some ground and ink-blended Distress Oxide Ink in Iced Spruce. Then I used the Tree duo stencils to create my background. I took Distress Oxide Ink in Twisted Citron and Cracked Pistachio to blend the trees into the background.


Once my background was blended, I needed to let it sit and dry a little before I handled it too much. So, I stamped my images in Memento Tuxedo black ink to use my Copics color them. For a list of the colors I used, check for the Copic Color Map I created below. It will list the colors I used for each image.


After I finished coloring my images, it was time to put it all together. I stamped my sentiment, justified to the lower right hand corner with Versafine Onyx Black ink. The sub-sentiment was stamped with Versamark ink and white heat embossed with Hero Arts Ultra Fine White embossing powder on Lawn Fawn Black Licorice cardstock. I cut it into a strip and adhered it to my card front with 3M foam tape directly under the sentiment. I stamped some strings with the dotted line image included in the stamp set to hold up a few snowflakes and stars, just like a real Christmas pageant. The rest of the images were adhered with 3M foam tape.

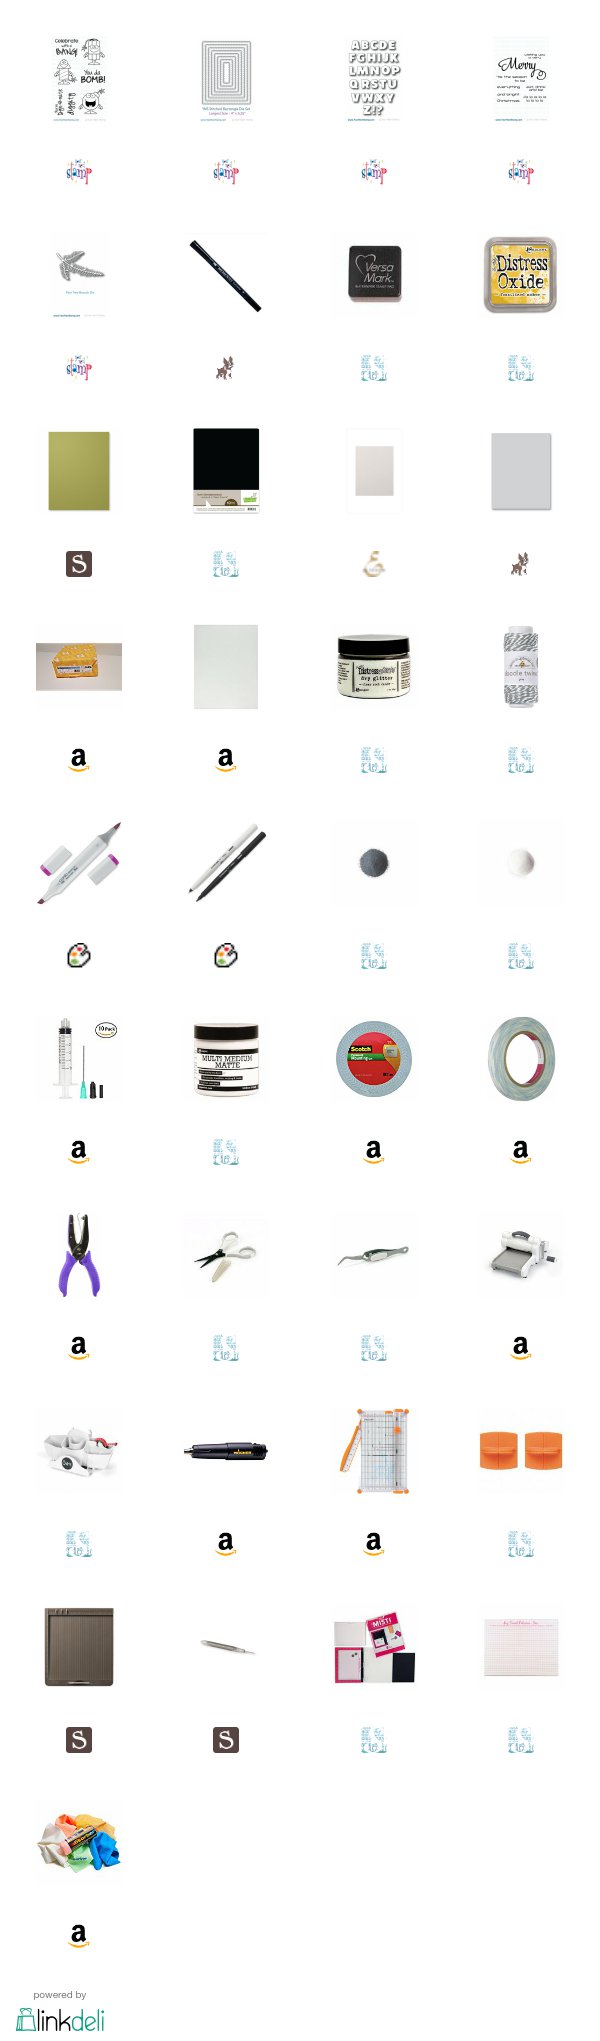
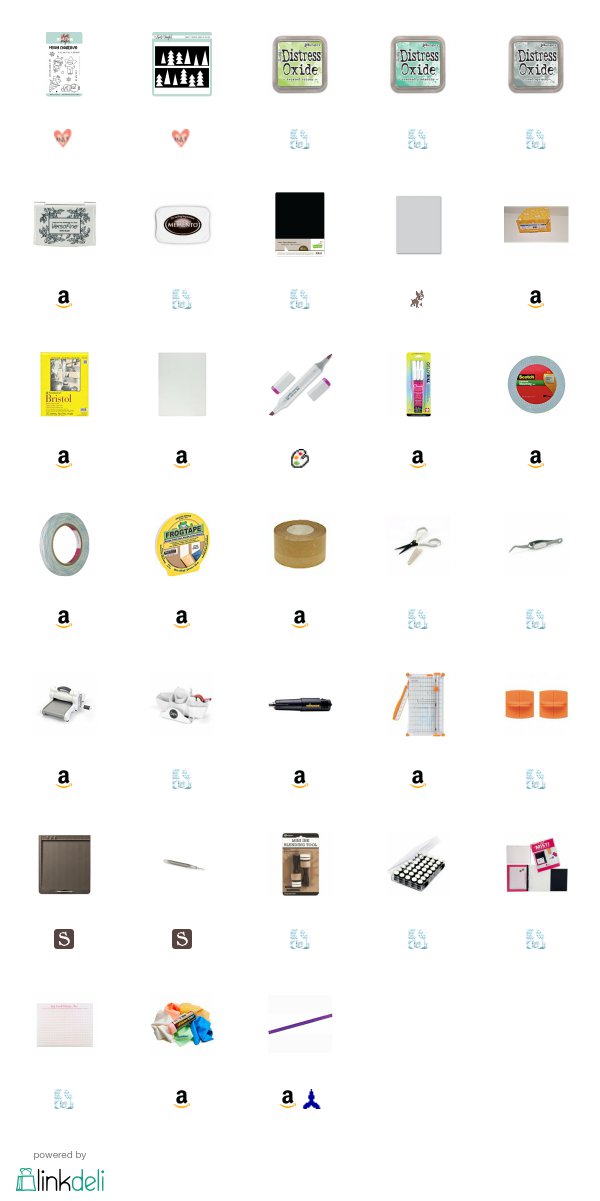
A complete list of supplies, plus a link to the YouTube video I created while making this card are below.

Thank you for visiting my blog today,

Koren


Friday, November 24, 2017

Your Next Stamp Challenge #78 Card Video

Hello fellow card makers.

Today I am sharing my card for the Your Next Stamp Challenge #78. Your Next Stamp has a biweekly sketch and/or color combination challenge. If you would like to play along with us (CLICK HERE!) to visit the Your Next Stamp blog. I am using the colors from this weeks challenge. Here is a look at the color combination that inspired me and this weeks sketch.


I am actually using the Boom! stamp set on my Christmas card, can you believe it? I'm turning this little bomb dude, into a Christmas ornament. I do have a YouTube video to go along with this project, so if you would like more detailed information, look below for the link to that video. 

I used a Memento Tuxedo Black marker to carefully ink up the general circle of the bomb and the top to make him look more like a Christmas ornament. I did this three times. I then colored them with Copic markers. 


After my ornaments were colored, I used the Ranger Emboss It! pen to coat the top of the ornament with sticky embossing ink and heat embossed it with Hero Arts Silver embossing powder. I then poked a 1/16 hole in the top with my hole punch. I coated the ball of the ornament with Ranger multi medium matte, using a small disposable paint brush, and dipped it into Ranger Rock Candy Stickles. I love how this looks. I also like to use this technique for sugar coated candy-like Peeps. I added a Doodlebug gray and white twine bow to the top of the ornament. 


My background is a piece of Altenew Moonrock cardstock, cut down with the second-to-largest Stitched rectangles die. I inked the left side of the background with Distress Oxide Fossilized Amber to create the same glow that you see in the color combo photo for the challenge. It reminds me of the glow of a lit Christmas tree. I added five Pine Tree Branch die cuts, cut from Stampin' Up! Old Olive cardstock. I sprayed the pine tree branches with spray adhesive and adhered them right on top of the ink-blended side of the background. I intended for them to look like the tree. I added a piece of craft foam to the back of the background with 1/2 in double sided tape. 

I stamped the sub sentiment with Versamark ink onto a piece of Lawn Fawn Black Licorice cardstock. I heat embossed it with Hero Arts Ultra Fine White embossing powder. I cut the sentiment into a strip and adhered it with double sided tape, justified to the bottom of the background.  I also die cut the word JOLLY out of the Bold Alphas die set. I cut out four layers of letters, and adhered them together to add dimension. 


The word jolly was adhered with liquid adhesive on the top of the sub-sentiment so that it reads, "Jolly, tis the season to be"... I thought it was cool, especially if you read it in your best Yoda voice. I finished off the card by adding my ornaments to the tree with 3M foam tape. 

I hope that you will visit the Your Next Stamp blog and see what everyone else is creating with this color combo and sketch. (CLICK HERE!). A full list of supplies and a link to my YouTube video creating this card are listed below. 

Thank you for visiting my blog today, 

Koren 


Wednesday, November 15, 2017

Your Next Stamp DT Dare "My Favorite Christmas Color Combination" Card Video

Hello fellow card makers.

Today I am sharing my project for Your Next Stamp's Design Team Dare "Favorite Christmas Color Combination". I don't really have a favorite, because so many colors work well to celebrate Christmas, but since I had to pick, I went with the traditional red and green combo. To see what the rest of the design team chose (CLICK HERE!) to go to the Your Next Stamp blog.


I am using the new Mini Holiday Martini stamp set and coordinating die to create my card. I first stamped the largest starburst from the Starburst Backgrounds stamp set with Simon Says Stamps Fog ink. Then I stamped the sentiment "eat, drink, and be jolly" justified to the lower right of the starburst.  This was stamped on a piece of Neenah 110 lb cardstock. This piece was cut down to 4 1/4 by 5 1/2 to expose a 1/2 inch strip of red and green diagonal stripe pattern paper from the Holiday Joy paper pad. 


I stamped the image with Your Next Stamp Black Olive ink on a piece of Neenah 80 lb cardstock. I colored it with my Copic markers. For the markers I used, look below for the Copic Color Map listing the colors. I cut him out using the coordinating die. 


I coated my image with Ranger Glossy Accents and left him to dry for most of the day. Once he was dry, I popped him up on the starburst with 3M foam tape. The entire panel was adhered to a piece of craft foam with 1/2 inch scor tape and then adhered to the card base. Look below for a link to the YouTube video I created making this project. 


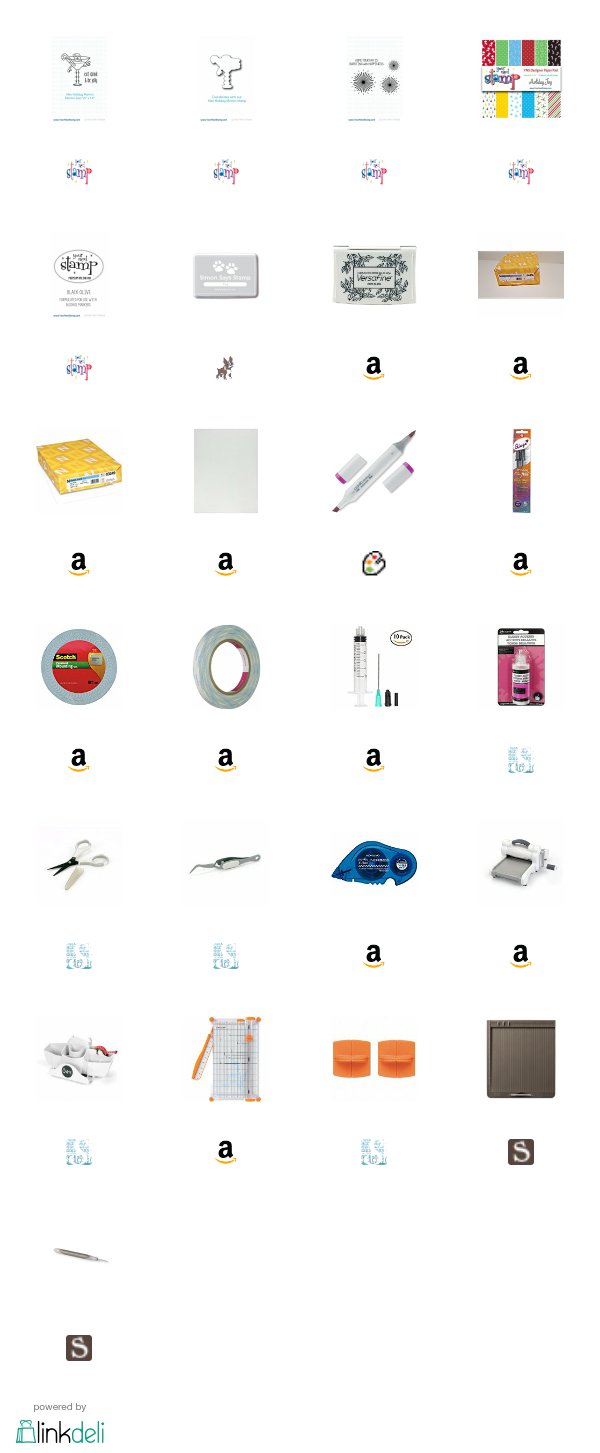
Below is a complete list of supplies used for this project.  Affiliate links were used when available. 

Thank you for visiting my blog today, 

Koren