Today I am sharing my card for the Your Next Stamp Challenge #78. Your Next Stamp has a biweekly sketch and/or color combination challenge. If you would like to play along with us (CLICK HERE!) to visit the Your Next Stamp blog. I am using the colors from this weeks challenge. Here is a look at the color combination that inspired me and this weeks sketch.


I am actually using the Boom! stamp set on my Christmas card, can you believe it? I'm turning this little bomb dude, into a Christmas ornament. I do have a YouTube video to go along with this project, so if you would like more detailed information, look below for the link to that video.
I used a Memento Tuxedo Black marker to carefully ink up the general circle of the bomb and the top to make him look more like a Christmas ornament. I did this three times. I then colored them with Copic markers.

After my ornaments were colored, I used the Ranger Emboss It! pen to coat the top of the ornament with sticky embossing ink and heat embossed it with Hero Arts Silver embossing powder. I then poked a 1/16 hole in the top with my hole punch. I coated the ball of the ornament with Ranger multi medium matte, using a small disposable paint brush, and dipped it into Ranger Rock Candy Stickles. I love how this looks. I also like to use this technique for sugar coated candy-like Peeps. I added a Doodlebug gray and white twine bow to the top of the ornament.

My background is a piece of Altenew Moonrock cardstock, cut down with the second-to-largest Stitched rectangles die. I inked the left side of the background with Distress Oxide Fossilized Amber to create the same glow that you see in the color combo photo for the challenge. It reminds me of the glow of a lit Christmas tree. I added five Pine Tree Branch die cuts, cut from Stampin' Up! Old Olive cardstock. I sprayed the pine tree branches with spray adhesive and adhered them right on top of the ink-blended side of the background. I intended for them to look like the tree. I added a piece of craft foam to the back of the background with 1/2 in double sided tape.
I stamped the sub sentiment with Versamark ink onto a piece of Lawn Fawn Black Licorice cardstock. I heat embossed it with Hero Arts Ultra Fine White embossing powder. I cut the sentiment into a strip and adhered it with double sided tape, justified to the bottom of the background. I also die cut the word JOLLY out of the Bold Alphas die set. I cut out four layers of letters, and adhered them together to add dimension.

The word jolly was adhered with liquid adhesive on the top of the sub-sentiment so that it reads, "Jolly, tis the season to be"... I thought it was cool, especially if you read it in your best Yoda voice. I finished off the card by adding my ornaments to the tree with 3M foam tape.
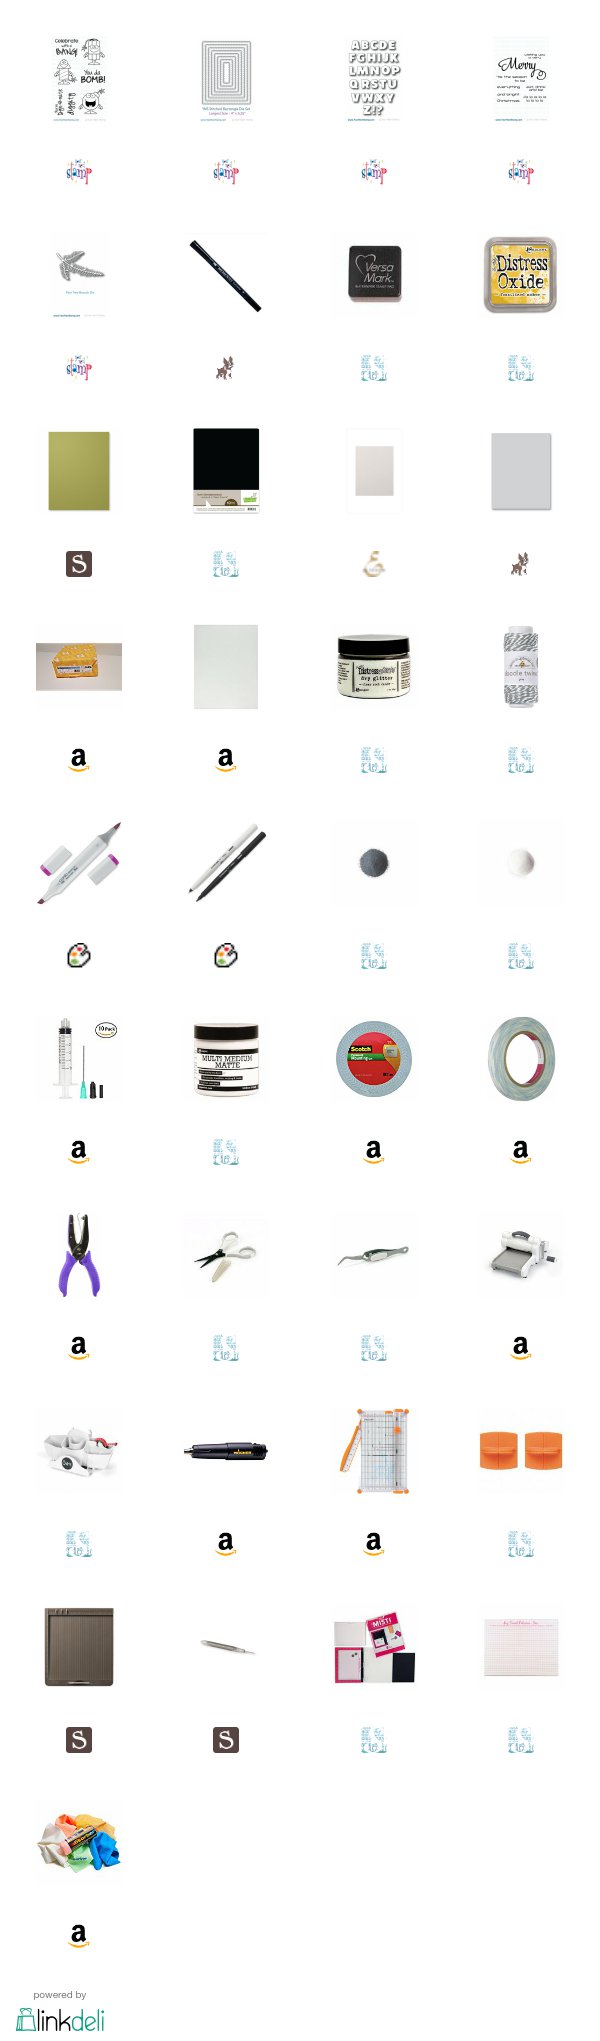
I hope that you will visit the Your Next Stamp blog and see what everyone else is creating with this color combo and sketch. (CLICK HERE!). A full list of supplies and a link to my YouTube video creating this card are listed below.
Thank you for visiting my blog today,
Koren

Awesome card!! Thanks for the video tutorial as well!! Beautiful card, love the shimmer sprarkle on the ornaments!
ReplyDelete