Today is Release Day over at the Your Next Stamp online store. As of 10:00 EST you can purchase all the new products. (CLICK HERE!) to visit the Your Next Stamp online store new products page. This blog hop begins today November 11th 2017 and will continue until November 14th, 2017. You have a chance to win a $25 gift certificate to the Your Next Stamp Online store by commenting on each of the blog hop participants blog posts. The more you comment, the more your chances of winning increase. The winners will be announced November 16th, 2017 on the Your Next Stamp blog.
There is an awesome coupon code that you can use in the Your Next Stamp online store. Use code Nov2017 to get 20% off of your entire purchase! This is a great deal, if you have the opportunity to purchase some goodies, definitely use this code.
This release is super fun and packed full of great winter related stamps and dies. My favorite has to be the super fun Reinbeer set that I plan to use on an upcoming project. I love the Drink Tag die set that I used in yesterday's preview project. If you would like to check out all the new products (CLICK HERE!) to go to the Your Next Stamp online store new products page. I have three projects for you today, so keep scrolling for more inspiration.
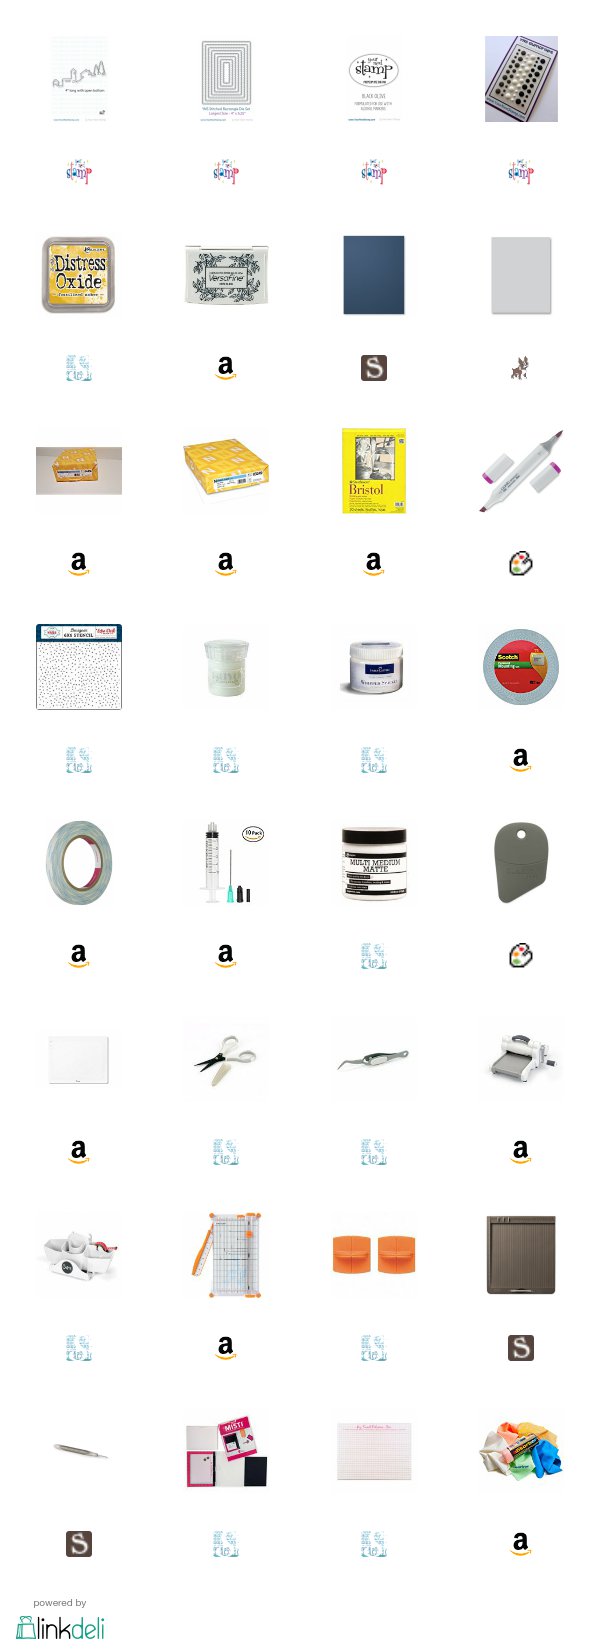
My first project uses the brand new Hello Winter stamp set and coordinating dies. I started with two pieces of Stampin' Up!'s Night of Navy cardstock. I used the Echo Park Artic snow stencil to create some snow in my background. The first I used Faber Castel's Whipped Spackle. This is a white embossing paste. The second, I used Nuvo Glimmer paste in Moonstone. This is an embossing paste clear in color with glitter mixed in it. Once they both dried. I cut them down using the second from largest die in the Your Next Stamp Stitched Rectangles die set.
I used the Houses on a Hill die to add some houses in the snowy background. This die is open on the bottom which means that it doesn't cut the bottom. You can see in the photos that it cuts a landscape of houses and trees on a hill, like the name suggests. For a detailed explanation you can scroll down to find the link to the YouTube video I made creating this project. I cut this out of Neenah 110 lb Solar White cardstock. I ink blended some Distress Oxide ink in Fossilized Amber and cut out small pieces to adhere some light behind the windows in the houses. This piece was then popped up with foam tape onto the snowy panel.
 |
| Whipped Spackle by Faber Castell |
 |
| Nuvo Glimmer paste in Moonstone |
My images were popped up with 3M foam tape. I finished off both cards by adding some matte white Gumdrops from the Your Next Stamp Milk and Cookies Gumdrops set.
Look below for my next project.

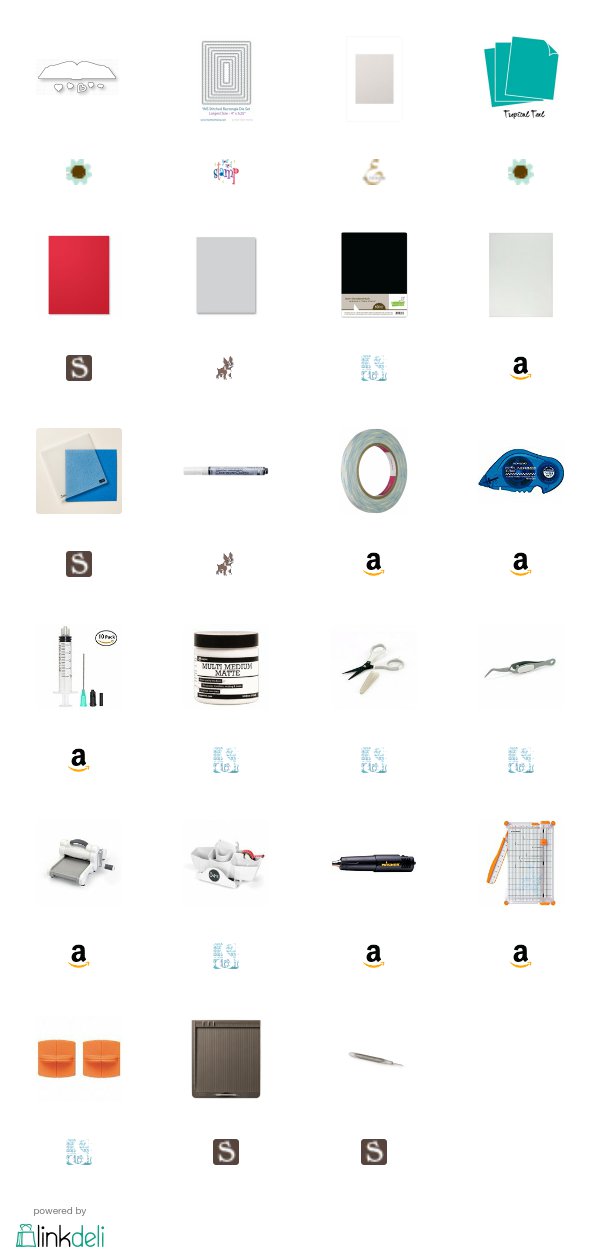
For this project I used the brand new Merry Everything stamp set and Merry Die. I started with a piece of Altenew Moonrock cardstock and cut it down using the second to largest die in the Your Next Stamp Stitched Rectangle die set. I then embossed it with the Stampin' Up! Softly Falling embossing folder.
I used the Merry word die to cut the work from Papertrey Ink's Tropical Teal cardstock three times, and adhered them together with Ranger Multi Medium Matte adhesive. Once all the layers were adhered, I added some snow on the tops of the letters with the Marvy Snow Pen. I adhered the Merry, also using Ranger Multi medium directly to my fallen snow piece.
The subsentiment was stamped with Versamark Ink onto a piece of Lawn Fawn Black Licorice cardstock and white heat-embossed it with Hero Arts ultra fine embossing powder. I cut it into a strip and popped it up onto my panel using 3M foam tape. To add something a little extra, I cut my favorite wonky heart from Papertrey ink Love Stories out of Stampin' Up!'s Real Red cardstock and stuck it onto my project again using liquid adhesive.
I hope you enjoyed my projects today and don't forget to comment along the hop to increase your chances of winning a $25 gift certificate to the Your Next Stamp online store.
Thank you for visiting my blog today,
Koren


fabulous job!
ReplyDeleteGreat winter designs, Koren!
ReplyDeleteThe face on that rabbit made me laugh....I could really see this little guy reacting to sledding with that face....lol...Happy Holidays!!!
ReplyDeleteAwesome release by YNS!! I love the house one die & Ur cards background so eye-catching💕
ReplyDeleteFun cards, and I am new to your blog. Thanks for sharing
ReplyDeleteBeautiful cards ! Thank you for sharing and for the nice video !
ReplyDeleteFun projects! Love the design of the first two cards with the Houses on a Hill die.
ReplyDeleteDelightful cards! I love the scenes you created and the snow on the last one looks so authentic!
ReplyDeleteLove both cards, but especially love the "snow" on the merry word die!
ReplyDeleteThese are all so adorable. Love the skiing bunny, lol, and the look on the snowman, so funny.
ReplyDeleteVery pretty cards! I love the stamps - their facial expressions are too cute. Love the added snow - I'll adding one of those pens to my list =)
ReplyDeleteThat is NOT the look this bunny would have on her face going down a hill on a sled! Ha! What great expressions. Super cards!
ReplyDeleteFabulous cards and I love the bunny one... such fun and so cute!
ReplyDeleteThis is such a perfect set of cards !!
ReplyDeleteFun cards! I especially like your card with the cute bunny--the expression on its face cracks me up :)
ReplyDeleteKoren, these cards are delightful. Thanks for sharing how you used the Marvy show marker. Just got one. Thanks, too, for the video--your behind-the-scenes dialogue with your son was so entertaining. tfs
ReplyDeleteLove each of your cards. The faces are so cute!!!
ReplyDeleteVery creative!! Love them!
ReplyDeleteYour Merry christmas card is my favorite !! I love the added touch of snow :) nice job !!
ReplyDeleteI love the Hello Winter set. The faces on the animals are hilarious! I love the card with the rabbit skiing
ReplyDeleteThese are really so great! You've been busy! I think the snowman is my fave, I love the expression on his face! :)
ReplyDeleteFantastic cards!! Thanks for sharing with us :)
ReplyDelete:D So funny :) so sweet...
ReplyDeleteWow!!! How funny!!!
ReplyDeleteFabulous creations Koren!~
ReplyDeleteThe expressions on these cute stamps are so fun! Love the snow you added to the Merry word, great effect!
ReplyDeleteLove the cards and your son is just adorable, loved listening to his little voice during the card, and then the bonus dinosaur trip! What a cutie! Sure do miss my 10 yr old being that age!!
ReplyDeleteCute cards so sweet
ReplyDeleteAdorable village scenes on your cards. Thanks for the inspiration.
ReplyDeleteYour creations are so cute! The expression on the snowman is priceless! Loving this new Your Next Stamp release!!!!
ReplyDeletelove these cute cards - just so adorable:)
ReplyDeleteSuper cute cards and video! I like that you have a helper :>)
ReplyDeleteVery cute--I like the snow.
ReplyDeleteso very nice!
ReplyDeletelove it!
I love to make scenes and
ReplyDeletethe snow scenes are darling.
Love the rabbit sledding.
thanks for sharing.
lovely cards. Thanks for sharing.
ReplyDeleteWonderful cards love the new dies and images!
ReplyDelete