Today I am sharing a project that isn't a card. GASP! I do like to make things that aren't cards, I just haven't featured many of them on my blog and YouTube channel just yet. We were challenged to create anything but a card, so I made a treat box. To see what the other Your Next Stamp Design Team members came up with, (CLICK HERE!) to visit the Your Next Stamp Blog. Comment on the Your Next Stamp Blog for your chance to win a stamp set of your choice.
This is not my idea. I stole this from Sam at Pootles.co.uk. She is an absolute genius when it comes to creating gift boxes and bags. I have watched her for years and I love putting my own spin on her creations. So, I've taken her box... (CLICK HERE!) to visit her blog post or watch her video on this box, and added some of my own touches. I did cut my paper wrap slightly larger to fit my design a little better, but it is the same general principle and dimensions of her box.
So, you start with a piece of cardstock cut to 5.5 x 8". You score along the long side of the cardstock at both 1.75 and 6.75. Then you turn your paper and score the short side of the cardstock at 1.25, 2.5, 3.75, and 5". After scoring, burnish your score lines with a bone folder. Cut out the unnecessary pieces and trim the edges that fold into the box. For greater detail, please see my video or visit Pootles.co.uk. (CLICK HERE!) to see her version, she is much better at explaining things than I am. Add adhesive where needed and fold in your sides. Its very simple.
Once your box is built. You are ready to create the patterned paper wrap. You simply wrap a piece of patterned paper around your box and it will slide on and off. I cut my piece slightly larger than hers so that I could add some pumpkins to my sentiment. My piece measures 5.75x 4. I added tape runner adhesive to keep it wrapped.
As for the matted sentiment. I used a piece of Tim Holtz watercolor cardstock. I ink-blended a bit of Distress Oxide ink in Vintage photo along the bottom of the piece. I stamped "Treats for You" in Versafine Onyx Black ink, justified to the right, to leave room for my pumpkins.
I stamped my pumpkins from the Your Next Stamp Fab-Boo-lous Halloween stamp set in Your Next Stamp Black Olive ink. I colored them with my Copic Markers. (See Copic Color Map below) I adhered the larger pumpkin with tape runner adhesive flat to the matted watercolor piece and I popped up the smaller pumpkin with 3M foam tape.
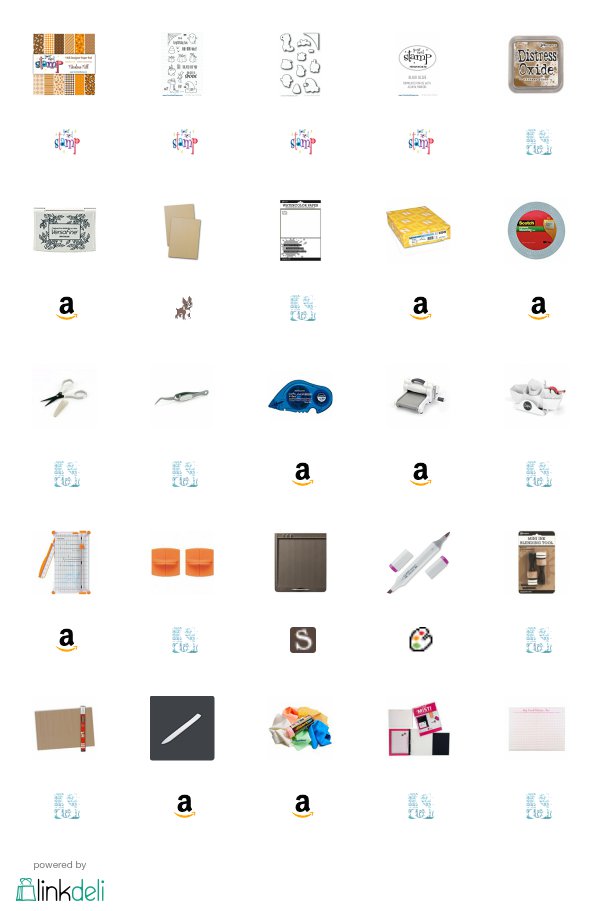
For photos of my project, a link to my YouTube video, a Copic Color Map, and a list of supplies I used to create is project look below.
Thank you for visiting my blog today and don't forget to visit the Your Next Stamp blog to see what the other Design Team Members have done making anything but a card. (CLICK HERE!) . Don't forget to leave a comment on the Your Next Stamp Blog for your chance to win a stamp set of your choice!
Koren


Fabulous! :)
ReplyDeleteI love these.
ReplyDeleteThese are adorable treat boxes !
ReplyDelete