Friday, May 17, 2019

Neat & Tangled May Release Week Wrap Up


Hello everyone. 

Today is the day. The Neat & Tangled May Release is now available in the shop. (CLICK HERE!) to visit the Neat & Tangled Online Store to shop the NEW Release. This week was a lot of fun. I think my favorite of the release is the G.O.A.T. stamp set and coordinating dies because of that adorable little farmer. 


As a close second is the Quilted Background stamp. This fun geometric pattern is simply fantastic for so many techniques, it’s sure to be a staple in my collection. 

Thank you so much for stopping by my blog today. Maker sure you (CLICK HERE!) to shop the NEW Release and to visit the blog for today’s Giveaway information. 

Koren 


Thursday, May 16, 2019

Neat & Tangled May Release Week: Day Four Foliage Frames

Hello Everyone. 

Today is Day Four of Neat & Tangled’s May Release Week, and we are using the NEW Foliage Frames stamp set and coordinating dies to inspire you today. This stamp set is easy to use and it  creates the most elegant cards. It features a circle pattern, that is the size of a  background, in clear photopolymer as well as matching added foliage to add versatility. These additional pieces of foliage also have coordinating dies. The die set even has a die that cuts just the center of the large circular pattern stamp, which is what I did today. 

Don’t forget to (CLICK HERE!) to visit the Neat & Tangled blog for more information about today’s featured set, as well as the giveaway for today’s post. There will also be some more inspiration over there from the design team that is sure to wow you. This release goes LIVE tomorrow Friday, May 16th at 8:00 AM. 


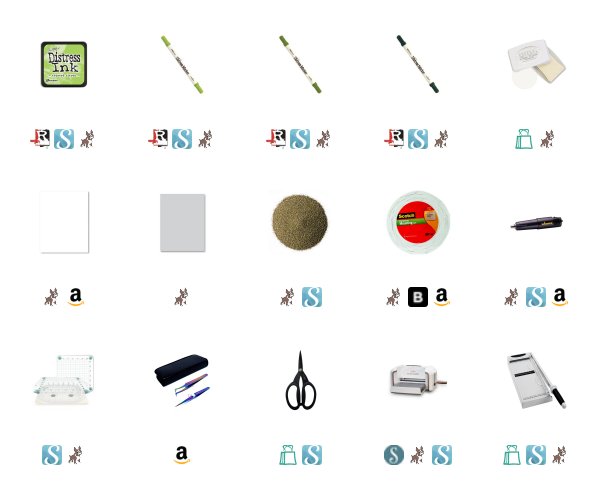
I started with a piece of Ranger Watercolor cardstock, and loaded the large stamp from the Foliage Frames set into my We R Memory Keepers Precision Press. I inked up the stamp first with Distress Ink in Twisted Citron. This gave a good green base to work with. Then I used my Distress Markers in Mowed Lawn, Peeled Paint, and Pine Needles to add some more depth to the colors of the image.  I stamped it twice to get the look you see in the finished photos. 

I cut the panel down to 4 3/4 by 3 1/2 inches and used the Foliage Frames dies to cut out the center of this stamped image. Just the center for now. This leaves an opening in the center that is perfect for a sentiment. 


To add to this panel, I also stamped the smaller individual pieces of foliage from the same set, using the same technique as above, only this time I used the coordinating dies to cut them out. 

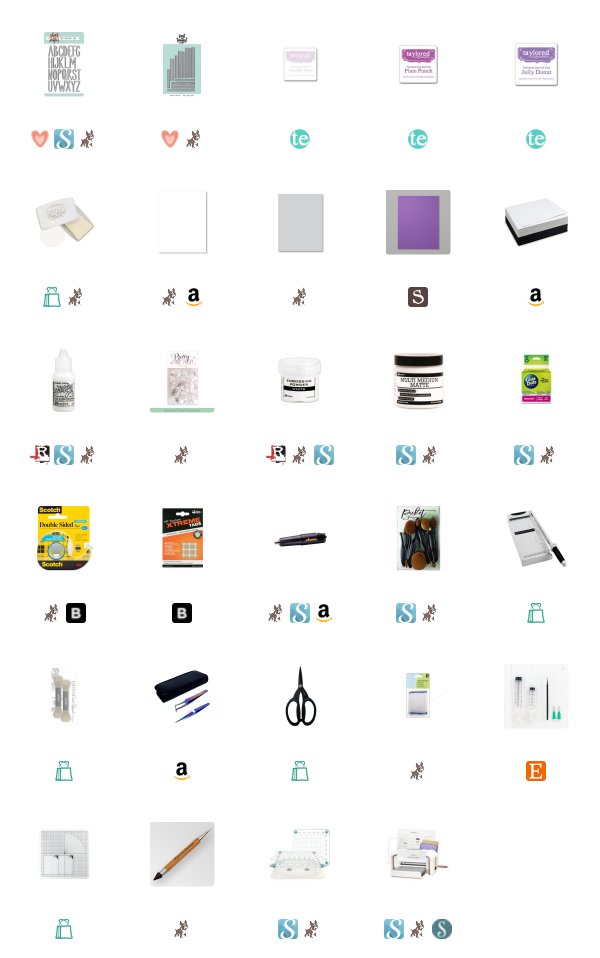
As for a sentiment, I used the “hello” sentiment from the Foliage Frames Stamp set. I stamped it using Nuvo Clear Mark embossing ink onto a piece of Neenah 110lb. cardstock, and heat embossed it with Hero Arts Gold Embossing Powder. 

To add a little more detail, I added a few of the berry clusters that come with the set. I’m not sure what the actual name for this image is, but it basically looks like a cluster of three circles. I feel like they represent berries or nuts or just some other element of the arrangement. Anyway, I stamped them and heat embossed them as well, and scattered them throughout the panel. 


To put this card together, I added Scotch 3M Foam Tape to the under side of the original panel to provide some dimension for the sentiment. I then added the entire panel to a Simon Says Stamp Fog card base. 

I hope you enjoyed my project for today. Make sure you stop over to the Neat & Tangled Blog to see what the rest of the design team as created to inspire you. (CLICK HERE!)

Thank you so much for visiting my blog today. 


Koren 


Wednesday, May 15, 2019

Neat & Tangled May Release Week: Day Three Quilted Background

Hello everyone. 
Today is Day Three of Neat & Tangled’s May Release Week and we are showcasing the NEW Quilted Background stamp. This stamp is a 6x6 red rubber background stamp and it features a geometric pattern similar to a quilting pattern, hence the name, I suppose. I immediately knew that I wanted to  ink blend behind those beautiful shapes. 

Make sure you (CLICK HERE!)  to visit the Neat & Tangled Blog and see what the rest of the design team has created using this awesome NEW product. There is also Giveaway information there for today’s giveaway . You should never miss a giveaway opportunity, by the way. 


Today I grabbed a piece of Neenah 110 lb. Solar White cardstock and my We R Memory Keepers Precision Press. I loaded the background stamp onto one of the plates in order to get a great impression for my background. The Precision Press allows me to stamp in the same place multiple times to ensure your ability for an even, and well-stamped image. I used Nuvo Clear Mark Embossing Ink  and heat embossed it using Ranger White Embossing Powder.  

Once the freshly heat embossed background had cooled I used my Nuvo Blender Brushes to ink blend some Tailored Expression inks onto the background. I used Lavender Glaze, Plum Punch, and Jelly Donut Dye Inks to ink blend my background.  

I absolutely love the look of a smooth ink blended background no matter what color it is. This panel was then cut down to 3 1/2 by 4 3/4 inches and popped up onto a Simon Says Stamp Fog card base using white craft foam and Scotch doubled sided tape.


One of my favorite die sets is the Journaling Alphas by Neat & Tangled. They remind me of a Rae Dunn Design and I absolutely love the hand drawn feel.  So, I cut the word “friend” out of Neenah 110 lb. Solar White cardstock. I cut them (4) times each. I layered them together using Ranger Multi Medium Matter liquid adhesive and my blunt tipped syringe. 

To jazz up the word die, I used some of the same inks I used on the background but I used them to ink blend the bottom of each letter. To help me do this, I used Picket Fence Studios Life Changing Blender Brushes. The extra small round tipped blender brush is one of my favorites for detail blending like this. I can build up color with small amounts of ink to a very small area. 

After the ink had dried, I still did not think it was quite jazzy enough, so I added Ranger Stickles Frosted Lace to the very very bottom of each letter. This way the ink faded into white and the glitter faded into the ink.  The letters were adhered one by one using Ranger Multi Medium Matte and a small scale to help align the images. 


To add to the sentiment, once again I stamped a sub sentiment using Nuvo Clear Mark Embossing Ink onto Stampin’ Up!’s Gorgeous Grape.  I used Neat & Tangled’s Skinny Strips to cut out the smallest fishtail banner from the set to house the next part of the sentiment. “You are special to me” was heat embossed using the same Ranger White embossing powder as before.  The strip was then popped up using Tombow  Extreme Clear Adhesive Tabs. 

To finish off the card, I used micro Glue Dots to stick some Clear sequins onto the front of my card panel to add even more sparkle and shine. 

I love how this card turned out and it was very easy to create. The color combinations for card like this are endless. Have fun creating a background of your own. 

Don’t forget to visit Neat & Tangled For more information on the Giveaway. (CLICK HERE!) While you are there, check out the rest of the design team’s blogs and comment to increase your chances of winning. 

Thank you so much for visiting my blog today. 

Koren