
Hello everyone. Today I have a fun card to share with you using the NEW Mice Day to Celebrate stamp set and coordinating dies. This set is from the NEW My Favorite Things February release. The supplies used to create this card will be linked below.
To check out the entire NEW MFT Stamps February Release (CLICK HERE!). At MFTStamps.com you can find the NEW release as well as classic staples that a card maker needs in their craft room.
Background:
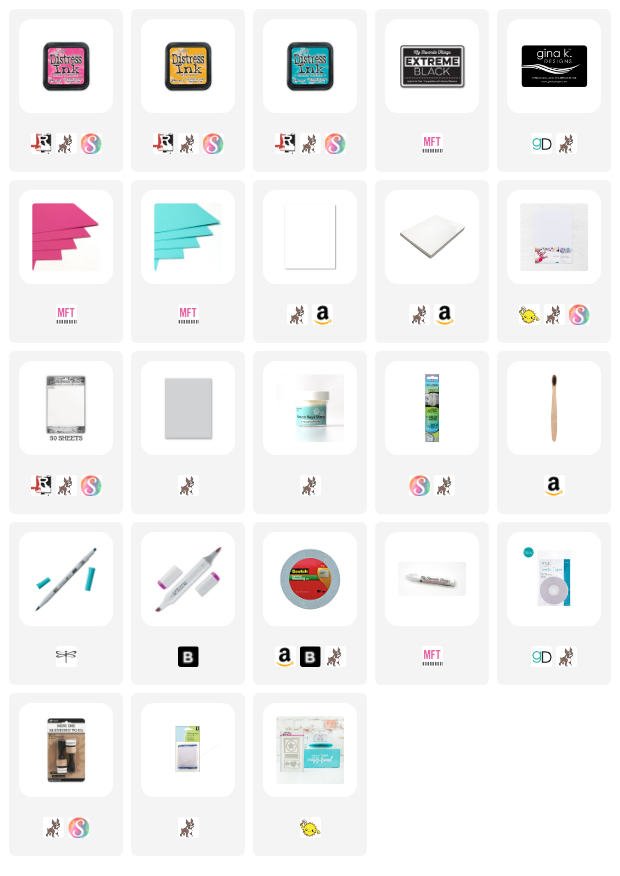
I started with a piece of Ranger watercolor cardstock. I cut it down to 3 1/2 by 4 3/4. I used a piece of low tack masking tape to mask off the bottom portion of my panel while I ink blended a bit of light in the background. I used Distress Ink in Wild Honey. I then moved my masking tape to mask off the portion of the panel I just blended so that I could create a floor or a table, something for my critters to stand on. I used Distress Ink in both Picked Raspberry and Peacock Feathers to match the color scheme of the party that I was creating on my card. After I ink blended both the top and bottom portions of my card, I then splattered it with the same three Distress ink colors to create a fun confetti feel to my scene.
Focal images:
I stamped all of my images from the Mice Day to Celebrate stamp set using MFT Extreme Black ink onto Heffy Doodle Alcohol Marker friendly paper. I used my alcohol markers to color my images. I have created a kolour map to show all of the markers I used on this piece. I cut out the images using their coordinating die set of the same name.


Fantastic cards. Great release. Thank you.
ReplyDelete