Today is Day Three of Neat & Tangled's April Release Week. We are showcasing the NEW Receding Background, which is available in this release. This background is super cool. It reminds me of heat waves or sound waves or even ripples on a pond. This background is essentially repeated hand drawn circles, which are perfect for magical backgrounds like the one I'm making today. To see what the rest of the Design Team has created using this product (CLICK HERE!) to visit the Neat & Tangled blog and see today's post. Comment on as many of the design teams posts as you can for your chance to win a Receding Background stamp from the April Release.
The Neat & Tangled April Release will be available this Friday April 19th at 8am EST.
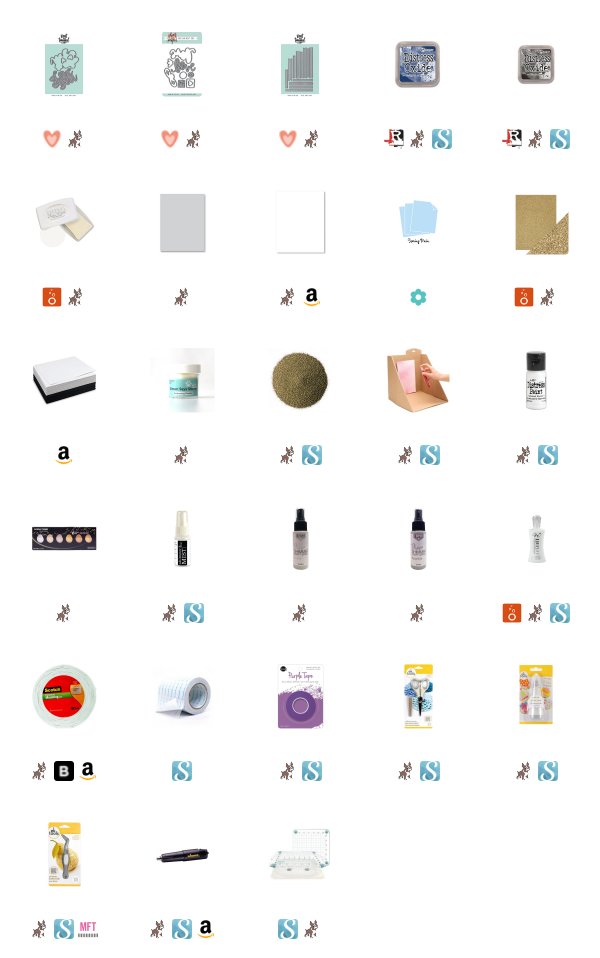
As for my project, I started with a piece of Papertrey Ink's Spring Rain cardstock. I loaded it into my We R Memory Keepers Precision Press as well as the NEW Neat & Tangled Receding Background Stamp. I first removed the foam from the inside of the press because this stamp is red rubber and the foam is not necessary. The foam padding is built into the cling mount of the red rubber stamps which give the compression relief needed for a good impression. I love red rubber background stamps because they stamp so well and are great for so many techniques.
Today, I am just heat embossing this stamp using Nuvo Clear Mark embossing ink and some Simon Says Stamp Clear embossing powder. This leaves a tone on tone effect with the darker blue being the stamped and heat embossed image.
I then wanted to ink blend a darker, more dramatic background so I used Distress Oxide ink in Chipped Sapphire and Black Soot. I love using my Nuvo Blender Brushes to ink blend my backgrounds with and that's what I used on this project.
I also wanted to have some more interesting stars in the background. To do this, I decided to use the NEW To The Stars stamp set that we featured on Monday. There is an outlined star stamp in that set. I mounted that to a small acrylic block and stamped my husband's as well as my own astrological signs on top of the Receding Background that I created earlier. This made the project start to look like stars spinning in outer space. It is a neat effect. I used the star to stamp out where the stars should be and connected the dots using a Ranger Clear embossing ink pen and a ruler. There is a line image included in the To The Stars stamp set, but I didn't not use it for this project.
I decided that it needed more stars to make it more interesting to look at. So, I broke out my Splat Box and began to go to town by ink splattering some interest. The paint I used to splatter was Gansai Tambi Starry Colors Gold no. 901 and Ranger White Acrylic Paint in Picket Fence. Then when that wasn't enough, I used Hero Arts White Iridescent Spray and Imagine Crafts Frost AND Sparkle Shimmer Spritz. This sucker is shiny!
I did manage to get a gigantic splat right in the center of my background, so I covered it up using hearts from various other Neat & Tangled coordinating die sets. Basic shapes like this heart can easily be used without its coordinating lined image. I think it helps hide my splat as well as give even more shine to the card. The largest heart is attached with Scotch 3M foam tape and the other two with Nuvo Deluxe Liquid Adhesive.
For the sentiment, I took the "I love you past the stars" stamp from the To The Stars stamp set also in this months release. I stamped it with Nuvo Clear Mark embossing ink onto a pre cut strip of Neenah 110 lb. Solar White cardstock cut with Neat & Tangled Skinny Strips die set. I used the widest die with a banner end. I cut it twice once for the stamped sentiment itself and once to use as banner ends. I just cut the second banner to leave two ends to tuck under the top strip to look more dimensional. The stamped sentiment was heat embossed using Hero Arts Gold embossing powder. I popped it up using Scotch 3M foam tape.
The finished panel was cut down to 3 1/2 by 4 3/4 and popped up with white craft foam using Scrapbook.com double sided adhesive. I placed it onto a Stampin' Up! Speckled card base, which I love and I have a ton of it, but they don't sell it anymore. So, I can't link to it. But! It's basically a white cardstock with natural fibers showing in it color.
I hope you enjoyed my project today using the NEW Receding Background by Neat & Tangled. The release will go LIVE on Friday April 19th at 8am EST. (CLICK HERE!) to visit the Neat & Tangled Online Store or Blog to see more NEW Release inspiration.
Thank you for visiting my blog today.
Koren


Love how this turned out!
ReplyDeleteSweet card using the new background stamp!
ReplyDeleteOh my! I'm totally in love for your awesome card!!! Wonderful colouring!!!
ReplyDeleteVery elegant with all the gold; very pretty.
ReplyDeleteI love the gold splatters and what a gorgeous design!
ReplyDeleteGorgeous with the gold and stars!! Such a lovely card!
ReplyDeleteAwesome colors for your pretty card! Love the background design!
ReplyDeleteGreat way to use this background stamp.
ReplyDeleteBeautiful celestial card.
ReplyDeleteLove the constellations.
ReplyDeletethe gold against the blue background
is wonderful. thanks for sharing
txmlhl(at)yahoo(dot)com
Super cool background! Love the ink-blending and paint splatters!
ReplyDelete