Sunday, May 26, 2019

Memory Box Unboxing and Project Share


Hello everyone.

I have an awesome NEW video for you today. Memory Box reached out to me and asked me if I wanted to play with a few of their products so that my followers could see some of their stuff. Of course I said yes. I have loved using Memory Box products as well as their sister companies Birch Press Designs and Poppy Stamps. I couldn't wait to get my hands on these Fish Tales stamp sets to make a card.

To find out more about what Memory Box has to offer (CLICK HERE!) but be warned!!! You will immediately fall in love.

I have a video project as well as another card that I created off camera. I still have so many ideas, be on the look out for more card projects featuring these items.


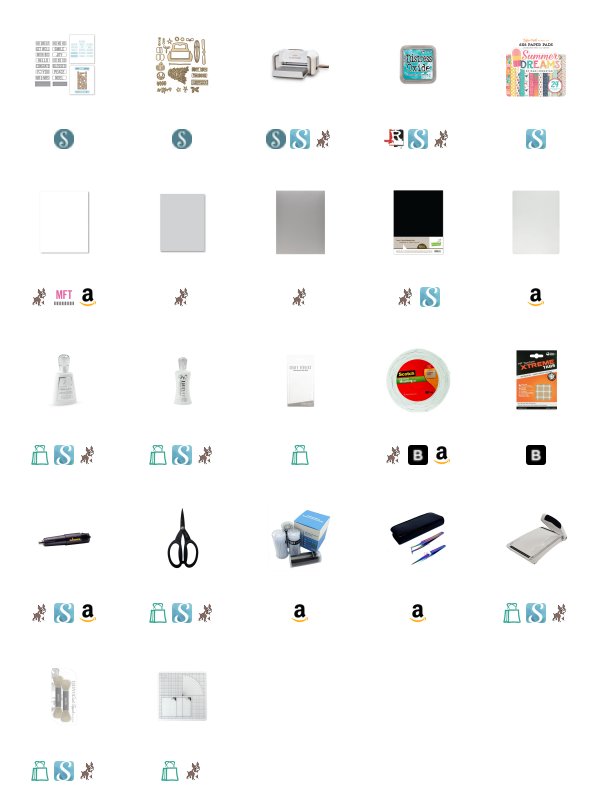
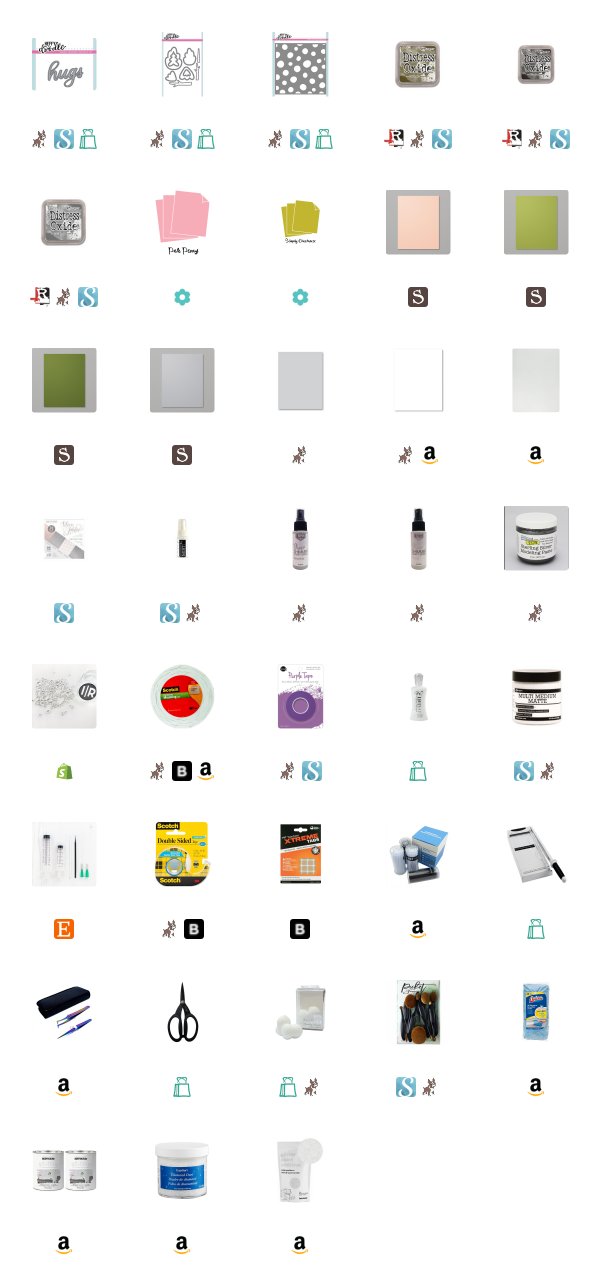
Here is a link to the video I created showing off all of the supplies that were sent to me. Some of them I picked out myself and some of them are newer products that they thought my followers would enjoy seeing. I loved everything that was sent to me and I want to personally thank them choosing me for this collaboration.


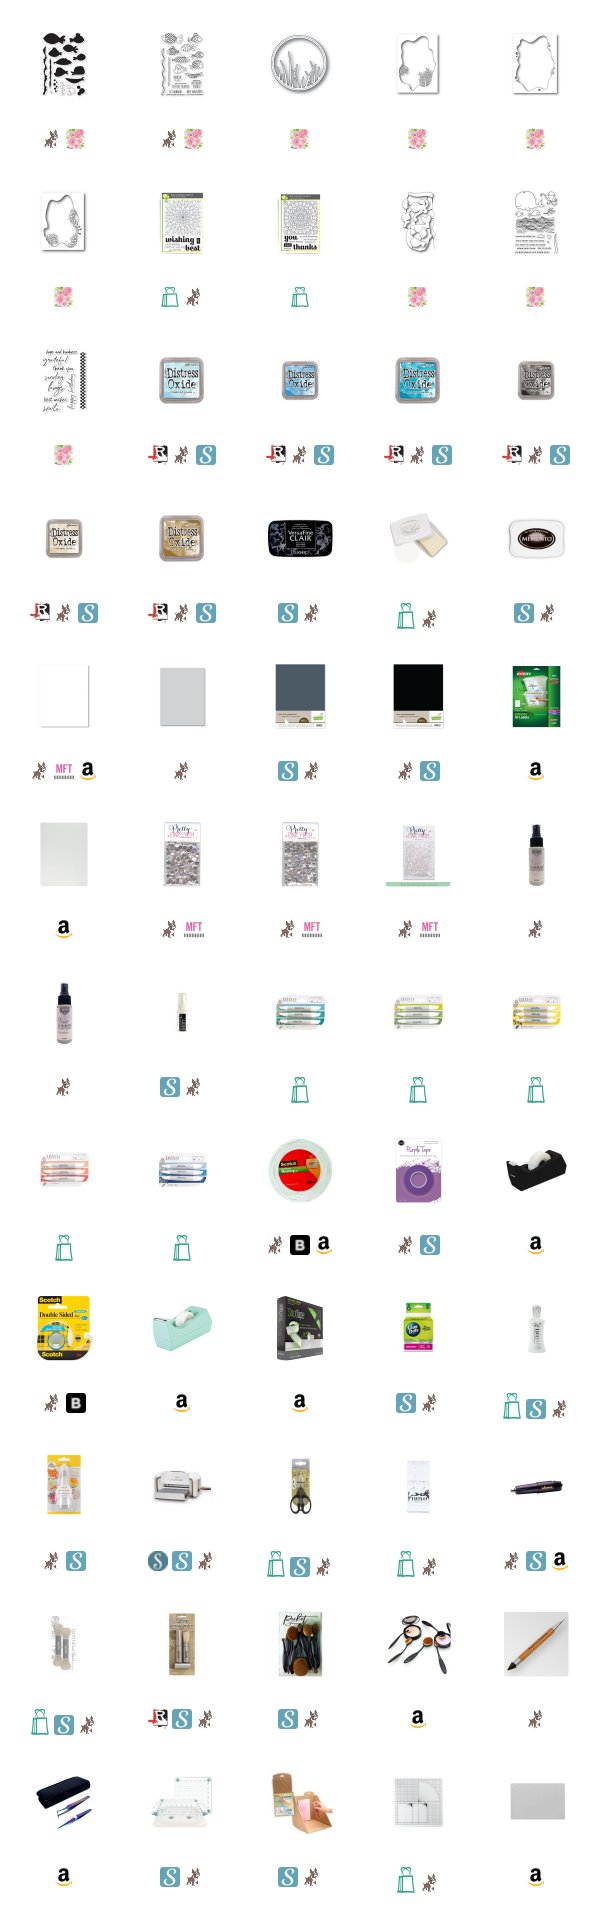
As for the second project I created, I started with four pieces of Neenah 110 lb cardstock cut to 4 1/4 by 5 1/2. I usually keep these close by because it is my most used cardstock. I decided that I was going to ink blend on these panels. I wanted the blend to be as smooth as possible and I wanted them to be as alike as possible.

I choose Distress Oxide ink in Brushed Corduroy, Antique Linen, Tumbled Glass, Salty Ocean, and Mermaid Lagoon. This combination is similar to the ink colors used on the project in the video above, only with this one, I used Antique Linen and Brushed Corduroy, these are my favorite "sand" colors.


I made sure to ink blend all four panels as similarly as possible. To get a very smooth blend I used Ranger Ink Blending tools for this, and I love the way these look and I think it will set the perfect seascape background. They were each cut down to 3 1/2 by 4 3/4.

Once the backgrounds were well dried (only a few mins needed), I used the Underwater Collage, Seaweed Collage, and Coral Collage dies to cut from the panels. I lined them each up towards the center of one of the panels, leaving the fourth panel alone to serve as the background for the others to be built upon.

I used a Simon Says Stamp Fog cardstock card base cut to size A2 in top folding orientation. I adhered the background panel first with Scotch double sided tape. I then used Scotch foam tape to pop up each additional panel stacking them and lining them up the best I could. I makes the perfect little dimensional scene for your critters to live in. The coral, seaweed, and bubbles all add to the theme of the card.


For my images, I used Memento Tuxedo Black ink to stamp several of the lined images from the Memory Box Fish Tales stamp set. I used my We R Memory Keepers Precision Press to stamp them. I used an alcohol marker friendly ink because I wanted to play with my new to me Nuvo Alcohol Markers. I chose 5, three color blends to color my fish. I have made a Nuvo Alcohol Marker Color Map so that you can see the makers I used plus a close up of the card for reference.

I adhered the fish on the interior sections using Nuvo Deluxe Liquid adhesive. To pop up the fish on the outside of the die cut panels I used the same Scotch Foam Tape.


I also used foam tape to pop up the sentiment strip. I stamped the sentiment "let minnow how things are going" with Nuvo Clear Mark embossing ink onto a piece of Lawn Fawn Black Licorice cardstock and heat embossed it using Ranger White embossing powder. I cut it down using my Fiskars wire guide paper trimmer.

To see more from Memory Box (CLICK HERE!). All of my supplies used on these projects are linked below using Affiliate links when available, at no cost to you. Thank you for supporting our crafty community.

I hope that you enjoyed my projects today. I hope you all are having a wonderful Memorial Weekend with your families. Thank you for visiting my blog today.

Koren


Thursday, May 23, 2019

Spellbinders So Many Sentiments Die Set


Hello everyone. 

Today I am sharing with you a few cards I’ve made using the NEW Spellbinders “So Many Senitiments” Die Set. This set is an add-on set from last October’s “Truckin’ Through the Seasons” die set that originally appeared in a Large Die Kit of the month. I made a few Christmas Cards using it, and if you would like to check those out,  (CLICK HERE!). Today I’m using the NEW add on set as well as the original Truck Die Set to create some fun summer inspired cards, and since you’re already here, no more clicking is necessary- the fresh stuff is right here! 


I started by cutting out some patterned paper backgrounds from one of my favorite 6x6 paper pads called Summer Dreams. I believe it has been discontinued but it’s made by Echo Park (at least was). If you can find it, snatch it up, I know I will- its a great pack. I cut three of the patterns that appealed to me the most, and cut them down to 3 1/2 by 4 3/4.  

For two of those patterns, I ink blended a little bit of Distress Oxide Ink in Peacock Feathers around the outside. I used my Nuvo Blender Brushes to add the inked edges. 


On the background with the popsicles, I used the NEW “get well” die from the Spellbinders So Many Sentiments Die Set, and cut it into the top center of the card front. I popped it up onto a coordinating piece of pattered paper from the same pack and added it to a Simon Says Stamp Fog card base and called it done, it was super simple, yet- with just that simple die cut and mounting the image to the base- I had a card that was ready to give away. 

The background with all the illustrations on it was also popped up onto a Fog card base using Scotch Double Sided Adhesive.  But to this one, I added a few of the original die cut shapes from the Truckin Through the Seasons die set to the bottom left corner of the panel. I created a surf board and a beach ball out of various patterns from the same pack of paper from Echo Park and added a layer of Crystal Glaze to the outside to make it shiny and look like they are ready to ride some waves. 


To finish off this card I added the NEW Hello die cut from Neenah 110 lb Solar White Cardstock. I first cut the plain rectangle shape that comes in both sets and then I centered the “hello” within it and cut it out four times. I used my Nuvo Deluxe Adhesive to adhere all of my layers together.  

To attach it to my card front I used Tombow Extreme Clear Adhesive Tabs cut into small strips and added to the back of the word die. This adhesive is clear and although you may be able to spot it, it doesn’t stand out quite as much as a white adhesive does. 


For my final card, I assembled the truck die and created a scene using  elements from both sets. I used various colors and types of cardstock. They will be linked below except for the EK success assorted wood paper that I used for the surf boards, as it is no longer available. I am sure we can find something comparable though, so, don’t fret. This time I cut out four of the scalloped and pierced rectangles and the “wish big” sentiment, both from the NEW set. I used the same clear adhesive tabs to pop it up on the tailgate of my truck. Most of the other elements of this truck were either popped up using Scotch 3M foam tape or adhered using liquid adhesive. 


I hope you enjoyed my card projects using the NEW Spellbinders So Many Sentiments Die set and the Trucking Through the Seasons Set. These sets are a lot of fun and there are so many different sentiments with this NEW set that it makes the versatility of this set so vast you will have years of use out of these products. 

Thank you for stopping by my blog today. To check out my from Spellbinders (CLICK HERE!) 

Koren 


Saturday, May 18, 2019

Heffy Doodle Forest Builder Flower Card Video


Hello everyone.

Today I have an interesting card for you and a video. I'm using the Heffy Doodle Flower Builder Dies to create a unique looking flower. I like finding ways to stretch my supplies, so I'm sharing my idea with you today.


These dies were intended to make trees, but if you look at them in a different light, you will find that the shapes sort of resemble flowers. So, I laid out my pieces into a flower arrangement. I think it turned out cute and it was a lot of fun to create.

I hope you will check out my YouTube video of my making this card. I will leave it linked in this post.

Thank you for visiting my blog today.

Koren