Today, I am making another gift bag out of the Sizzix Bigz Apron Gift Bag Die. This is my second project using this die. Last time, I made a gift bag for the gardening Mama this Mother's Day. I wanted to show how diversified this die could be. I want to get the most use out of this die as I can, and as long as the ideas keep flowing, I'm going to keep creating them. I am also using some Lawn Fawn stamps and dies to create my project today.
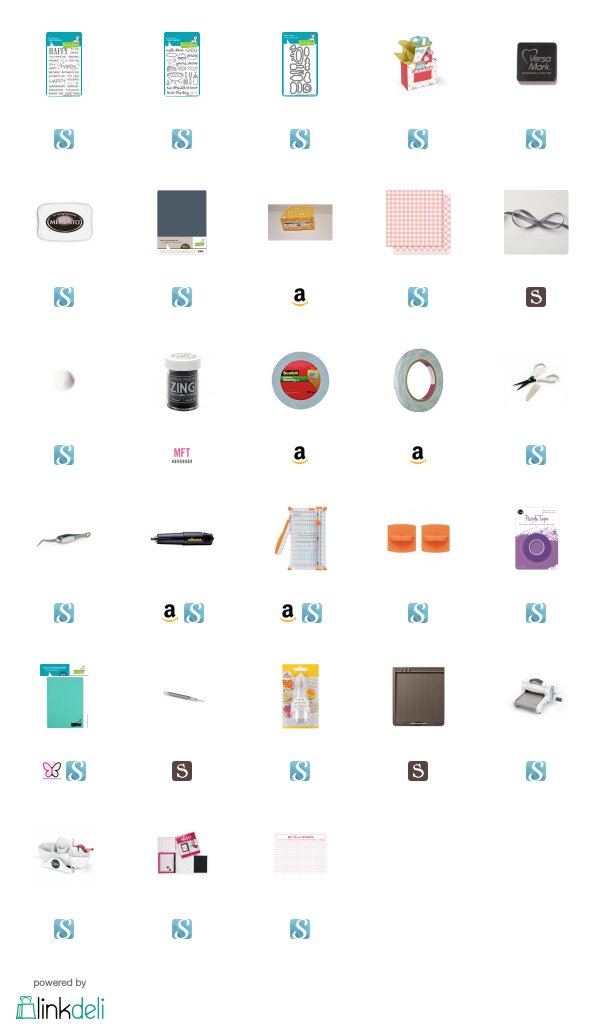
I started by cutting out the pieces for my gift bag, with the Sizzix Bigz Apron Die . I'm using Lawn Fawn 12 x 12 Patterned paper in the pattern Georgia. I also used Neenah Solar White 110 lb. cardstock for the front of my bag and for the back I used Lawn Fawn Storm Cloud. To get a better idea of how I created this project, I have linked my YouTube video below.
I stamped some of the images from Lawn Fawns Let's BBQ stamp set with Memento Tuxedo Black ink onto some Neenah Solar White cardstock. I colored them with my Copic Markers. For a listing of the exact Copic Marker color combos I used to color these images, I've created a Copic Color map with each marker listed. I will leave it below for you to Pin to Pinterest if so desired. That's how I reference certain color combos that I want to use or try.
I also stamped the "Happy" sentiment directly onto the pocket portion of the gift bag. I stamped it in Versamark Ink and heat embossed the sentiment with Zing Charcoal embossing powder. The sub sentiment "Father's Day" was stamped in Versamark as well, but this time I used Hero Arts Ultra Fine White embossing powder and the sentiment was stamped on Lawn Fawn Storm Cloud cardstock.
I used the coordinating dies for this stamp set to cut out my images. Before placing them onto the front of my bag. I brought out my Stampin' Up! Score Board and scored lines onto the front of the bag every .5 inches. I think it looks like it could be shiplap or even siding, at least thats what it looks like to me. After scoring my project I began to put all the pieces together.
I reinforced the score made by the die onto my pocket piece and added 1/4 inch double sided adhesive onto the areas that will allow me to adhere the pocket to the front of my gift bag. After peeling off the adhesive backing of my tape, I lined up my pocket on my apron and applied pressure with my fingertips to stick it down. Then I took Scotch 3M foam tape and used it to pop up my grill and the matching tools on the either side of it. I also used foam tape to pop up my sub sentiment.
The fire was stuck on with glue dots and the lone skewer was added to the project last with foam tape to give even more dimension. I fell like the soft red gingham reminds me of and old picnic table cloth. After the front was created, I began to put all of the apron pieces together.
I used 1/4 inch double sided tape on all of the sides of the gift bag and added ribbon by Stampin' Up! to give it handles. I looked it up and Stampin' Up! no longer sells this particular ribbon. That doesn't surprise me, I think I've had this ribbon for a while. I really like how the bag turned out. I think it's fun but also masculine.
Thank you for visiting my blog today, here is a another link to the video I created making this card. (CLICK HERE!)
Koren


No comments:
Post a Comment