It's Blog Hop time! That means the May Your Next Stamp release is now live. To see the entire release (CLICK HERE!) and visit the new products page in the store. This release is fabulous. Tons of super cute sets to get you ready for summer crafting. This blog hop starts now, May 12th at 10 pm and runs until May 15th at midnight.
Make sure you comment on each blog along the hop for a chance to WIN a $25 gift certificate to the Your Next Stamp online store. Each comment you leave increases your chance of winning. A winner will be announced on May 16th on the Your Next Stamp blog.
On top of that, Your Next Stamp is giving out a 10% off coupon code to use during the hop. The graphic below includes the code and the dates that it is available for use in the Your Next Stamp online store.
I have two projects to share with you today. The first one uses the NEW Punny Pineapples stamp set and Beach Scene Die set. I also have a YouTube video linked below showing the process of making this card. The second card uses the NEW Sea Friends stamp set and Tiny Slider die set so keep scrolling to find that project as well.
I started with a piece of Neenah 110lb cardstock. I used Distress Paints in Abandoned Coral, Wild Honey, Squeezed Lemonade, Twisted Citron, Mermaid Lagoon, and Wilted Violet to create a splatter effect onto my background. I picked up some paint onto a heavy bodied paint brush and flicked it onto my cardstock piece. Once I had all my colors flung onto the background, I set it aside to dry. Acrylic paint is thicker than watercolor paints, so it may take a little longer to dry. I let this background set for more than an hour before I die cut it with the YNS Stitched Rectangle die I always use to cut down my card panels. I also performed this technique on a piece of dark cardstock. It looks absolutely amazing on the darker material. To see that, check out my YouTube video linked below.
I took this panel and loaded it into my Mini MISTI stamping tool. I stamped the sentiment "Tropic" from the Punny Pinneapples stamp set from this release. I stamped it in Distress Oxide Ink in Abandoned Coral to match the paint in the background. I aligned the sentiment toward the top center of the card panel. This also requires a little dry time, but not as much as the paint splattered background.
As for the "like it's hot" sub sentiment. I stamped it with VersaMark Ink onto a piece of Lawn Fawn's Black Licorice cardstock and used Hero Arts Ultra Fine White embossing powder to heat emboss it. I cut it out using Heffy Doodle Strips of Ease dies. I popped it up onto my card panel using Scotch 3M foam tape.
In the Punny Pineapples set, there is a stamp that looks like it could be any number of things. These types of stamps are my favorite because of their versatility. I am using it today as a puddle of melted popsicle. I stamped the puddle image with VersMark ink onto a small piece of Neenah 110lb cardstock and heat embossed it using Zing Powder embossing powder. I cut it out using it's coordinating die. This was adhered flat to the card panel using Ranger Multi Medium Matte liquid adhesive.
I took the popsicle and popsicle handle shaped dies from the NEW Beach Scene die set and cut out three popsicles using the Lawn Fawn Really Rainbow paper pack. Before adhering the tops of the popsicles to their sticks cut from Papertrey inks Classic Kraft cardstock, I stamped faces on the popsicles from and older YNS stamp set called Fab-boo-lous Halloween. I stamped the little faces with VersFine Onyx Black ink. I connected the tops of the popsicles to their sticks with Ranger Multi Medium Matte liquid adhesive. I then popped them up onto the card panel using foam tape.
The entire panel was adhered to the Simon Says Stamp Fog card base using black craft foam and double sided adhesive. I added Nuvo Crystal drops to the whites of the eyes on the images. I also added two lines of shimmer on each popsicle using the Gelly Roll Stardust Shimmer pen. This little pen really packs a punch and for small detail work, I wouldn't use anything else.
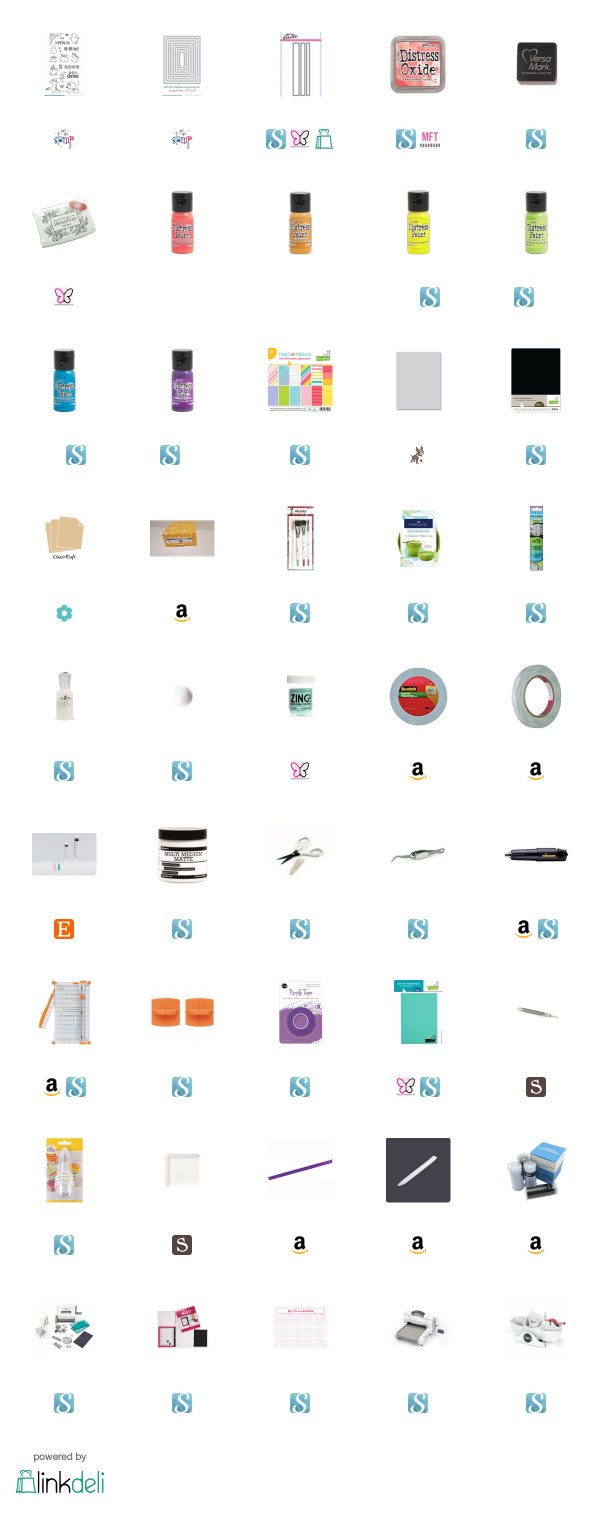
Here is a list of supples used for my first project. I am creating this blog post prior to the release going live in the shop. To find the NEW Your Next Stamp products (CLICK HERE!) to visit the new products page in the store. Scroll down to continue reading.

My next project uses the NEW Sea Friends stamp set and Tiny Sliders die set. The images in this set are so adorable. Having just visited the Shedd Aquarium in Chicago, IL. I was inspired to create a slider card using the seals from this set.
I started with a piece of shimmer cardstock from DCWV. (I'm really sorry, but I couldn't find it anywhere to link below) It is a very pretty sea green color. I cut it down using the Your Next Stamp Stitched Rectangle die set. I then used the My Favorite Things Cascading Scalloped Stencil to emboss the scalloped background in my Sizzix Big Shot.
Once my panel was created I used the complete circle from the NEW Tiny Sliders die set to cut out a track for my seals to swim in. I cut a second piece of the same DCWV paper for a base layer. I used double foam tape to pop up the panel and the center piece to create a thick track for my seals. Within the track, there are My Favorite Things Slider elements pieces for my seals to be adhered to. This allows them to move in the track without falling out.
My seals were stamped with Your Next Stamp Black Olive ink onto Neenah 110lb cardstock. I used Copic Markers to color them. I cut them out using the coordinating dies for this set. I also stamped the image of water splashing and colored them with Copic markers as well. The seals were adhered to the slider pieces using glue dots.
The sentiment was stamped with VersMark ink onto a piece of heat resistant acetate. I used a combination of Hero Arts Ultra Fine White embossing powder and Zing Copper embossing powder to reveal the sentiment. I used small amounts of Ranger Multi Medium Matte liquid adhesive behind the letters of the sentiment to adhere it to the center of the card panel. the seals can move freely around the sentiment.
I used more liquid adhesive to stick on my splashing water. I also used Nuvo Crystal drops in Ebony Black to enhance the black of their eyes. I also added a little Nuvo Crystal Glaze to the splashes of water. The card panel sits on a Simon Says Stamp Fog card base using double sided tape to affix it.
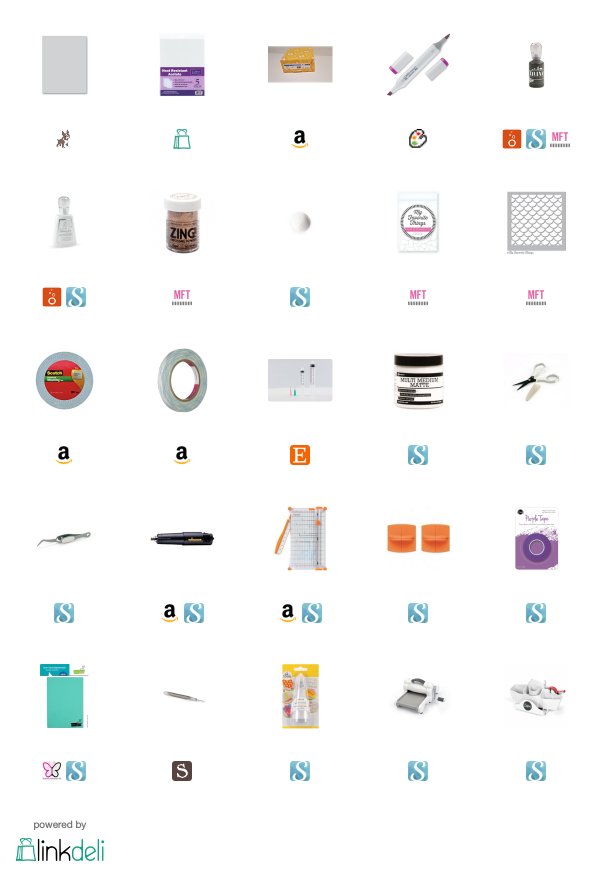
I want to thank you for visiting my blog today. I hope you will continue to hop along with the rest of the design team today and check out all of their stunning projects. Below you will find a list of designers on the hop today as well as a supplies list for this second project. Don't forget to comment for your chance to wind a $25 gift certificate at the Your Next Stamp online store.
Koren


Both cards are adorable, Koren. Thanks for sharing!
ReplyDeleteWhat adorable popsicles! :) Great cards!
ReplyDeleteFabulous cards!! I love the way you used the faces on those cute popsicle dies!
ReplyDeleteFun cards!
ReplyDeleteBoth cards are so fun! Love the great splattery BG you created on the first card. And the 2nd card is so cute; love the slider element.
ReplyDeleteYummo to the first card - colorful and cute! Cutie to the second - simple and fun!
ReplyDeleteSuper cool cards :)
ReplyDeleteWhat a beautiful seal card! Just love it!!
ReplyDeleteYour cards are awesome ! I love the seals playing around your card, it's a great idea.
ReplyDeleteThanks for the great video! Love your design!
ReplyDeletelove your cards - so sweet:)
ReplyDeleteLove the coloring of the popsicles.
ReplyDeleteThe slider card for the fish was
a fun idea.
thanks for sharing
txmlhl(at)yahoo(dot)com
I adore the popsicle one with the splatter background! Such a cute idea!
ReplyDeleteSuper cute card! I love the circle slider die and those seals are adorable!
ReplyDeleteI like the colorful popsicle card and cute seal slider.
ReplyDeleteVery cute! Love the popscicles!
ReplyDeleteSuch a fun popsicle card...and delightful interactive sea scene. Thanks for sharing both.
ReplyDeleteGreat cards! Thanks for the inspiration!
ReplyDeleteBeautiful cards!! Thanks for the inspiration.
ReplyDeleteAwww!!! Adorable cards!!!
ReplyDeleteOh these are wonderful cards, so much fun x
ReplyDeleteOMG I love the melting popsicle!
ReplyDeleteLove, love, LOVE your cards, my friend! Those popsicles are so dang cute, and the seals are sweet. My high school mascot is a seal, BTW. LOL
ReplyDeleteYour cards are fantastic ! :)))
ReplyDeleteTwo fabulous and fun cards!
ReplyDeleteOooh these are so pretty!
ReplyDeleteSuch cute cards! I love the swimming seals!!
ReplyDeleteFun cards! LOVE the seals ♥
ReplyDeleteGreat cards ...especially like the seals!
ReplyDeleteA fun interactive that totally fits the description of "Just keep swimmin', swimmin', swimmin' " (in a circle).
ReplyDelete